Origami Kawasaki Rose, Part 2
Here is the second of two (2) parts in our instructions for folding the Kawasaki Rose.
Made this origami? Comment and Submit your photo using the comment box at the end of this page!
Flip the paper over so the colored side is up. Now fold point A through 90 degrees, as shown in the next ten (10) photos:
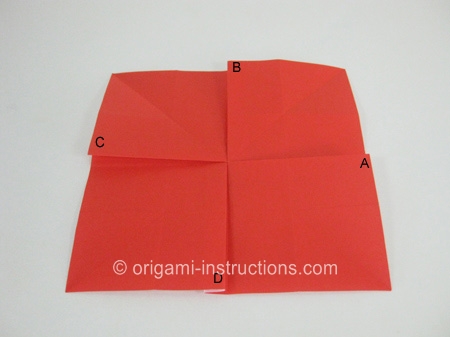
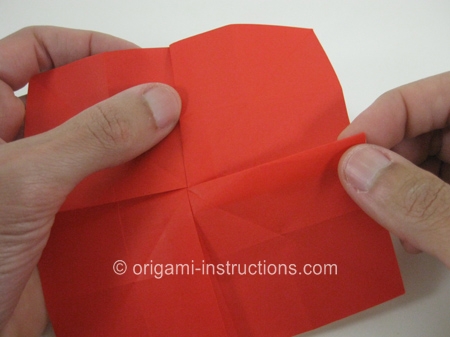
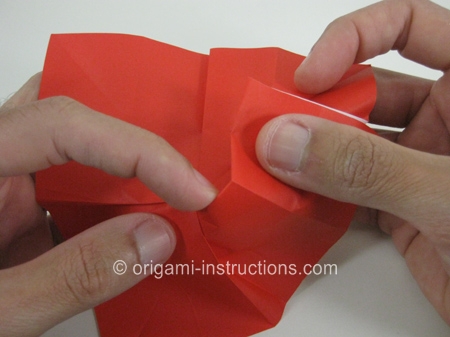
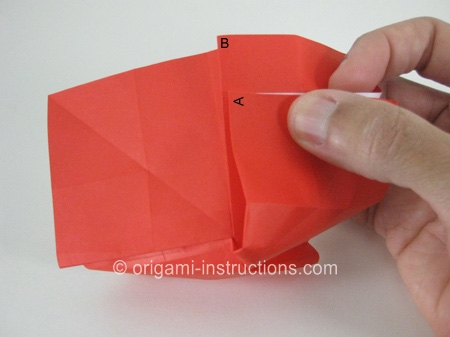
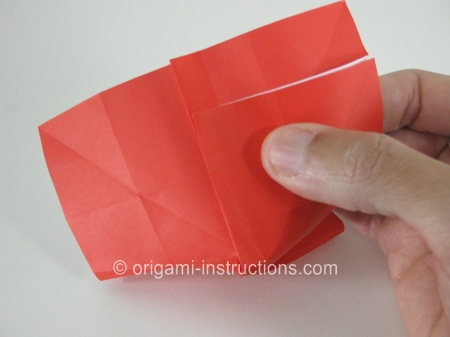
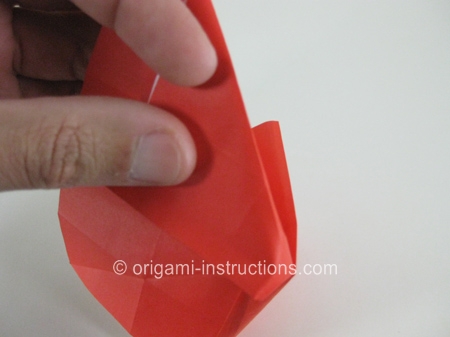
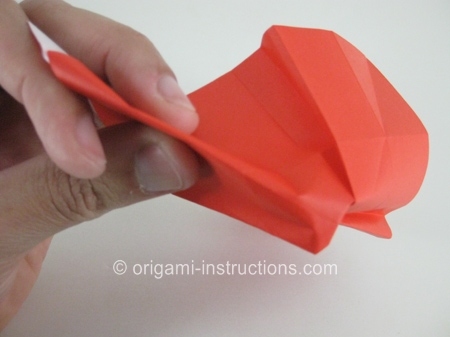
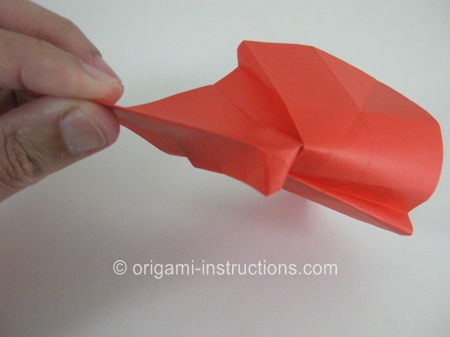
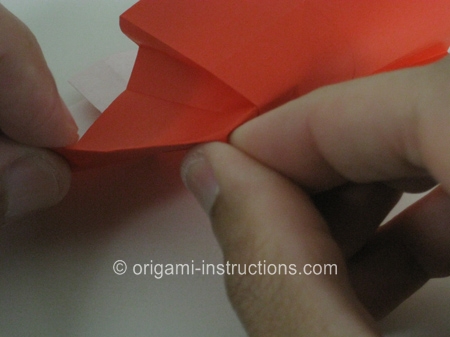
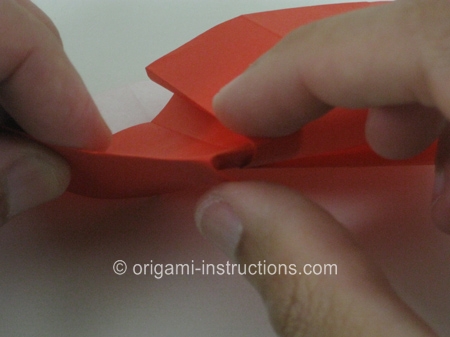
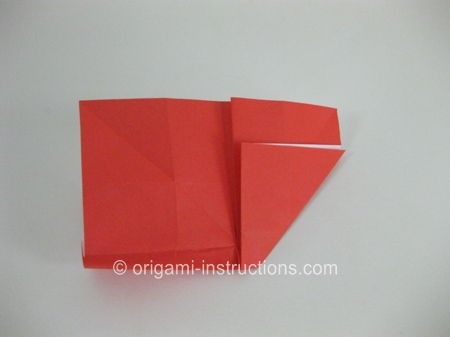
Now partially unfold the paper, rotate it 90 degrees clockwise, and fold point B 90 degrees as shown:
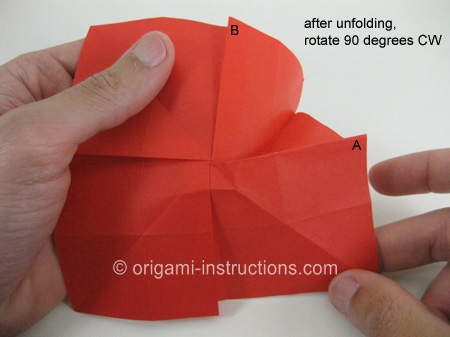
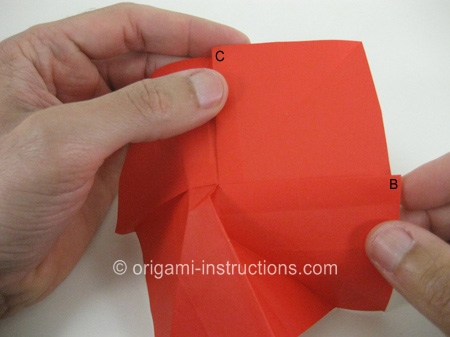
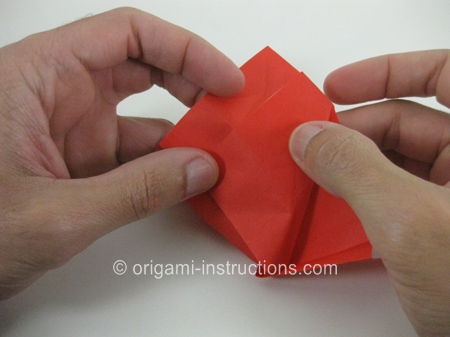
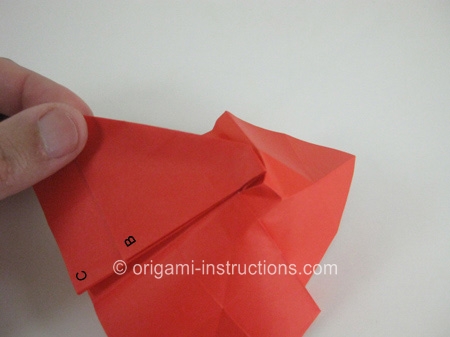
Repeat the 90 degree fold for points C and D, after which your origami paper will look like this:
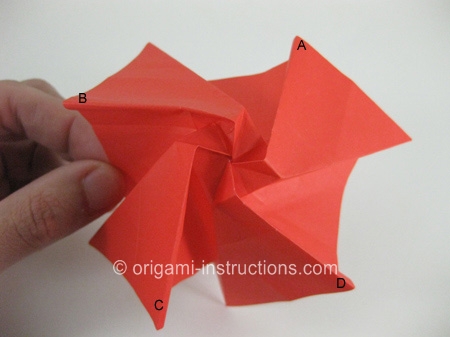
Now overlap points A, B, C and D along the same line, while curling the paper to form a cylinder, as shown in the next five (5) photos:
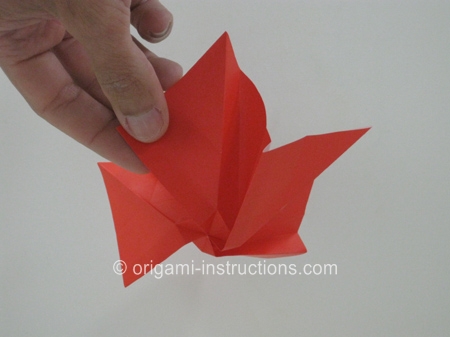
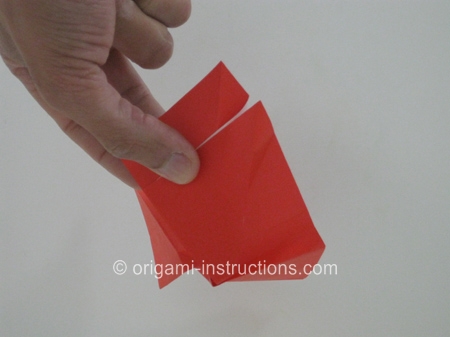
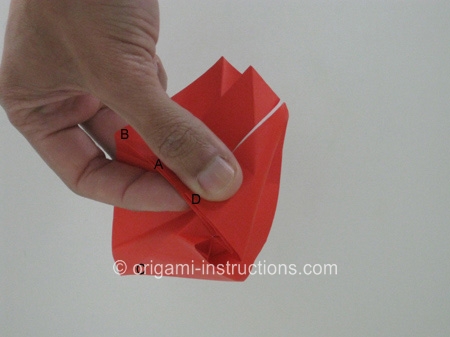
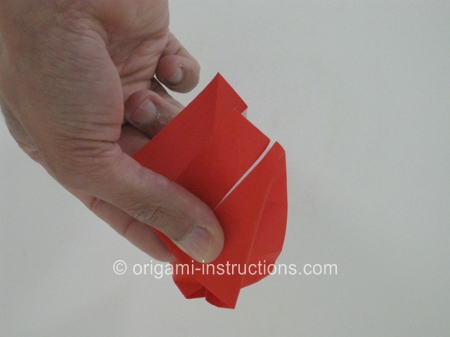
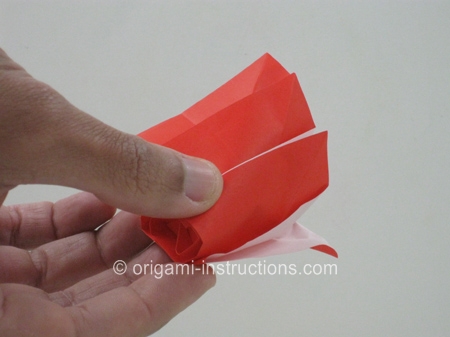
Place the paper cylinder in one of your palms as shown, with the bottom sticking out as shown. Start folding the bottom flaps inwards as shown, along the creases.
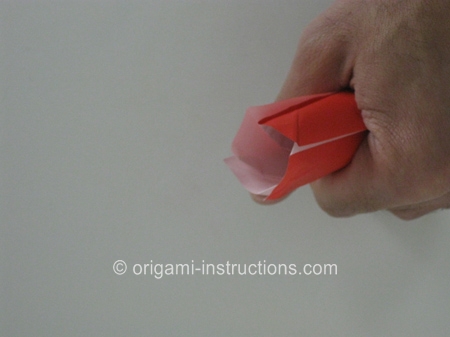
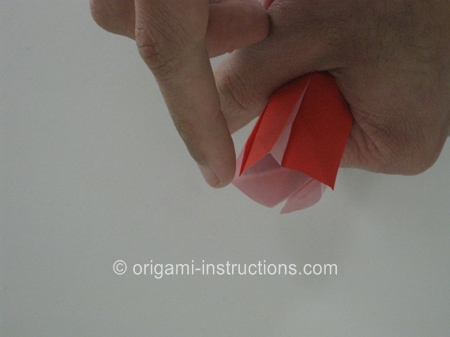
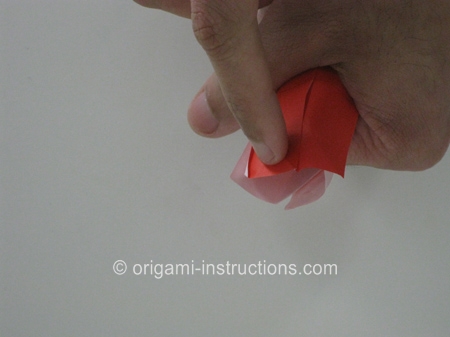
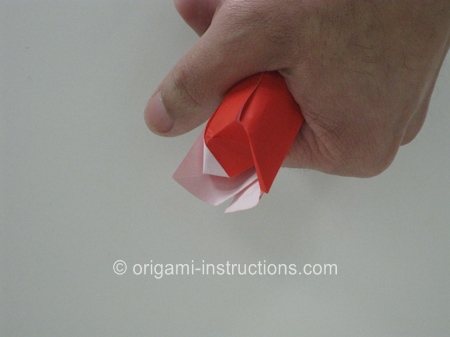
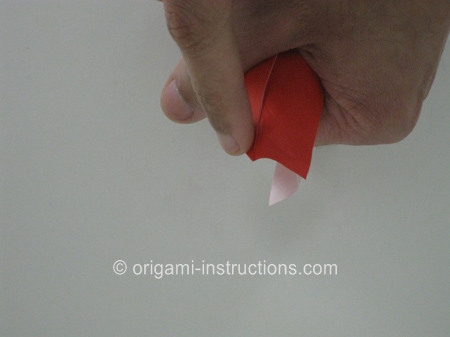
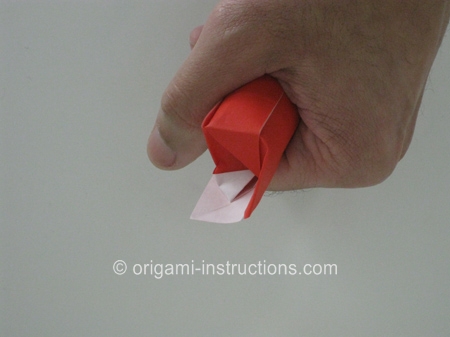
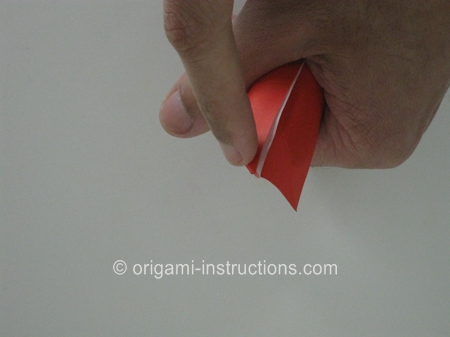
The last flap gets tucked under the previous ones, to close off the bottom of the piece.
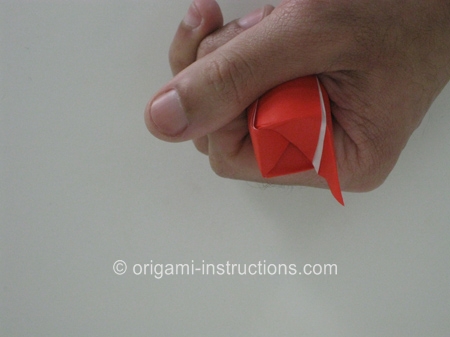
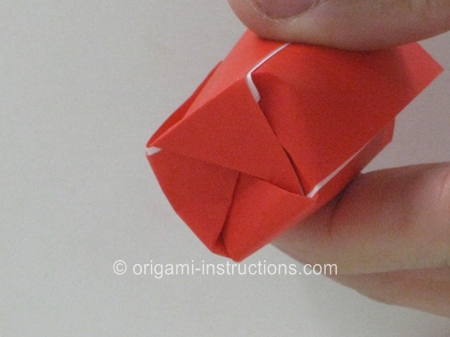
Next turn the rose bud around so you have access to the top.
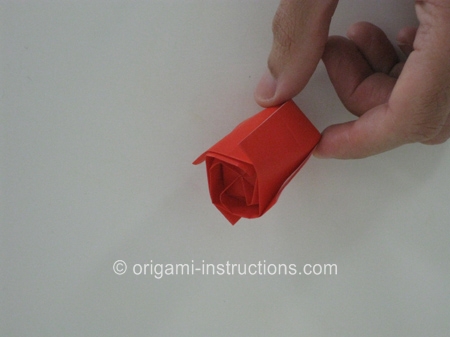
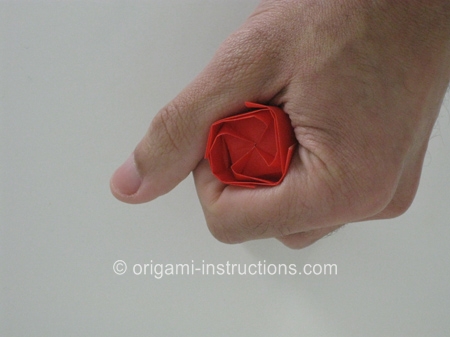
Reach into the center and gently pull outwards to open the inner petals:
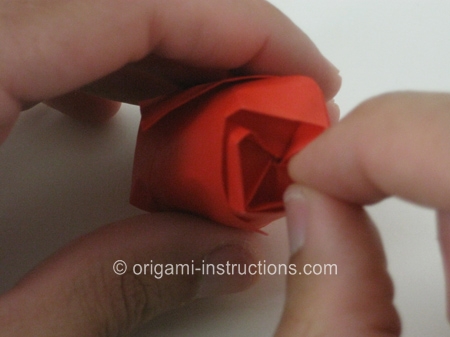
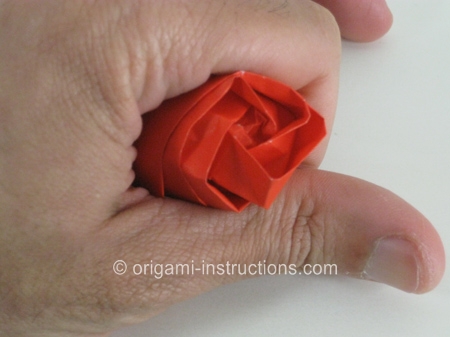
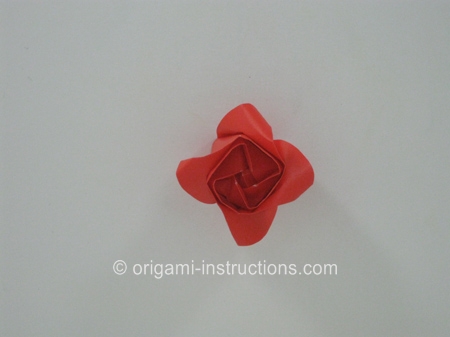
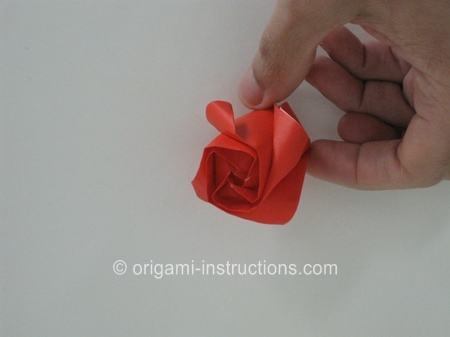
Curl the four (4) outer petals as shown:
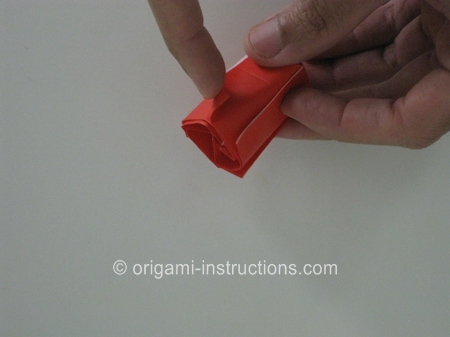
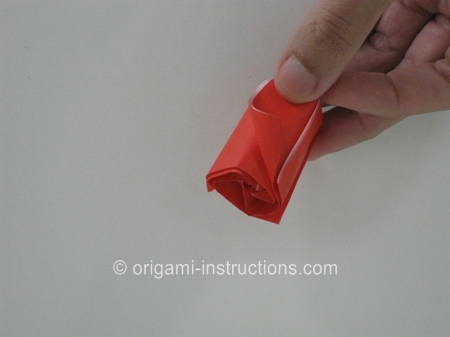
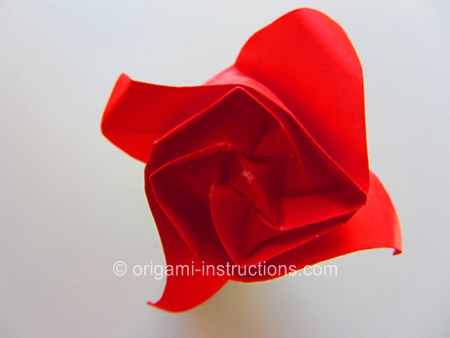
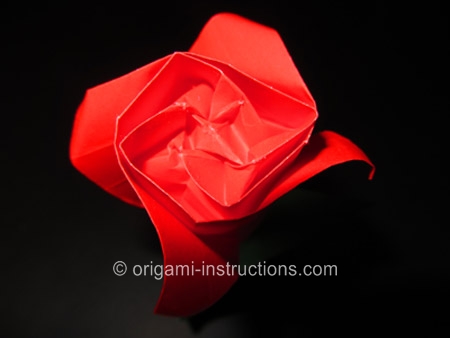
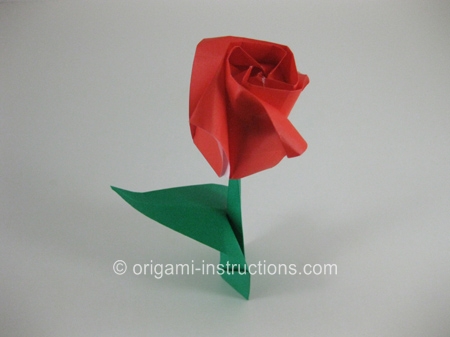
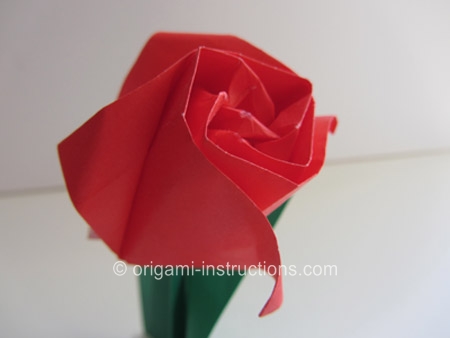
Now your origami Kawasaki rose is complete!
If you like, you can add a leaf with stem for a nice finishing touch:
Check out the many origami kawasaki rose photos that have been submitted by our readers!
