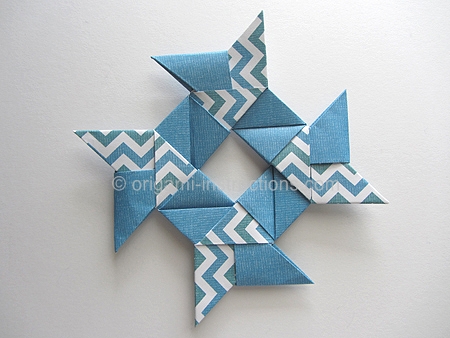
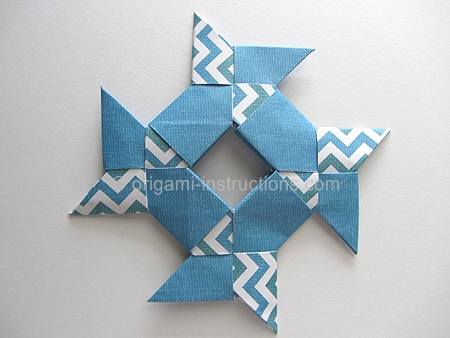
Origami 8-pointed Hollow Ninja Star
Made this origami? Comment and Submit your photo using the comment box at the end of this page!
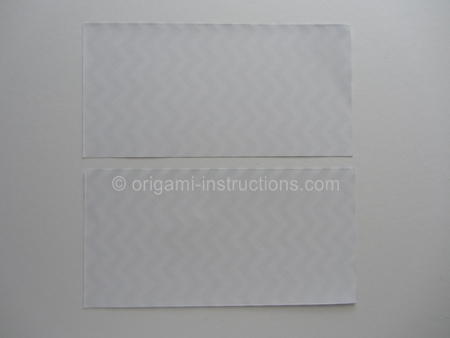
Origami 8-pointed Hollow Ninja Star Step 1: Start with a 6 inch x 6 inch (15cm x15cm) square origami paper. Fold paper in half and cut. The rectangle paper is now 3 inch x 6 inch (7.5cm x 15cm).
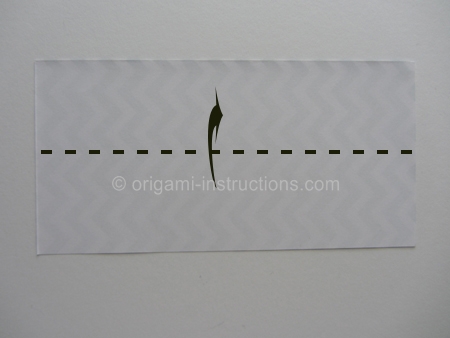
Origami 8-pointed Hollow Ninja Star Step 2: Fold one of the rectangle 3 inch x 6 inch (7.5cm x 15cm) paper in half on the horizontal axis.
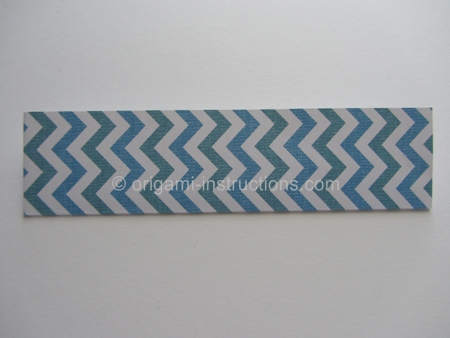
Origami 8-pointed Hollow Ninja Star Step 3: Now fold paper in half on the vertical axis. Crease well and unfold.
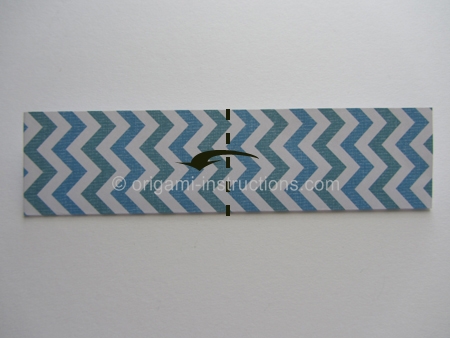
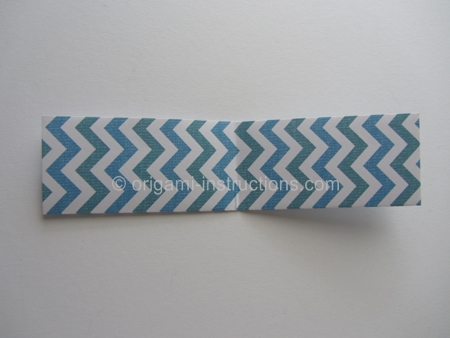
Origami 8-pointed Hollow Ninja Star Step 4: Make a diagonal fold on each end.
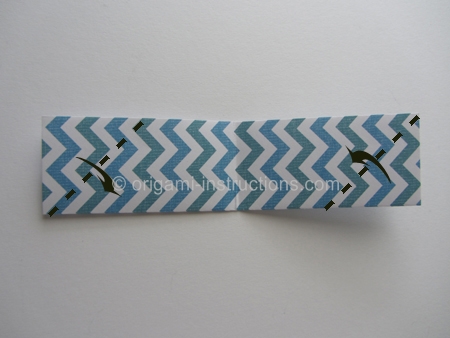
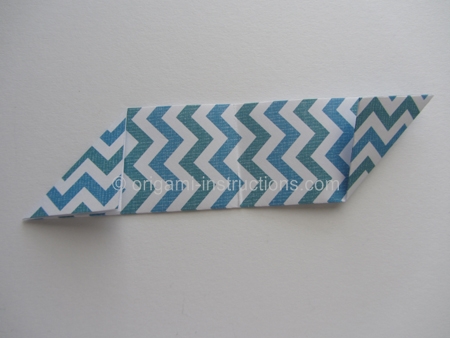
Origami 8-pointed Hollow Ninja Star Step 5: Make a diagonal fold on each side again. This completes one unit.
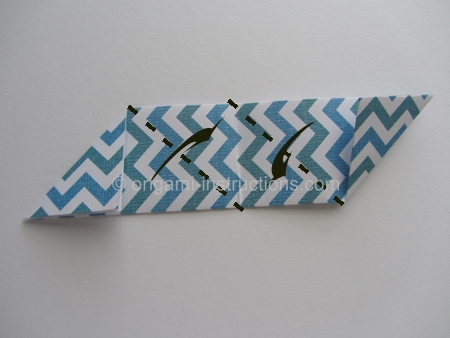
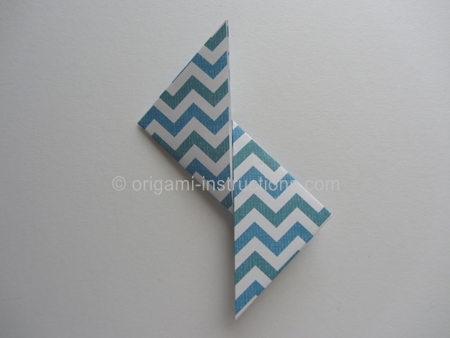
Origami 8-pointed Hollow Ninja Star Step 6: Start with another rectangle 3 inch x 6 inch (7.5cm x 15cm) paper. Use a different color paper if you can.
Fold paper in half on the horizontal axis.
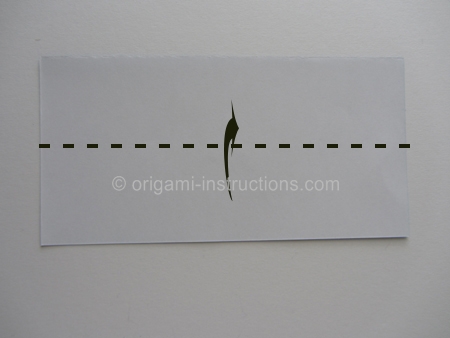
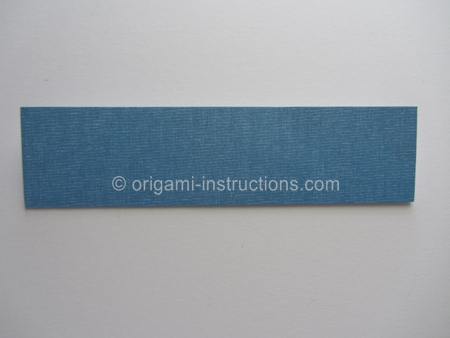
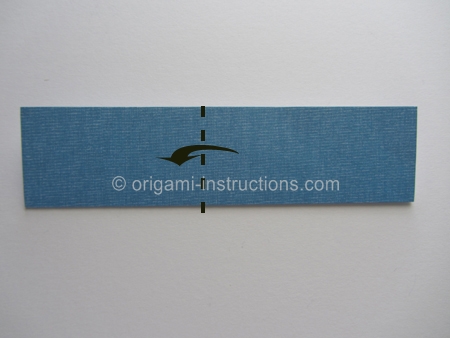
Origami 8-pointed Hollow Ninja Star Step 7: Fold paper in half on the vertical axis. Crease well and unfold.
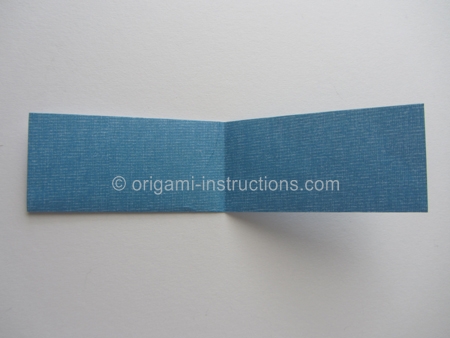
Origami 8-pointed Hollow Ninja Star Step 8: Make a diagonal fold on each end.
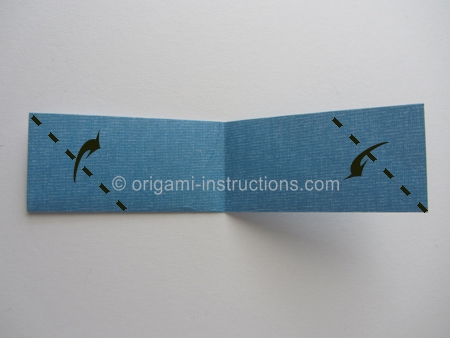
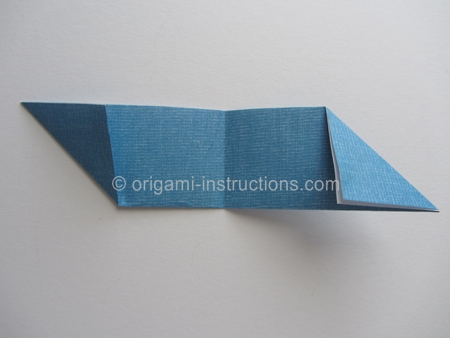
Origami 8-pointed Hollow Ninja Star Step 9: Make a diagonal fold on each side. This completes your second unit.
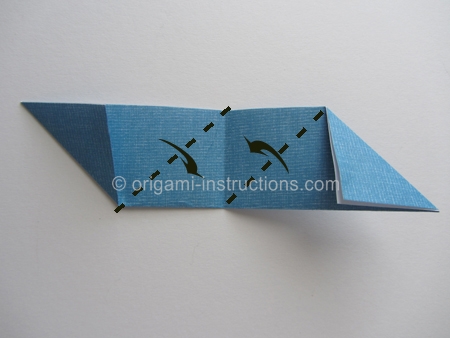
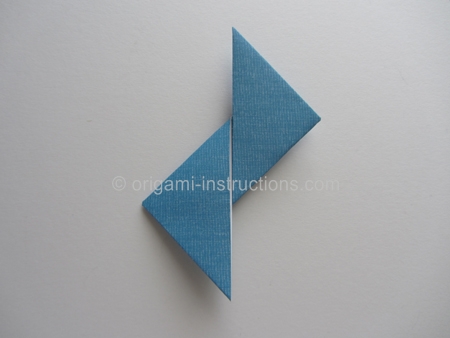
Origami 8-pointed Hollow Ninja Star Step 10: We'll now begin to assemble the 2 units.
Orientate your units as shown in the photo below.
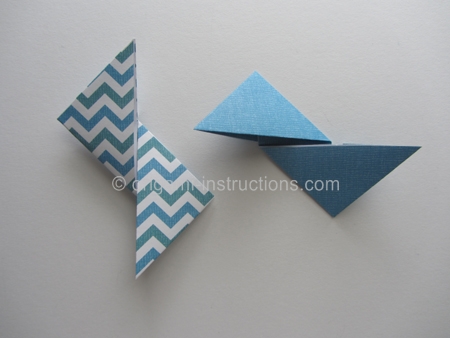
Flip over the patterned unit.
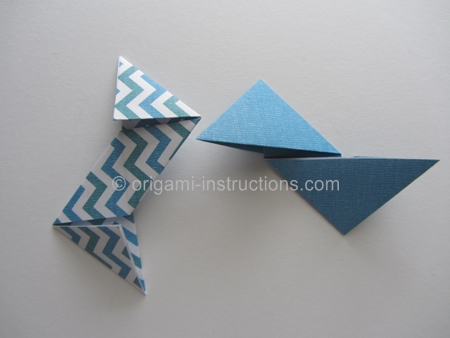
Place the solid color unit over the patterned one.
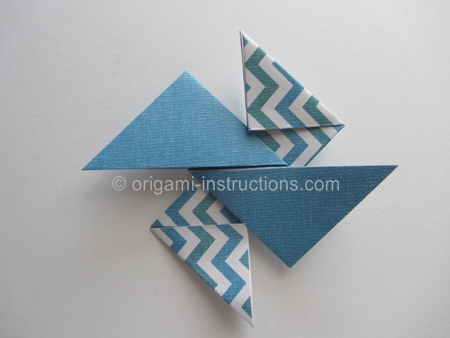
Origami 8-pointed Hollow Ninja Star Step 11: Fold over the tips of the patterned units and tuck them under the solid unit. This is the same technique as the original ninja star.
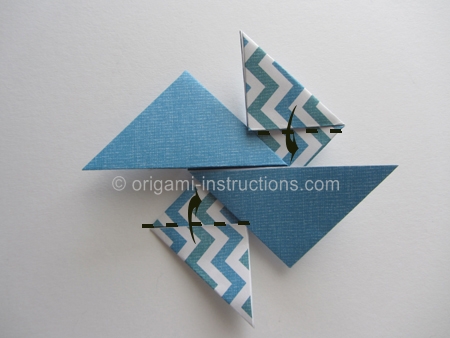
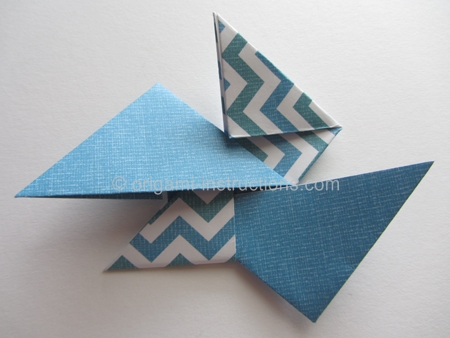
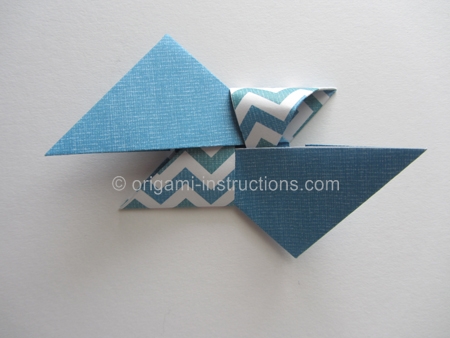
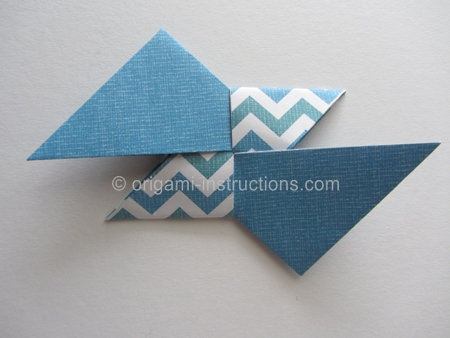
Origami 8-pointed Hollow Ninja Star Step 12: Flip paper over.
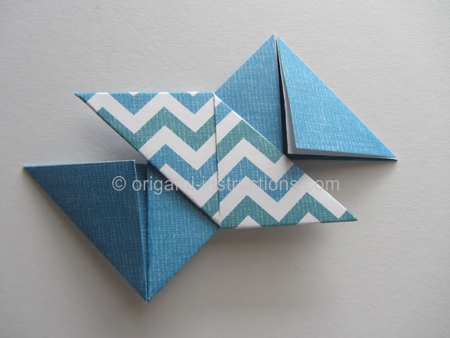
Continue on to the next page for the second part of this origami.
As an incentive, here's what your final origami will look like!
