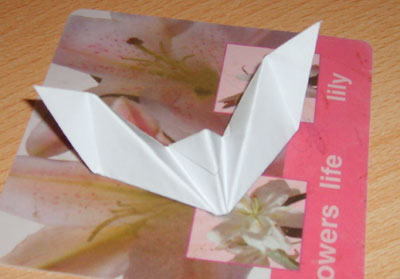
Easy Origami Bat Instructions
This origami bat by Nick Robinson is easy to make.
Made this origami? Comment and Submit your photo using the comment box at the end of this page!
You can watch our easy origami bat video instructions , or check out the step-by-step photos below.
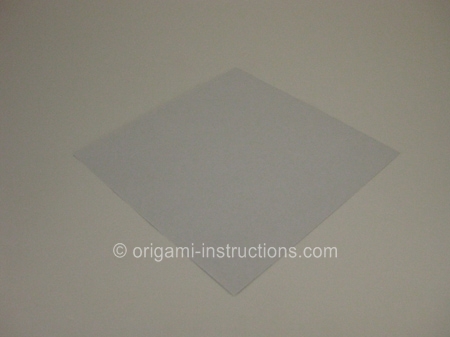
Start with a square of origami paper, colored side down as shown. Fold the bottom corner up to the top corner.
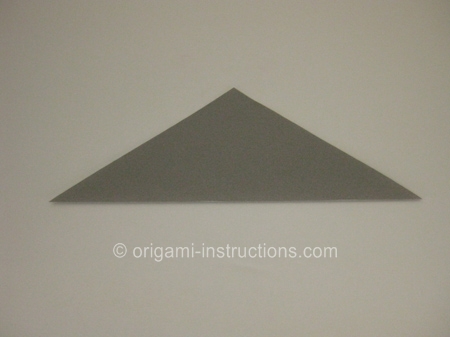
Now fold the left corner over to the right, then unfold.
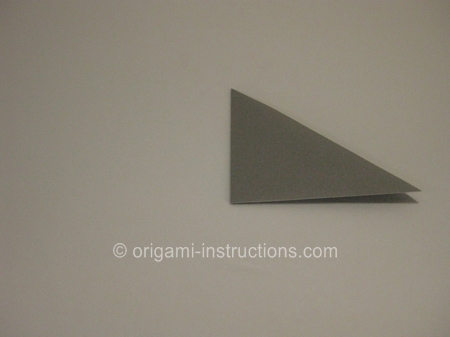
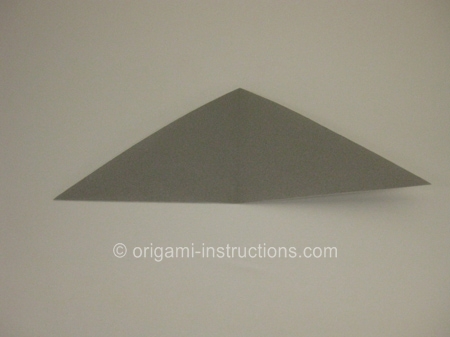
Fold the bottom of the piece upwards, leaving a small portion of the top corner visible. Then fold the top corner over as shown.
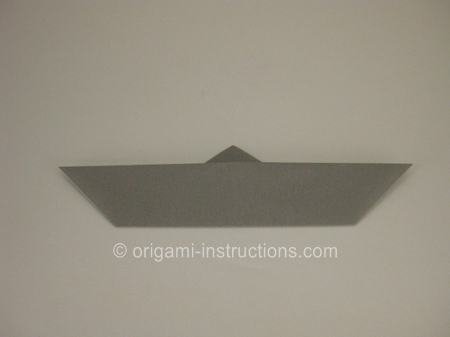
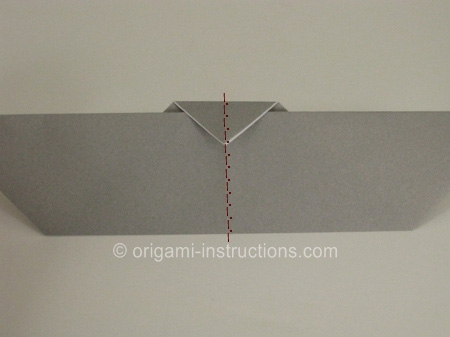
Make a mountain fold along the line shown. Then make a valley fold along the line indicated.
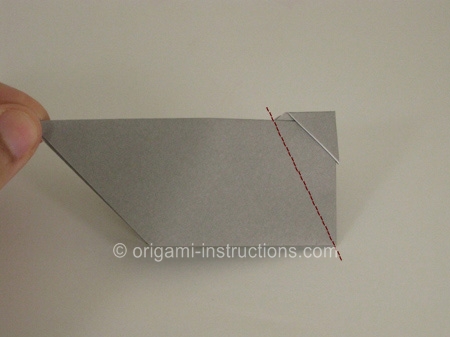
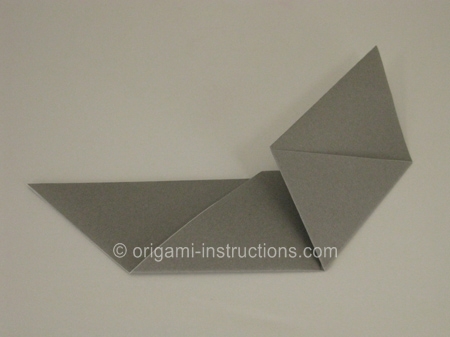
Repeat the last step on the backside of the piece. Then, fold edge AC over to meet edge AB.
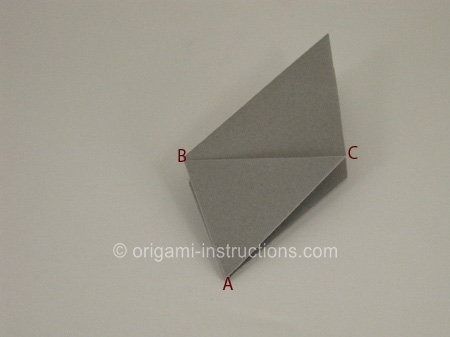
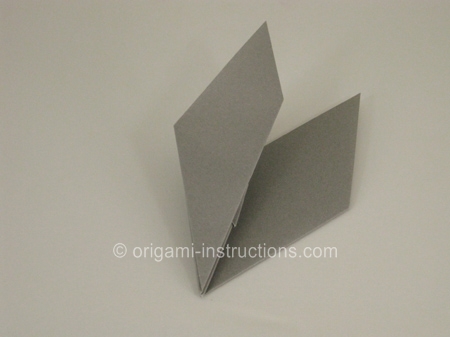
Repeat the last step on the back of the piece. Next, make a valley fold along the line shown.
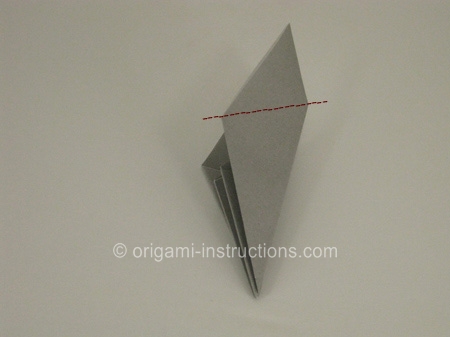
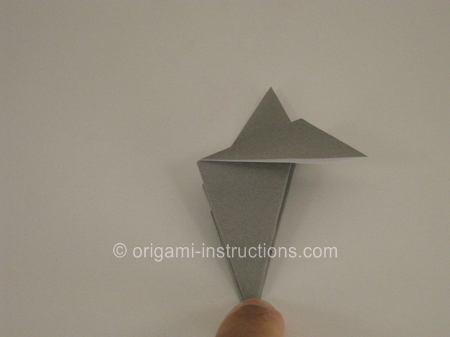
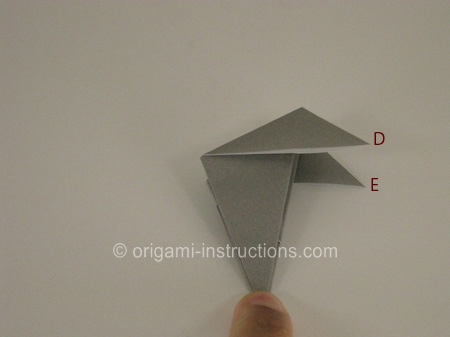
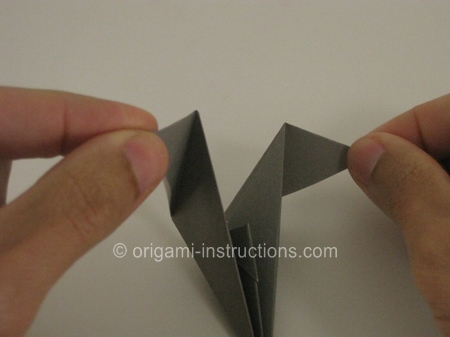
Repeat the last step on the backside of the piece. Then take corner D in your left fingers and corner E in your right fingers, and gently unfold the bat.
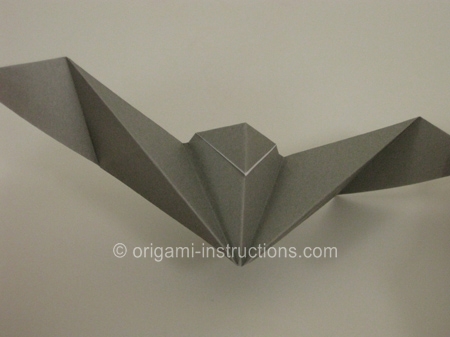
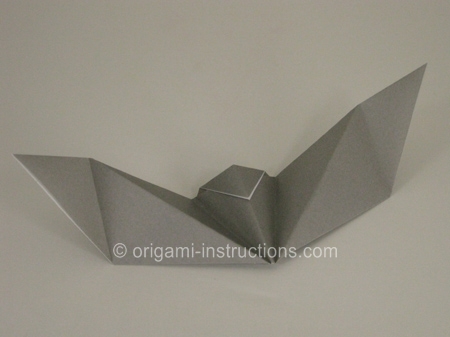
Now your origami bat is complete! We made this one in gray since black paper is harder to photograph well; you can make your bat with black paper for extra realism.
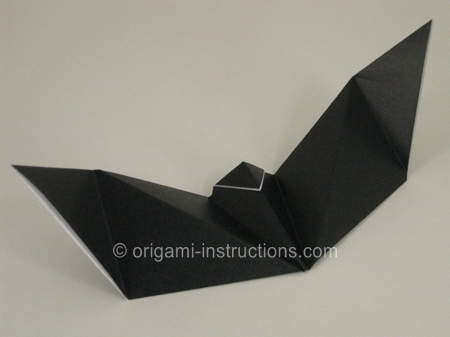
From Evan in Carlsbad " this origami bat is perfect for Halloween."
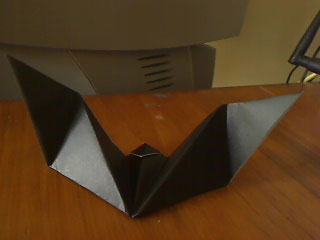
From reader in Watkins Glen " this is my first origami bat it was really easy and a lot of fun. i loved doing in. "
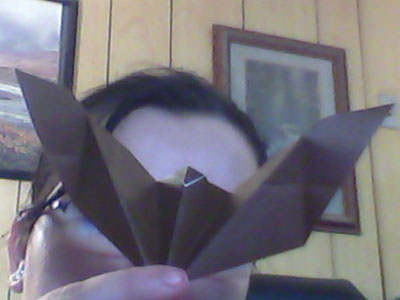
From Eryk in Gdynia "My easy bat!"
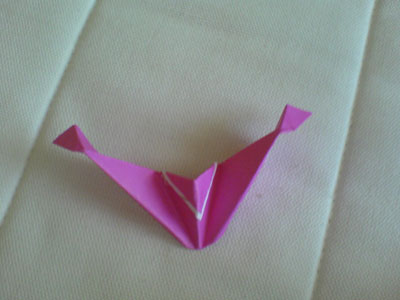
From Ashley in Melbourne " This is my origami bat, he reminds me of batman. "
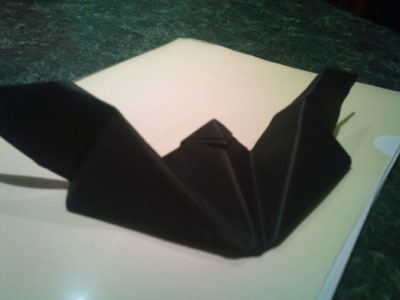
From Ana in Cornegliano:
