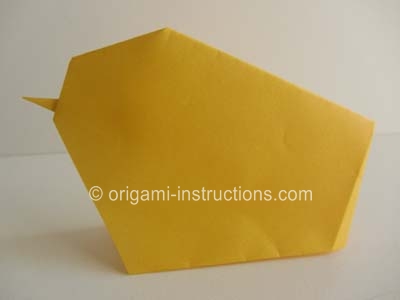
Easy Origami Chick
Made this origami? Comment and Submit your photo using the comment box at the end of this page!
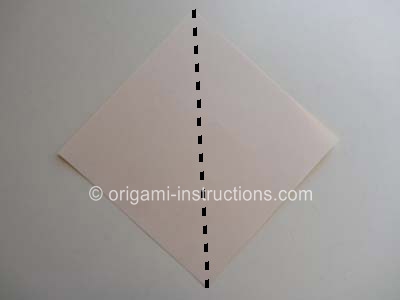
Easy Origami Chick Step 1: Start with a 6 inch x 6 inch (15cm x 15cm) square origami paper, color side down. Fold paper in half on the diagonal axis. Crease well and unfold.
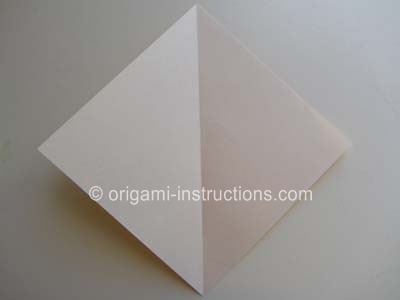
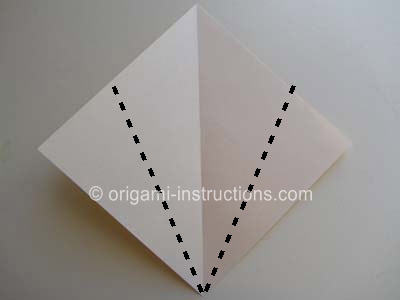
Easy Origami Chick Step 2: Starting from the bottom, fold both sides to meet the center crease.
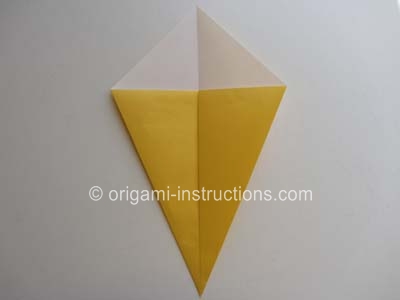
Easy Origami Chick Step 3: Fold down the top tip.
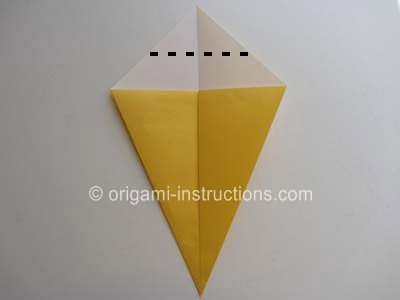
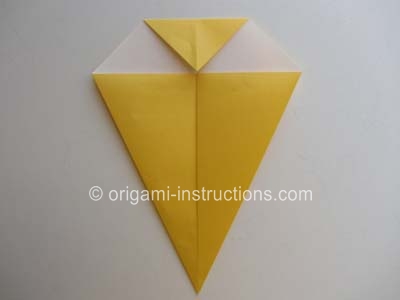
Easy Origami Chick Step 4: Fold the bottom tip up. The tip should stick out approximately 1/2 inch or ~ 1cm from the top edge.
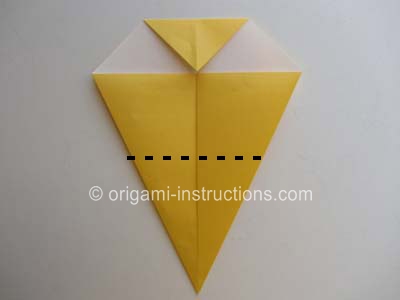
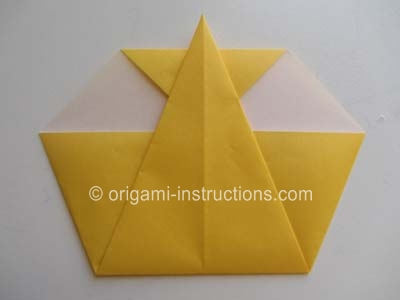
Easy Origami Chick Step 5: Fold paper in half.
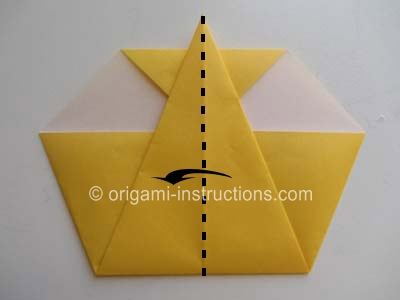
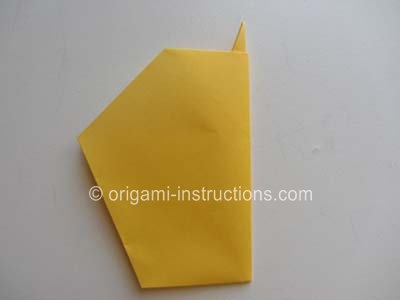
Easy Origami Chick Step 6: Rotate paper 90 degrees.
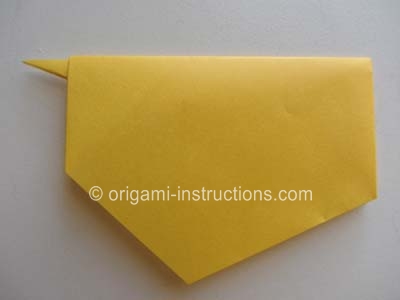
Easy Origami Chick Step 7: Now pull down the beak to point A.
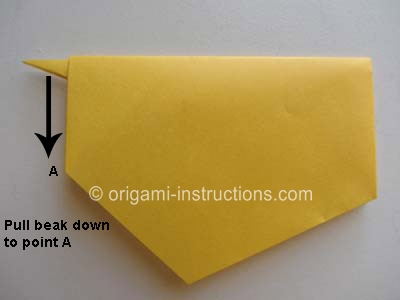
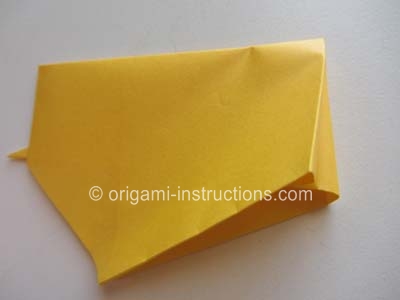
As you do so, the paper will shift in the back. Just press it down flat and recrease the edges.
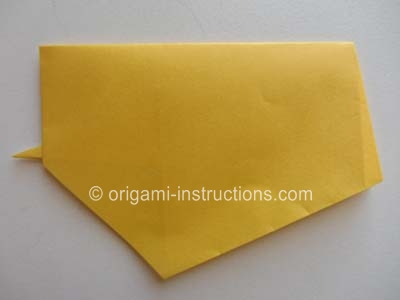
Easy Origami Chick Step 8: Make a diagonal mountain fold. Crease well and unfold.
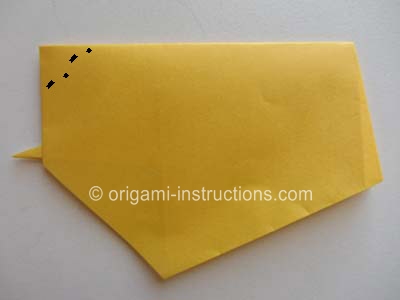
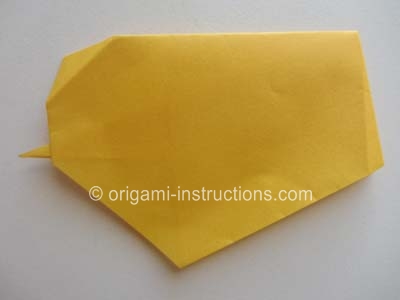
Easy Origami Chick Step 9: Now use that crease and make an inside reverse fold. If you're not familiar with this, please check out our page specifically on inside reverse folds .
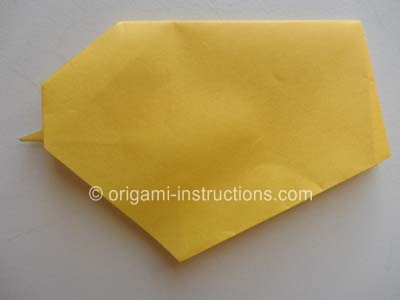
and your easy origami chick is complete!
