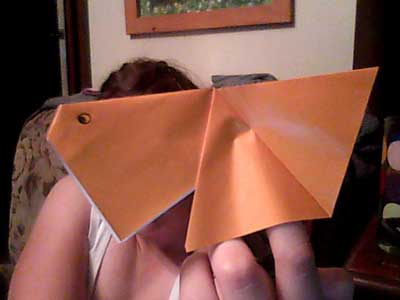
Easy Origami Goldfish
Made this origami? Comment and Submit your photo using the comment box at the end of this page!
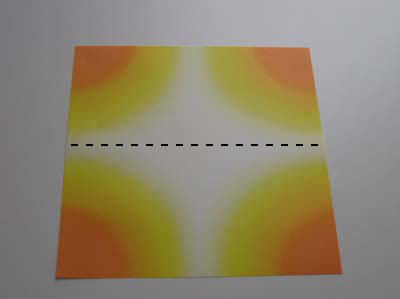
Easy Origami Goldfish Step 1: Start with a square 6" x 6" (15cm x 15cm) origami paper color side up. Make a valley fold on the dash line as shown.
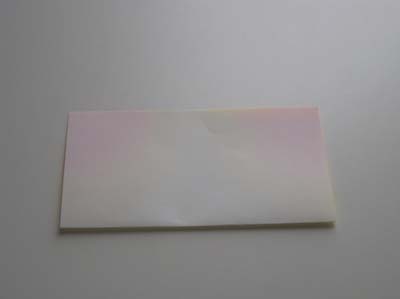
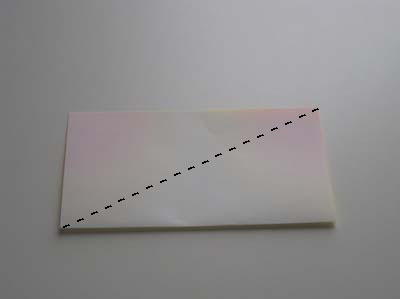
Easy Origami Goldfish Step 2: Now fold down the top flap on the diagonal, as shown by the dash line in the photo below.
 .
.
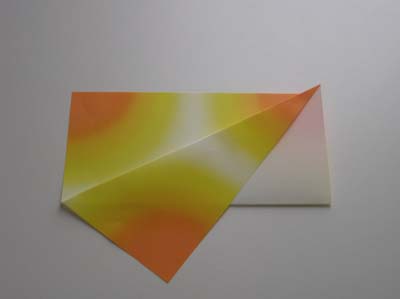
Easy Origami Goldfish Step 3: FLIP paper over.
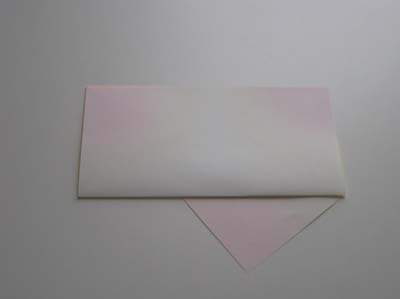
Easy Origami Goldfish Step 4: Fold down the flap on this side on the dash line shown below.
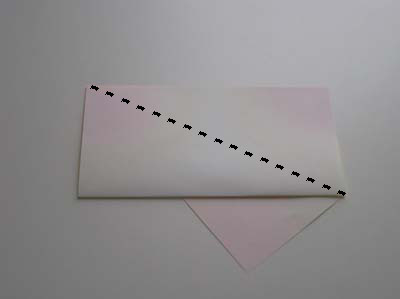
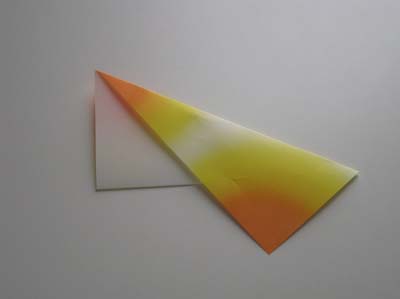
Easy Origami Goldfish Step 5: Now make a fold on the dash line shown in the picture below. Fold down the top flap only.
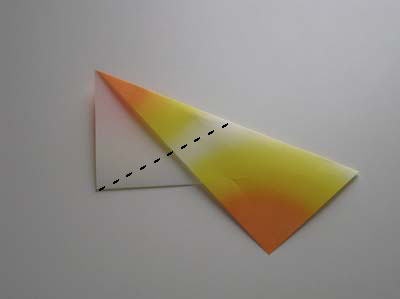
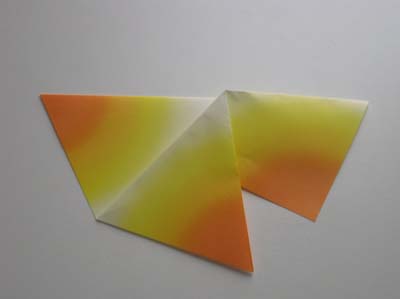
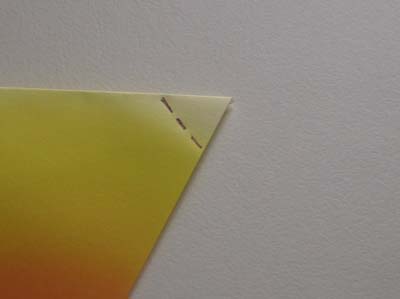
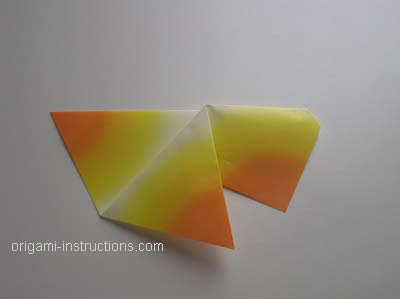
Easy Origami Goldfish Step 6: One more step...We'll make an inside reverse fold on the right tip. If you've never made an inside reverse fold, click on the link and follow our step by step instructions there.
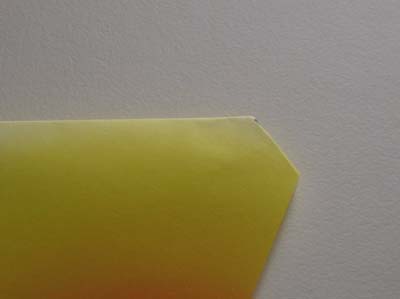
Easy Origami Goldfish Step 7: And here's your goldfish! Wasn't that easy??
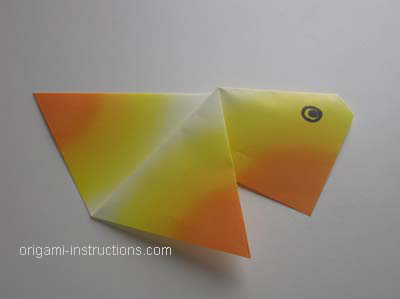
From Lisa in Australia " Fun to make and so cute! "
