Modular Origami Pinwheel Part 1
Made this origami? Comment and Submit your photo using the comment box at the end of this page!
When I first tried this, I too thought it was difficult. The assembly can be tricky the first time you try it, but hopefully with the pictures below, it'll be pretty straightforward to you.
Modular Origami Pinwheel Step 1: Start with a square 6" x 6" (15cm x 15cm) origami paper color side down.

Modular Origami Pinwheel Step 2: Fold in half on the horizontal axis. Crease well and unfold.


Modular Origami Pinwheel Step 3: Now fold both the bottom right and top right to the center crease.
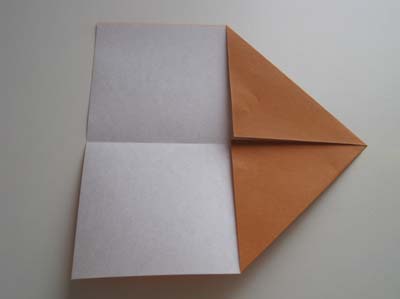
Modular Origami Pinwheel Step 4: Fold in half, bring the top half to meet the bottom half.
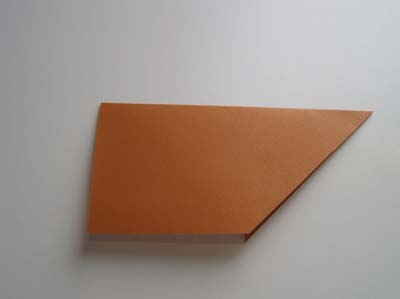
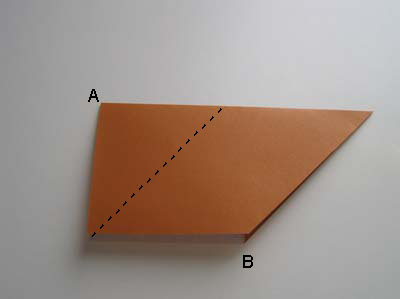
Modular Origami Pinwheel Step 5: Now fold along the diagonal on the dash line as shown below. Fold Tip A over to Tip B. Crease well.
Modular Origami Pinwheel Step 6: Unfold and we'll now make an insider reverse fold. Unfold the paper slightly and push the left side inside the paper.
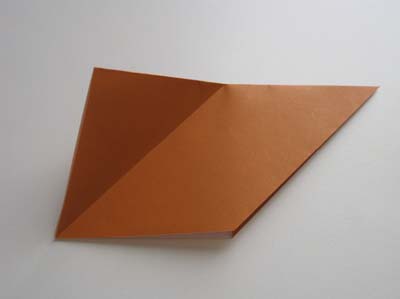
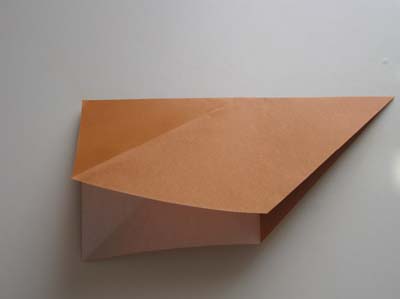
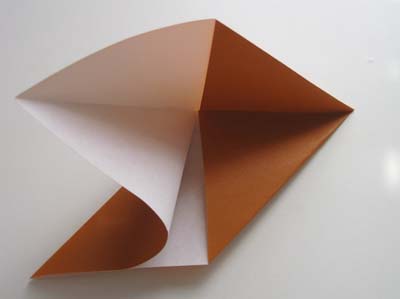
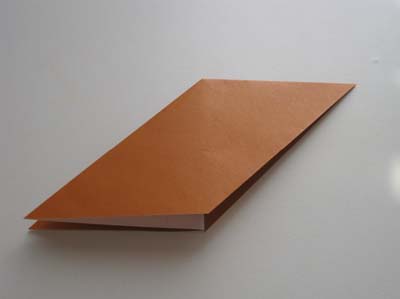
The above is the unit we'll use to assemble the modular pinwheel. We need to make 8 of those. So start folding!
OK, I have made 8 of those units...4 are brown, and the other 4 are yellow.
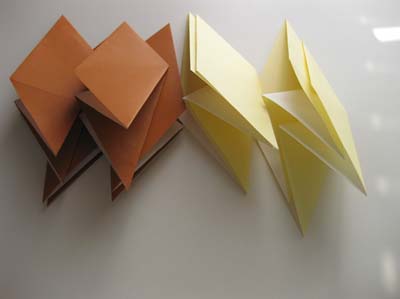
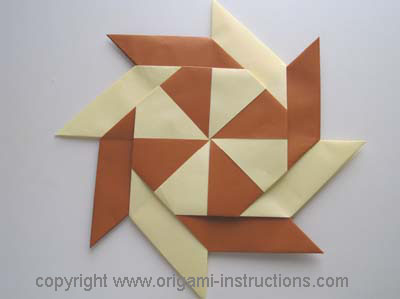
As an incentive, here is a picture of the finished origami and what we're striving for!
Head over to Part 2 for instructions on how to assemble your modular pinwheel.
