Origami Basket
Made this origami? Comment and Submit your photo using the comment box at the end of this page!
Origami Basket Step 1: Start with a square 6" x 6" (15cm x 15cm) origami paper and make an origami square base .
Origami Square Base VideoRotate the base 180 degrees, so that the "open" part of the base points upwards. The model will be similar to the photo below.

Origami Basket Step 2: Now fold corner A down to corner B.

Origami Basket Step 3: Then fold corner A back up to the center of the model.

Origami Basket Step 4: Next we'll fold the handle of the basket. Use another square of origami paper; crease it down the middle as shown, then fold the edges to the crease line.


Origami Basket Step 5: Fold the edges to the centerline again. Then fold the piece in half lengthwise.


Origami Basket Step 6: Now fold the handle in half from top to bottom. Next, insert the handle into the base of the basket (from Step 3), as shown below.


Origami Basket Step 7: Now take hold of the edge CD, making sure that you also grasp the bottom of the basket handle, and fold CD up to the centerline of the piece as shown.
Repeat this fold at the rear of the piece.

Origami Basket Step 8: Fold the corner E to the inside as shown below. Repeat this fold with the other three (3) corners.

Origami Basket Step 9: Now take hold of the flap under the top of the basket handle, and fold it downwards as shown in the next sequence of four (4) photos.


Origami Basket Step 10: Now repeat this fold on the right side of the basket. Then start to expand the basket, pushing in on the bottom to make it flat.


Origami Basket Step 11: Now fold the flaps into the inside of the basket, and round the shape of the handle a bit.


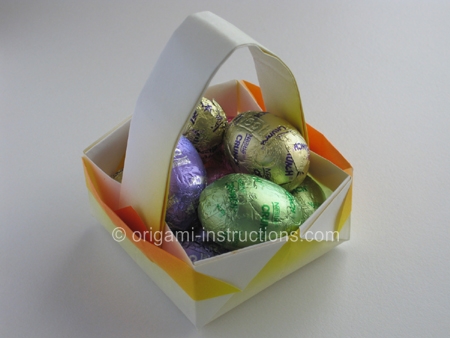
Now your origami basket is complete, and ready to do fun stuff, like carrying chocolate easter eggs!