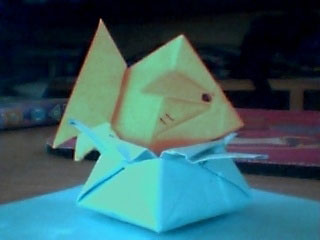
How to make Origami Goldfish
Made this origami? Comment and Submit your photo using the comment box at the end of this page!
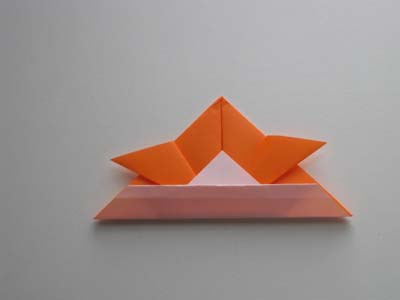
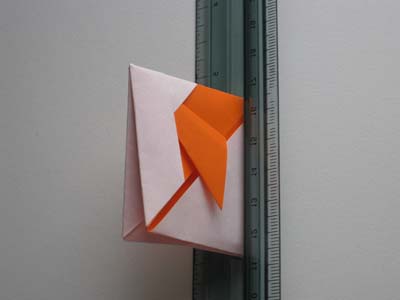
Origami Goldfish Step 2: Now you will open the samurai helmet, bring both the right and left sides together so that the paper is flat vertically. You should have the following (the ruler helps stabilize while I take the pictures):
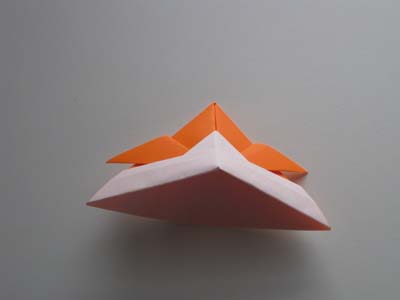
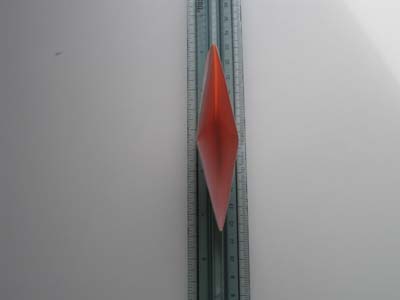
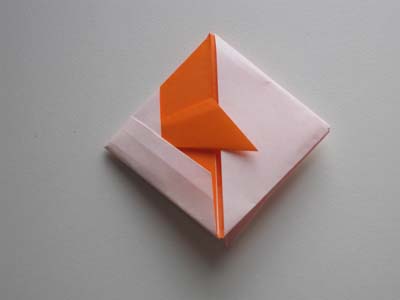
Origami Goldfish Step 3: OK, now you will make a fold and crease at the dash lines:
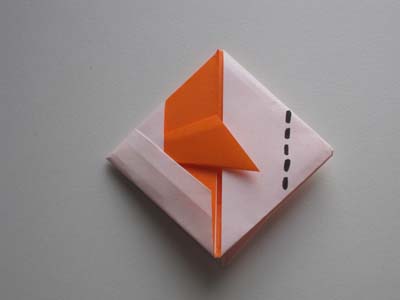
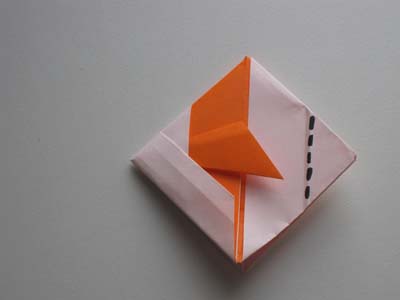
Origami Goldfish Step 4: Now make a cut on the edge of the paper as circled in the picture below. Repeat the cut for the other side of the paper.
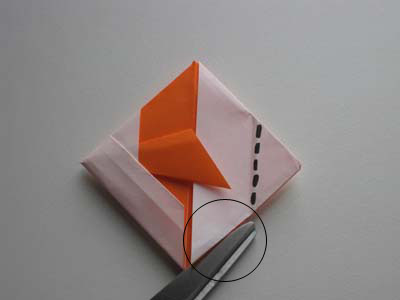
Origami Goldfish Step 5: Now you will pull back the white part of the paper.
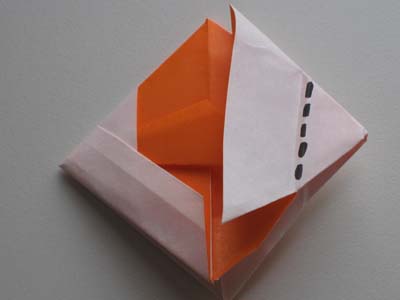
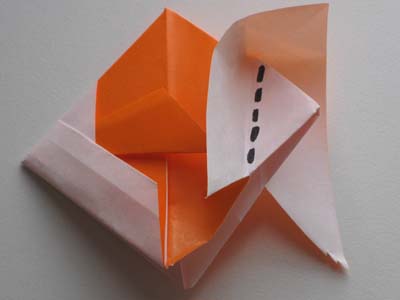
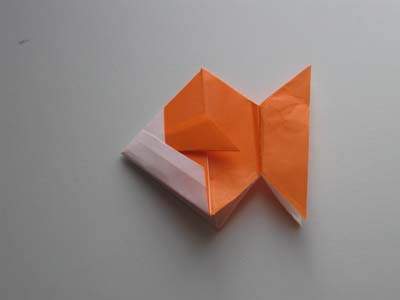
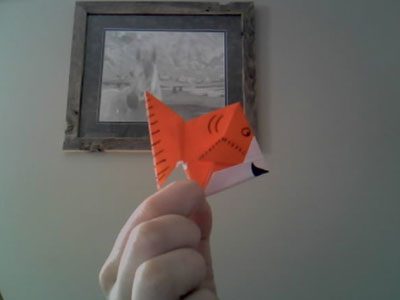
Origami Goldfish Step 6: And your origami goldfish is completed!
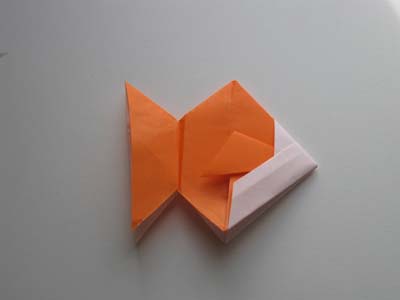
The orange origami paper I used for the goldfish above was thin and as I folded the paper back, you can see that it wrinkled quite a bit.
I went back to the samurai helmet I made where the paper was slightly thicker and held up better. I made the same folds to get the goldfish and it looks much better. No wrinkles! I think a slightly thicker origami paper is better for this project.
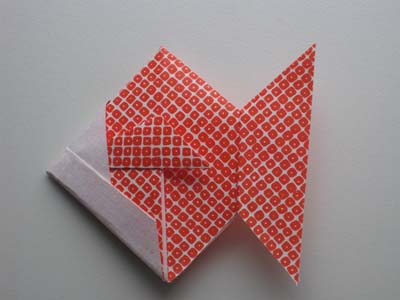
From reader in Bexley:
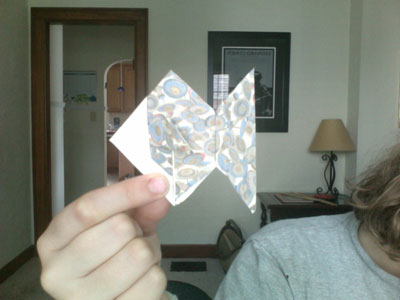
From Chaminda in Colombo " Origami Goldfish - Kissing Goldfish "
Cute!
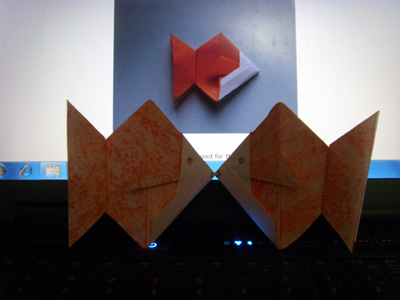
From Lacey in Edmonton " This is my Origami Gold fish! It was super easy and fun to make! It's fun to give them a little face of there own! "
From Jessica in Plymouth " A goldfish splashing in water using a star box "
