How to Make an Origami Gun
Made this origami? Comment and Submit your photo using the comment box at the end of this page!
The origami gun is very easy to make. Follow the photo diagrams below and start folding.
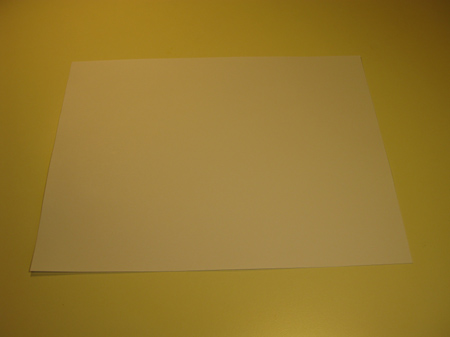
Start with a rectangular (or square) piece of paper, and fold it in half from top to bottom as shown below.
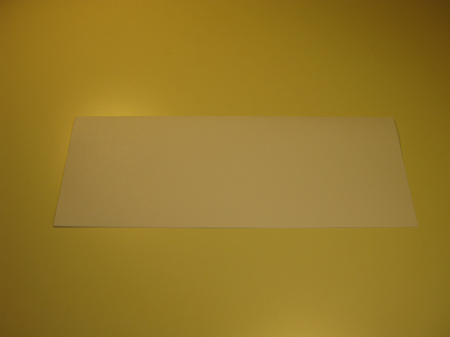
Now fold the paper in half again, and a third time:
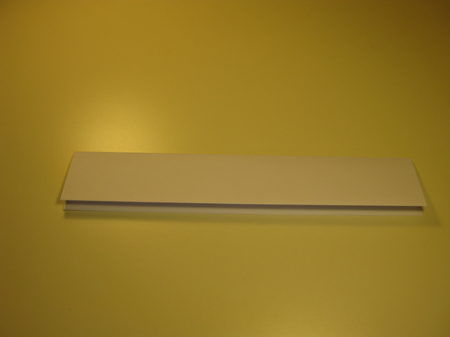
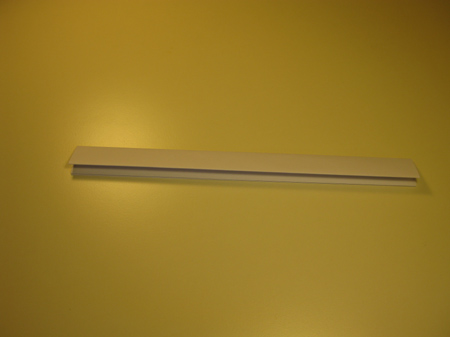
Fold the paper from left to right, then unfold. Next, fold the left side down at 90 degrees as shown below:
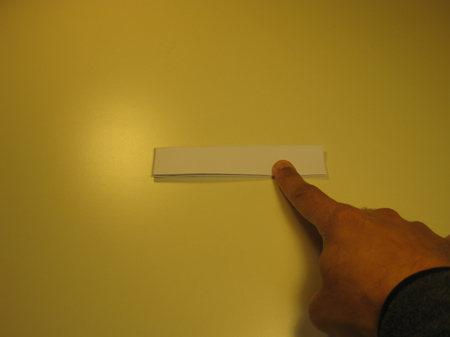
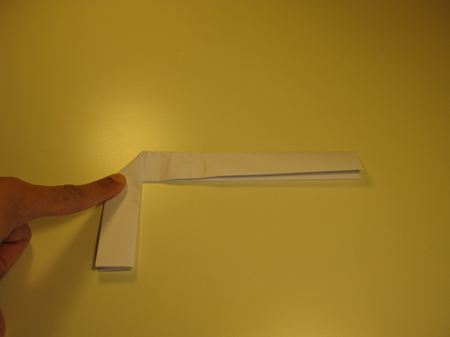
We want to fold the right side down at 90 degrees also. The following four photos show how to do this, to get the right side to be same length as the left:
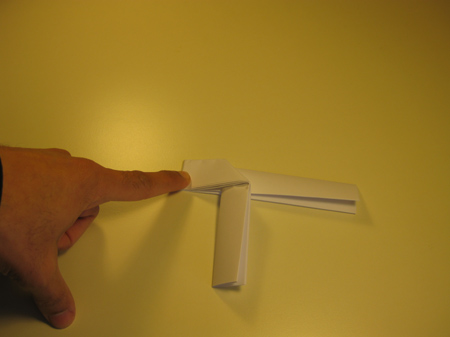
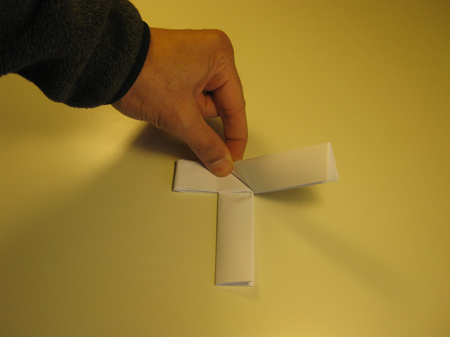
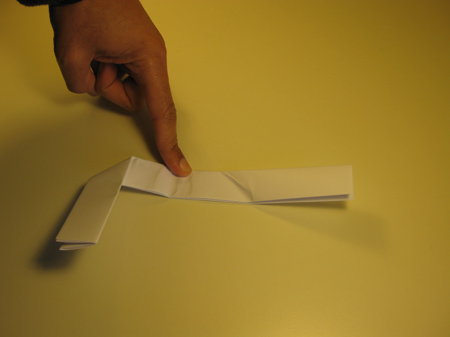
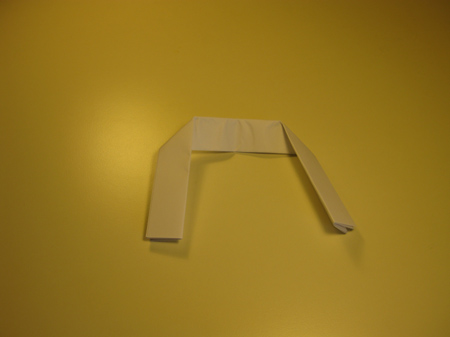
Now make the handle of the origami gun by folding the right side over the left. Next, get another piece of paper and repeat steps 1 through 5 to form the barrel of the gun.
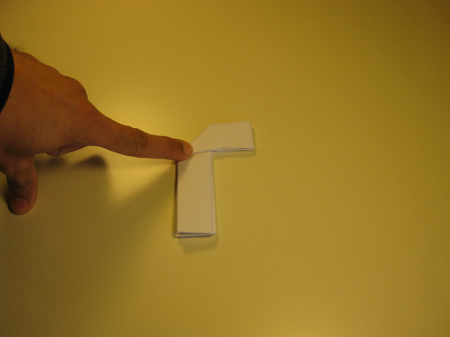
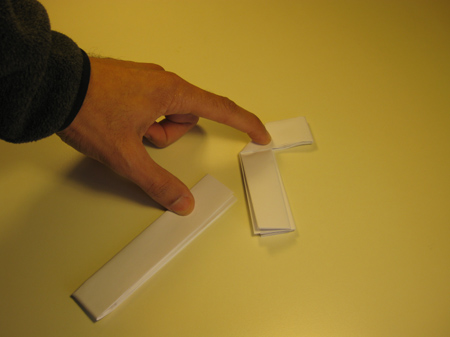
Insert the barrel into the handle as shown in the next two photos:
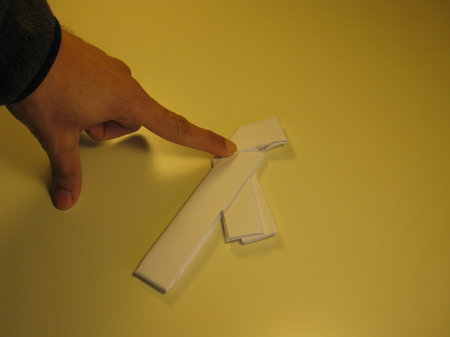
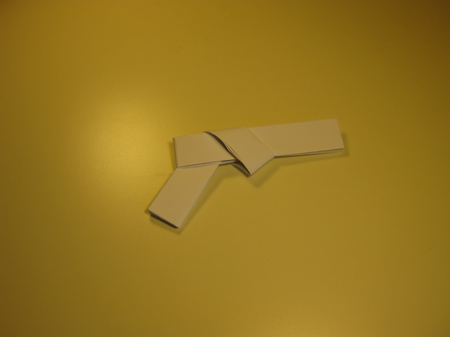
Here is the completed origami gun! Or is it an origami pistol?
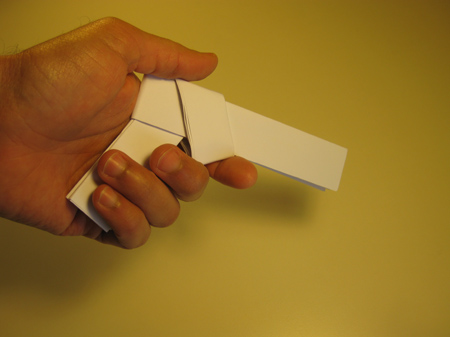
Check out the many origami gun photos that have been submitted by our readers!
