Origami Koi Folding Instructions
Made this origami? Comment and Submit your photo using the comment box at the end of this page!
You can start off with a 6 inch (15cm) square color faded Origami Paper like we have done. But once you've mastered the origami koi, you may want to use a more exotic paper, like a metallic Origami Paper which really makes the origami koi a true masterpiece.
One of our readers did just that. You can see his metallic origami koi in the origami koi photos page. What a beauty!
Check out our video instructions! Then view our detailed photos and reader submitted koi's.
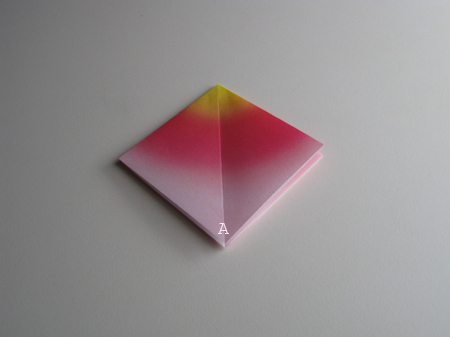
Origami Koi Step 1: Start with an origami square base , then fold corner A upwards as shown below.
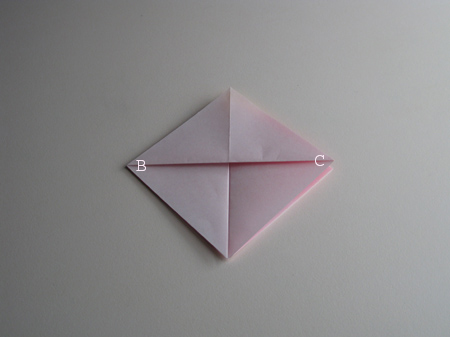
Origami Koi Step 2: Now fold the corners B and C to the centerline, then fold D and E to the centerline as shown:
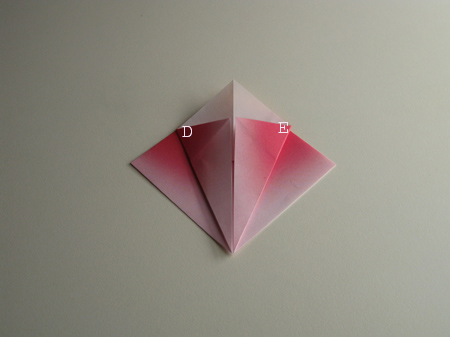
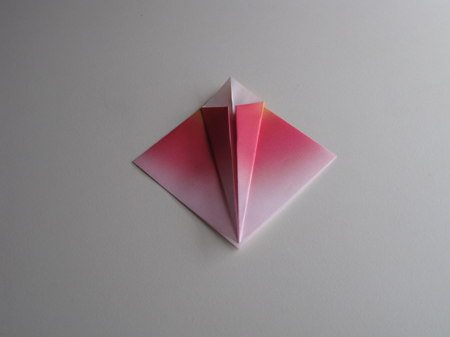
Origami Koi Step 3: Next fold the top point of the model down...
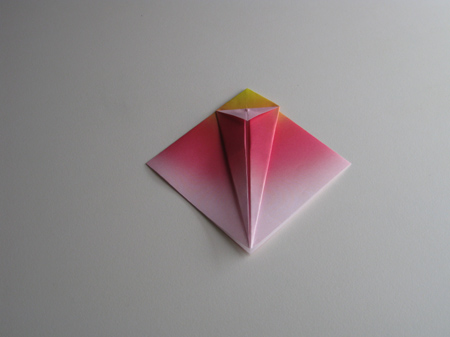
Origami Koi Step 4: ...and flip the entire piece over. Fold the corners toward the centerline as shown...
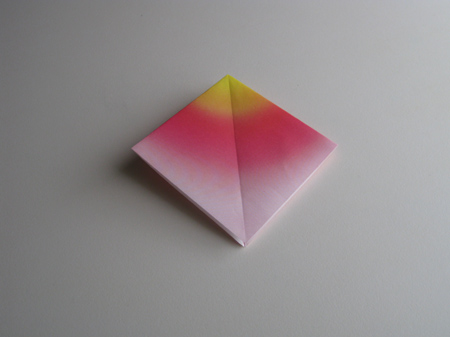
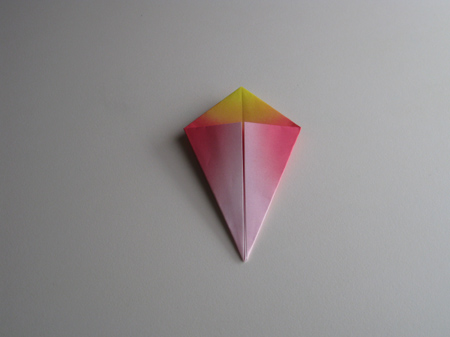
Origami Koi Step 5: ...and then unfold. Take the bottom corner and fold it upwards as shown in the next three photos. This is a famous fold and is called a Petal Fold.
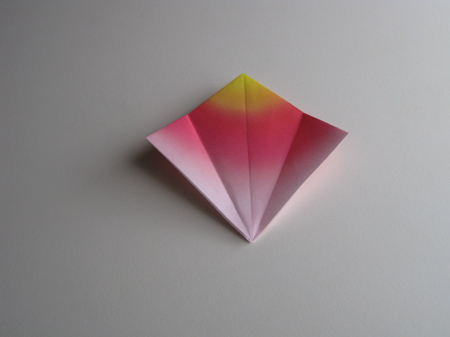
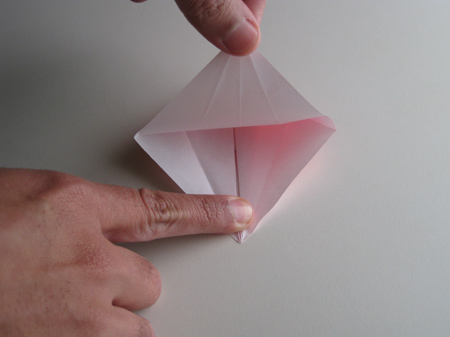
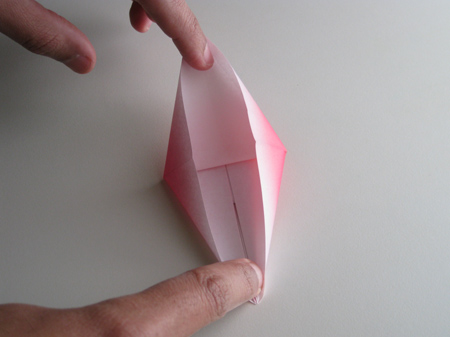
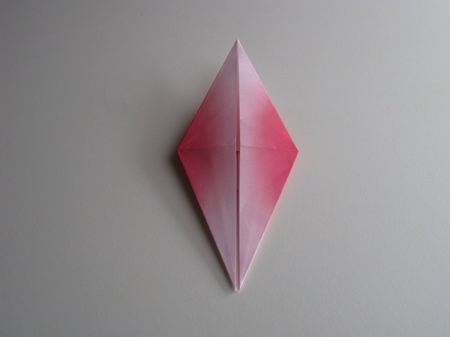
Origami Koi Step 6: Now fold the corners to the centerline, and flip the model over. Fold the fins of the koi upwards...
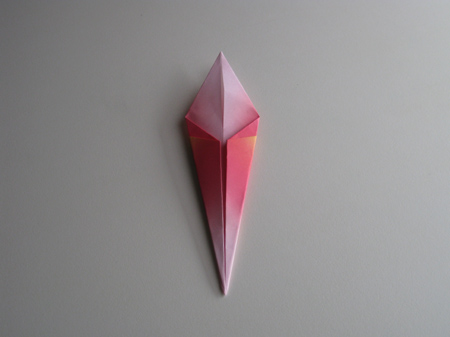
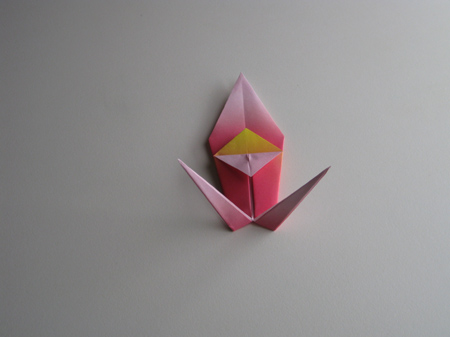
Origami Koi Step 7: ...then do a reverse inside fold on each fin:
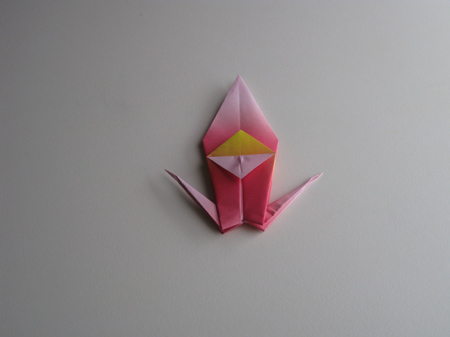
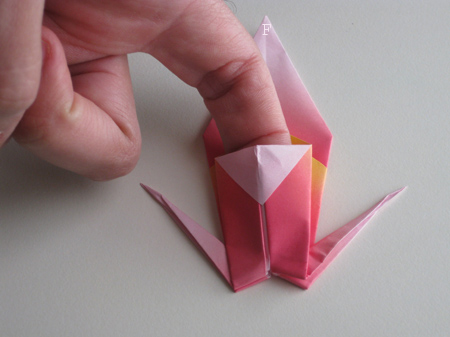
Origami Koi Step 8: Now put a a finger or thumb in the "pocket" on the front of the piece, and hold it firmly. Grasp the corner F and pull slowly out as shown in the next five photos.
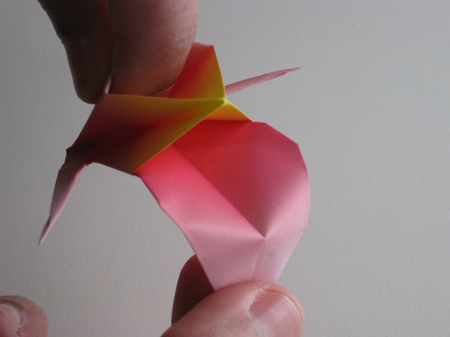
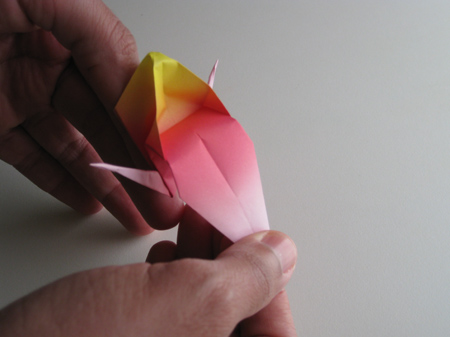
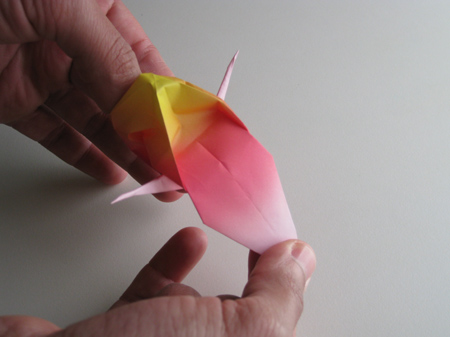
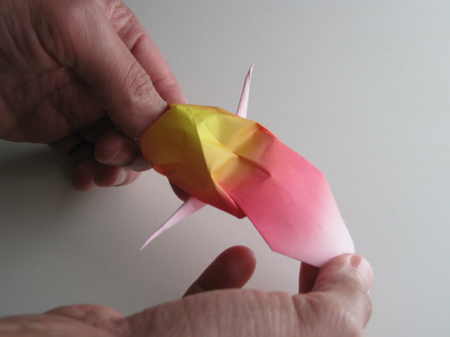
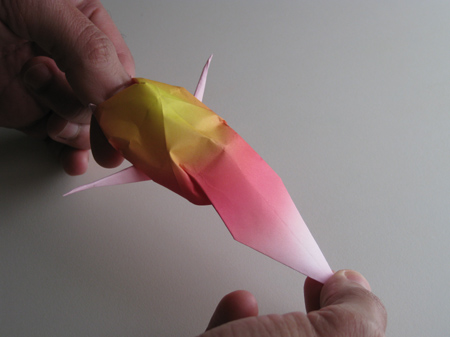
Origami Koi Step 9: Use your fingers to shape the body and tail. Also curve the fins a bit.
Now your origami koi is ready to swim in the backyard pond!
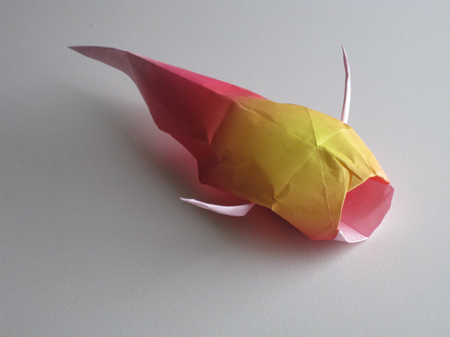
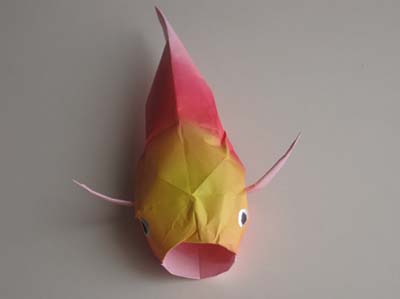
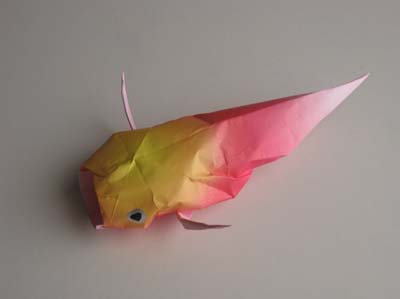
Check out the many origami koi photos that have been submitted by our readers!
