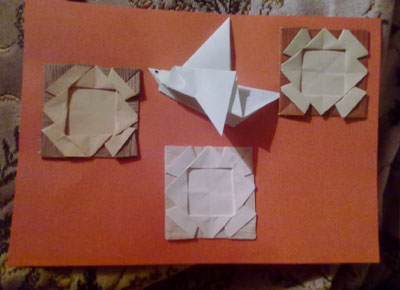
Origami Photo Frame Folding Instructions
Made this origami? Comment and Submit your photo using the comment box at the end of this page!
Origami Photo Frame Step 1: Fold an origami boat base . This is a common origami base that is used in various origami. We've made a separate folding instruction page for it. You should have the below to start with.
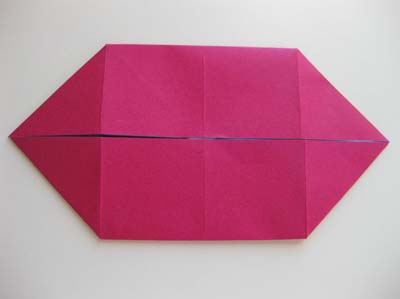
Origami Photo Frame Step 2: We're now going to make a squash fold on the upper right corner. Pry open the paper, crease on the diagonal and press the paper flat.
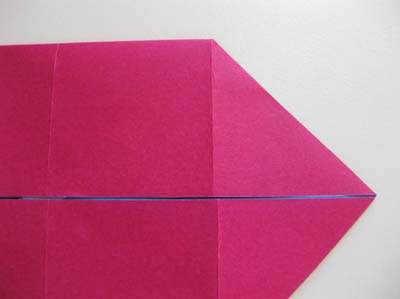
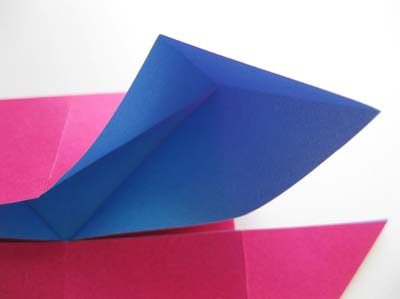

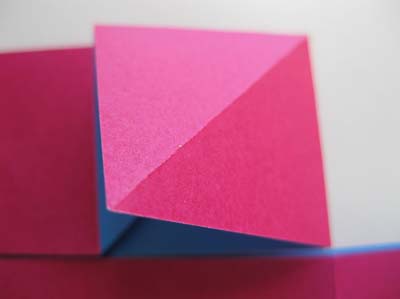
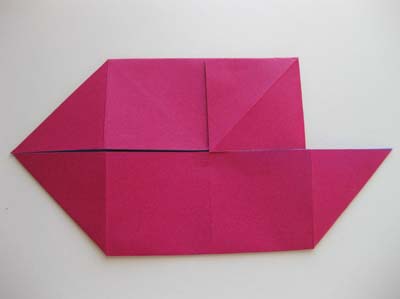
Origami Photo Frame Step 3: Repeat Step 2 for the other 3 corners so that you have the following.
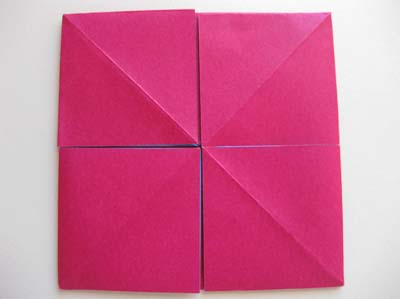
Origami Photo Frame Step 4: Fold on the dotted line on the upper right corner. Crease well and unfold.
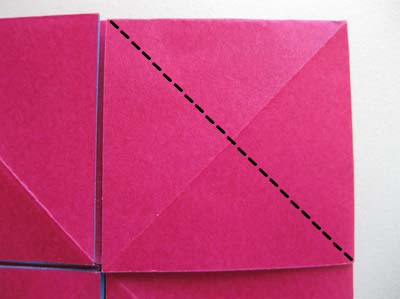
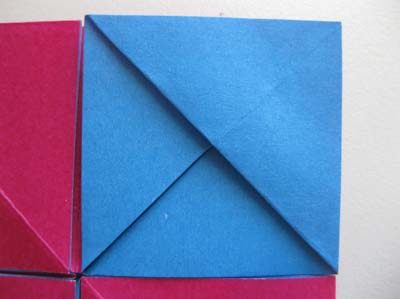
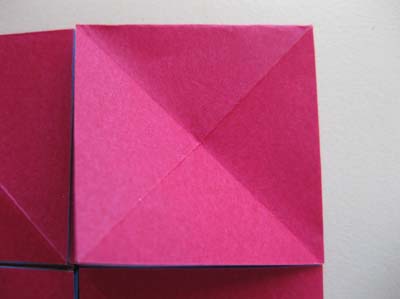
Origami Photo Frame Step 5: Now fold the tip to meet the crease you just made.
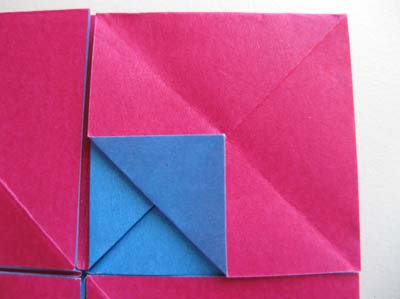
Origami Photo Frame Step 6: Fold it one more time over itself.
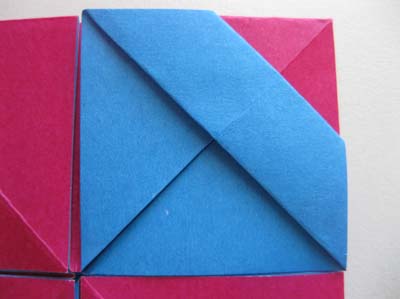
Origami Photo Frame Step 7: Make 2 mountain folds as shown by the dotted lines below.
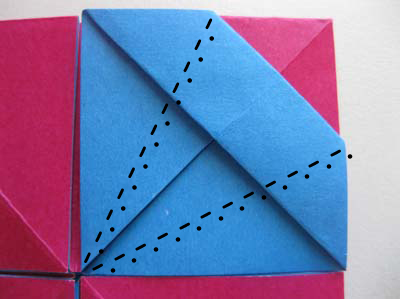


Origami Photo Frame Step 8: Repeat Steps 4 through 7 for the other 3 corners so that you have the following.
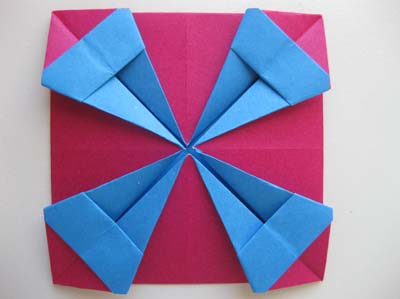
Origami Photo Frame Step 9: We just have 4 more easy folds to completed this photo frame!
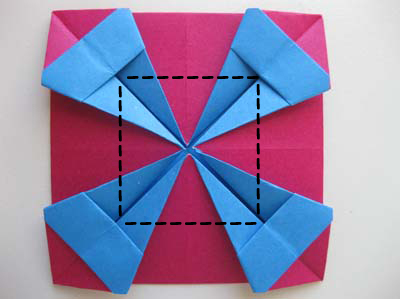

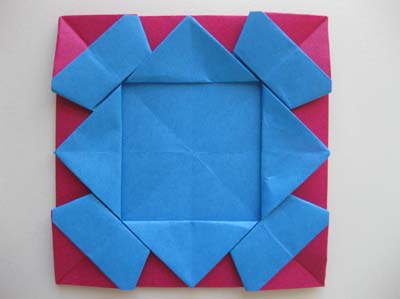
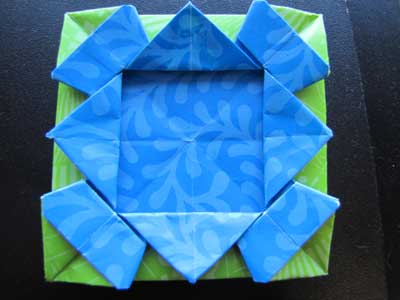
Your origami photo frame is completed! Time to find a picture worth framing!

From Madison in Girard:

From Mariah in Birchwood:
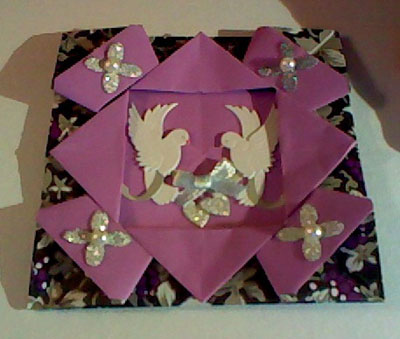
From Kelli in Bridgeport " I made this frame to affix to a wedding card that I'm going to make for my brother and his fiancee. I added little self-adhesive designs and the doves, and used their wedding colors. "
From Kristi " My origami, what consists three photo frames and bird. "
