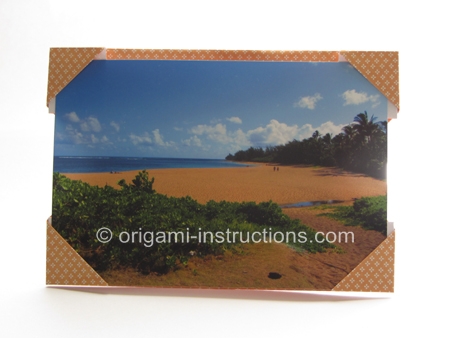
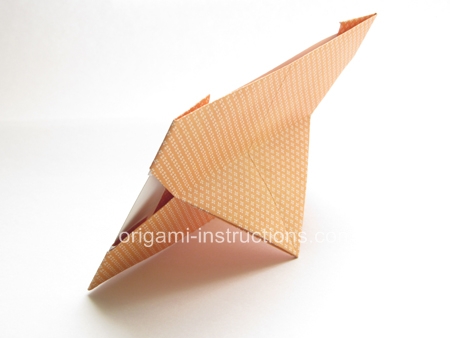
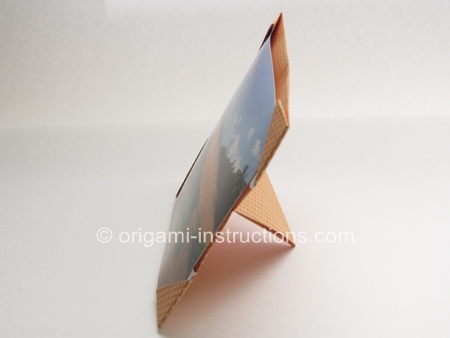
Origami Photo Stand
Made this origami? Comment and Submit your photo using the comment box at the end of this page!
Origami Photo Stand Step 1: Start with an 8.5 inch x 11 inch (21.5cm x 27.9cm) paper, color side down.
Sturdier and thicker paper is better for this origami.
Fold paper in half on both the horizontal and vertical axis. Crease well and unfold.
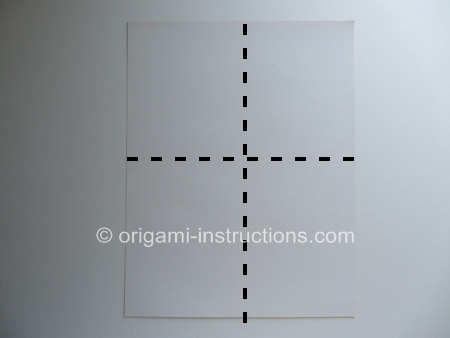
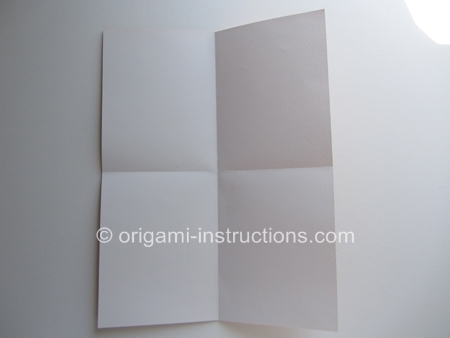
Origami Photo Stand Step 2: Fold paper in half on the horizontal axis.
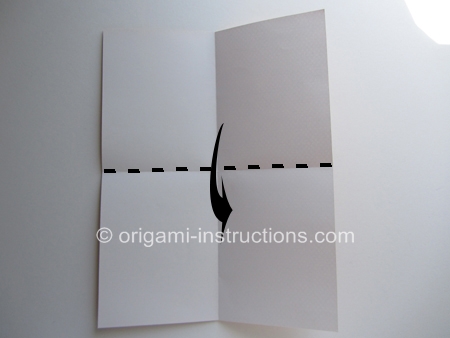
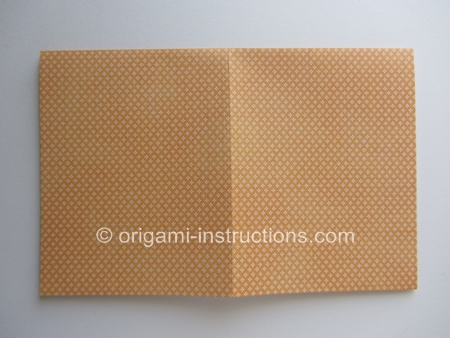
Origami Photo Stand Step 3: Fold the top right and left corners to the center. Crease well and unfold.
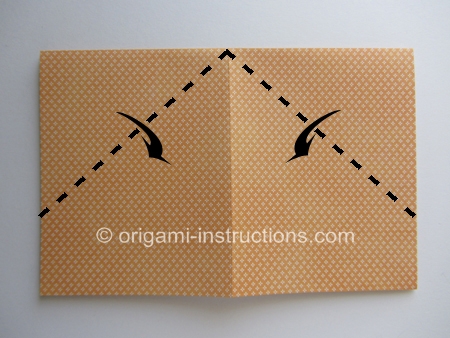
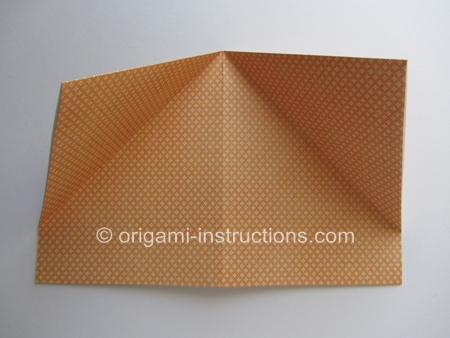
Origami Photo Stand Step 4: Now use the creases you just made to complete inside reverse folds. This is a common technique used in origami. Check out our separate page on inside reverse folds or the video below.
Origami Inside Reverse Fold Video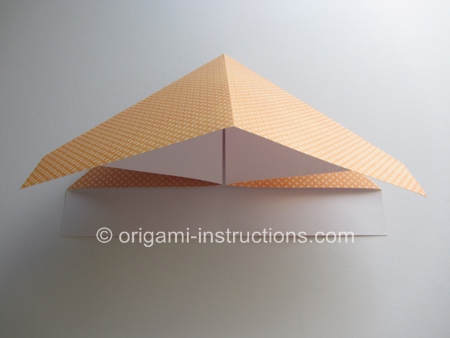
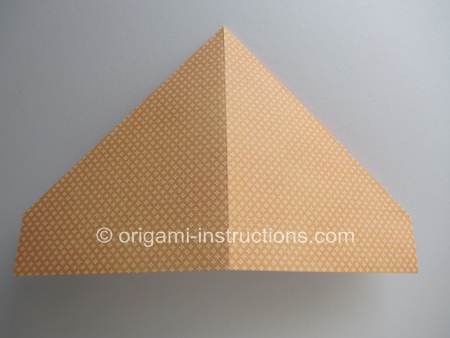
Origami Photo Stand Step 5: Make a horizontal valley fold. Crease well and unfold.
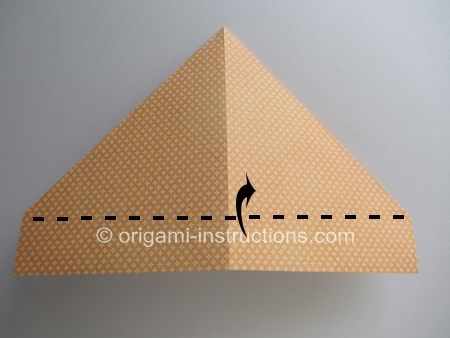
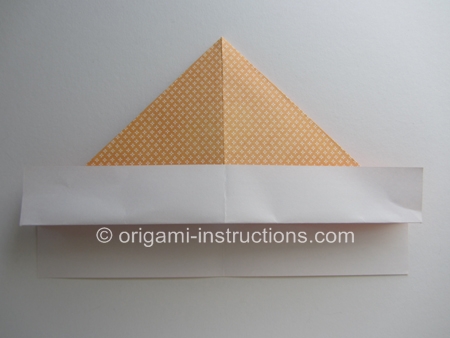
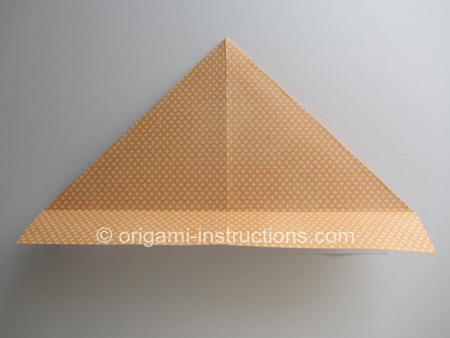
Origami Photo Stand Step 6: Flip paper over and repeat Step 5 on this other side.


Origami Photo Stand Step 7: Fold the tip A to point B. Crease well and unfold.
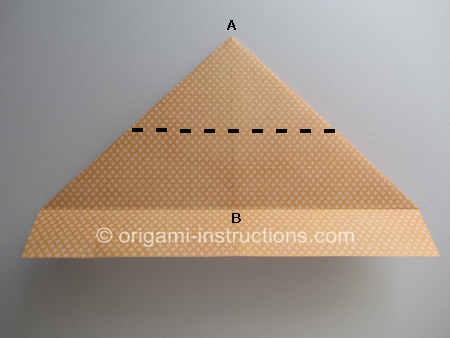
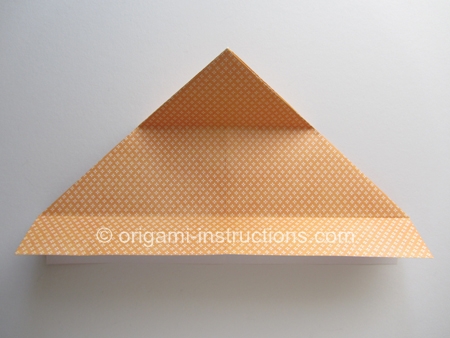
Origami Photo Stand Step 8: Rotate paper 90 degrees clockwise.
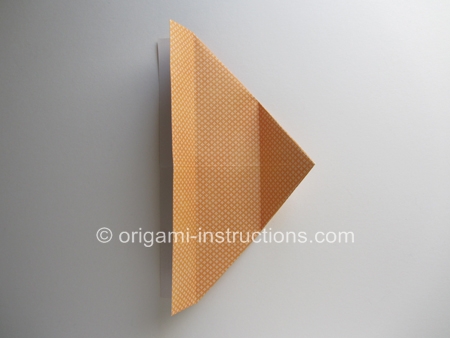
Origami Photo Stand Step 9: Fold the upper layer from the left to right.
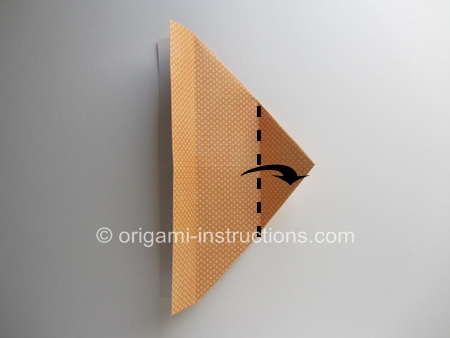
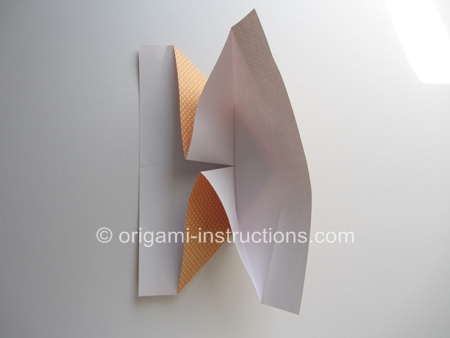
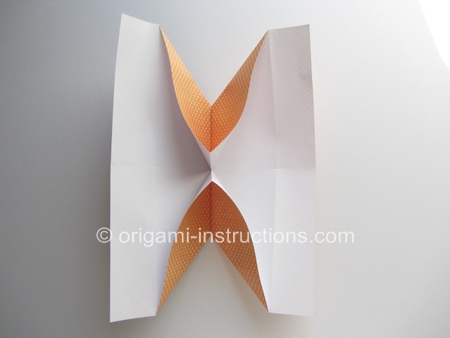
Origami Photo Stand Step 10: Press paper flat in the center.
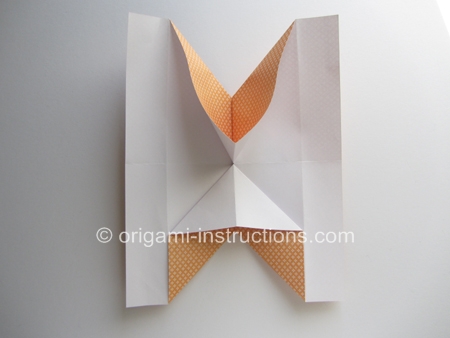
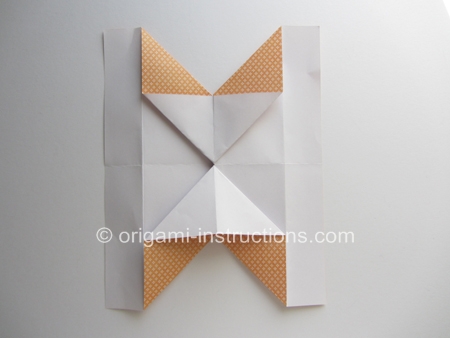
Origami Photo Stand Step 11: Rotate paper 90 degrees counter-clockwside.
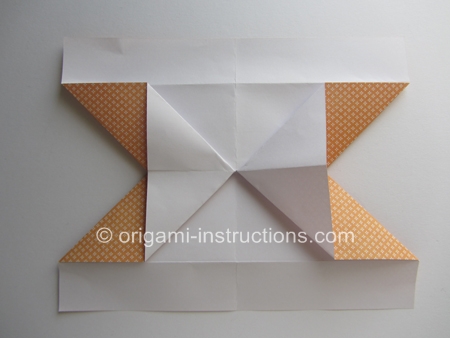
Origami Photo Stand Step 12: Make a horizontal valley fold at the top and bottom.
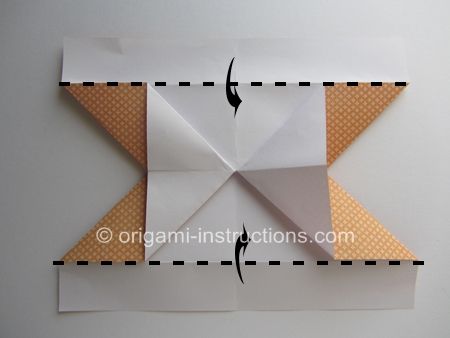
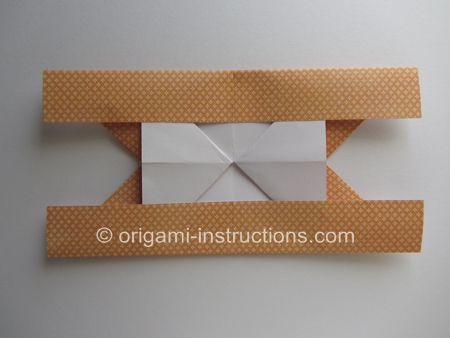
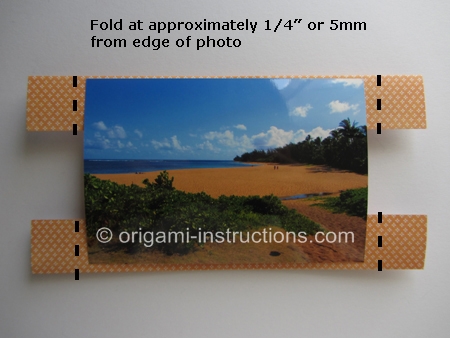
Origami Photo Stand Step 13: Place a photo on your paper. Mark the edges of the photo on the paper. Give the photo some room to move (~1/4 inch or 5mm) or it will bow. Then make the 4 folds. Crease well and press the folds to flatten the paper.
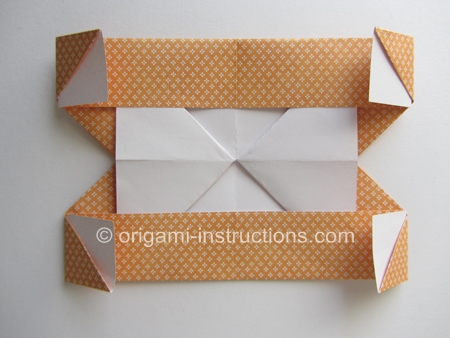
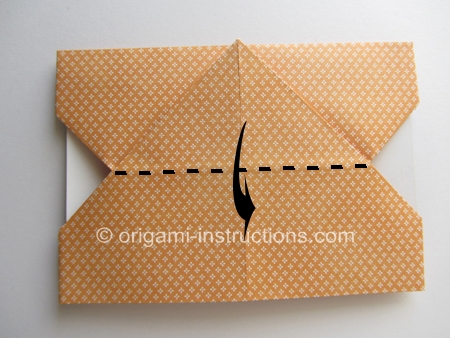
Origami Photo Stand Step 14: Flip paper over. Fold down the tip. This allows the photo frame to stand.
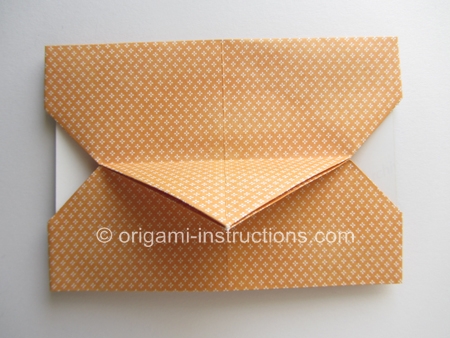
Origami Photo Stand Step 15: Now all you have to do is tuck your photo into the 4 corners and your origami photo stand is complete!
