Origami Rabbit
Made this origami? Comment and Submit your photo using the comment box at the end of this page!
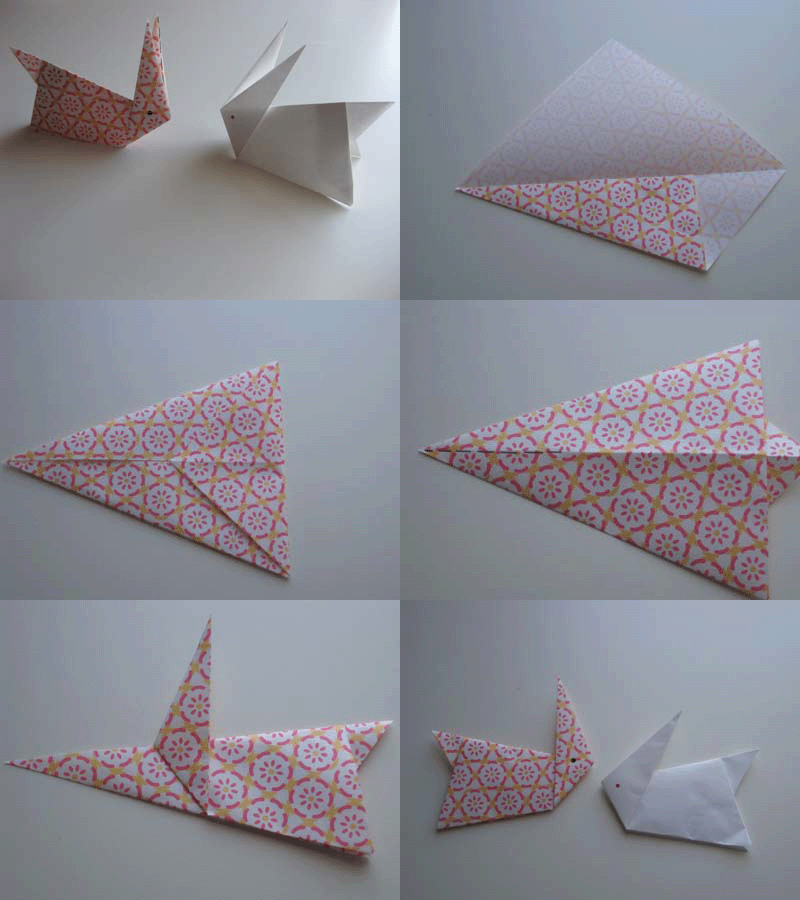
Origami Rabbit Step 1: To make this origami rabbbit, start off with the color or pattern side down.
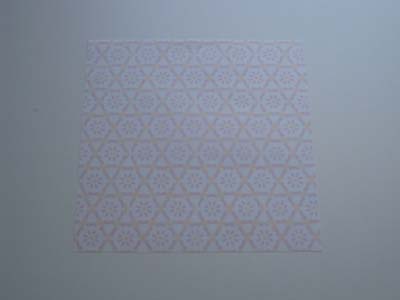
Origami Rabbit Step 2: Fold the paper in half to make a triangle:
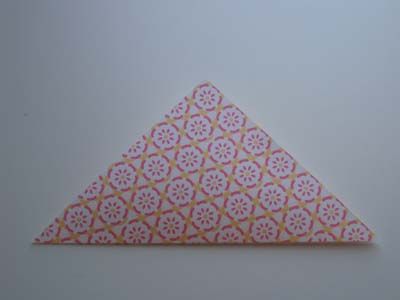
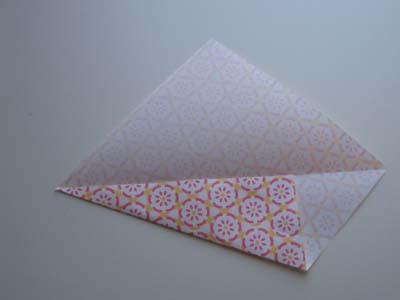
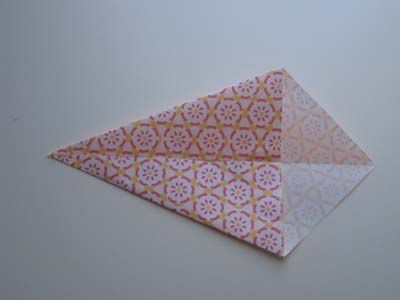
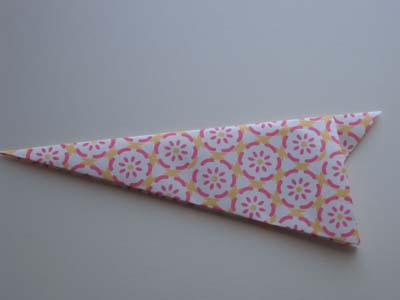
Origami Rabbit Step 5: Fold the right tip over to the left:
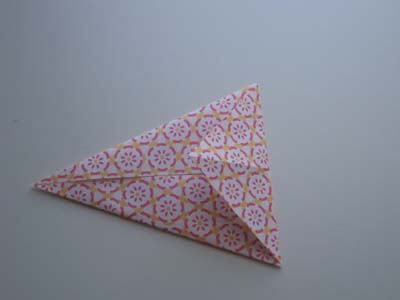
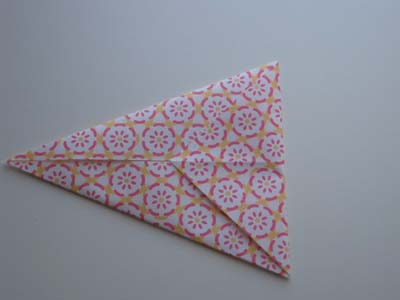
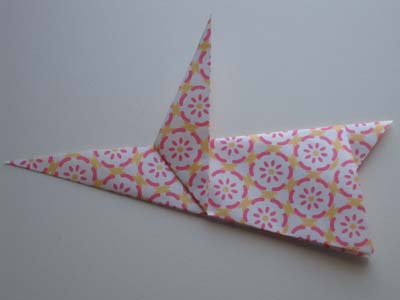
Origami Rabbit Step 6: Now fold the flap back up about 2/3s of the way:
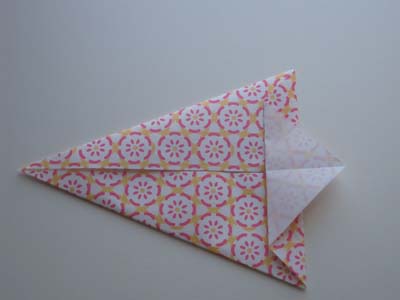
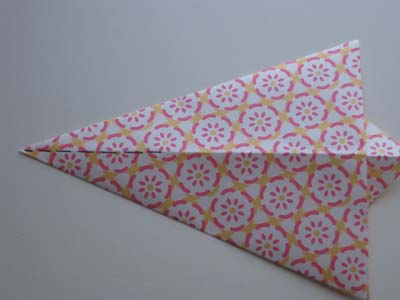
Origami Rabbit Step 8: Now fold it in half:
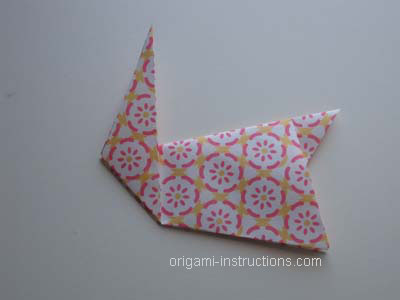
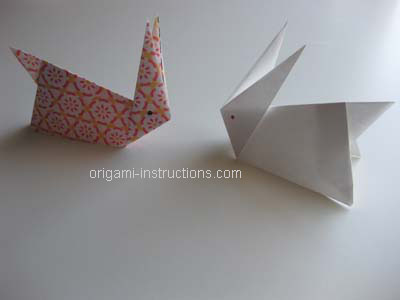
And you 've got yourself an origami rabbit!
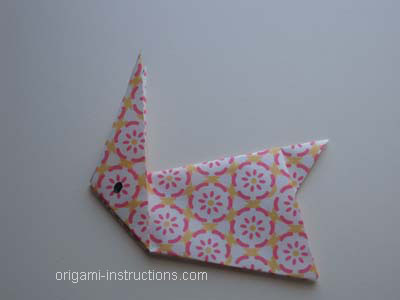
I made another one to keep mr/miss origami rabbit here company. Aren't they cute?!
Origami Flash: We've create a flash slideshow that shows how to make this origami rabbit from start to finish.
Check out the many origami rabbit photos that have been submitted by our readers!
Did you make this origami? If so, upload your photo (2MB limit)via the comment box below. You can login with your Facebook, Twitter, Google or Yahoo accounts.
