Origami Rooster Instructions
Made this origami? Comment and Submit your photo using the comment box at the end of this page!
If you'd like to give this origami rooster a family, then check out our origami chick .
Origami Rooster Step 1: Start with a square piece of origami paper, colored side down. Fold in half along the diagonal.


Origami Rooster Step 2: Now fold corners A and B down to corner C. Fold the model in half lengthwise, moving corner D to the back. Rotate 90 degrees clockwise.


Origami Rooster Step 3: Now take the top flap and do a squash fold, as shown in the next three (3) photos.


Origami Rooster Step 4: Repeat this squash fold on the back of the model. Then do an inside reverse fold as shown. This forms the feet of the origami rooster.


Origami Rooster Step 5: Rotate the model 90 degrees clockwise. Now at corner E, fold back the outer layer of paper. This forms the rooster's crown.


Origami Rooster Step 6: Next do an inside reverse fold to form the rooster's beak. Now your origami rooster is complete!


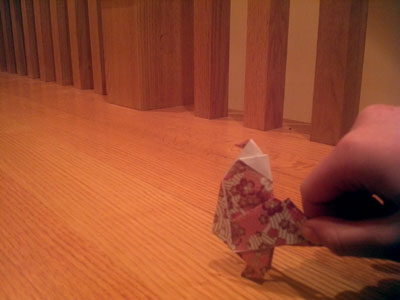
From Ramona in Berlin:
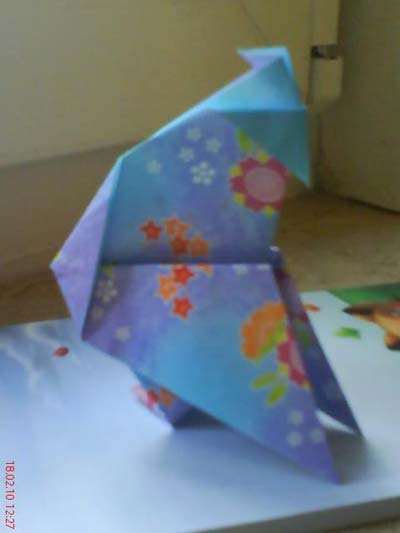
From reader in Crosslake " 'Gami rooster! He turned out great! really looks up to the big man too. "
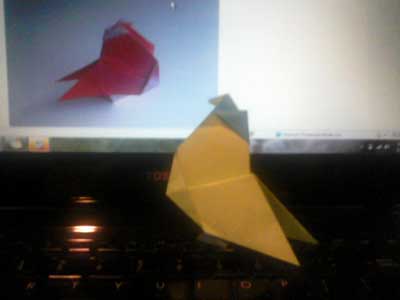
From Bree in Rutland County "Origami Rooster"