Origami Shrimp Folding Instructions
This origami shrimp is fairly easy to make, and also doubles as an origami lobster.
Made this origami? Comment and Submit your photo using the comment box at the end of this page!
Fold a piece of square origami paper along the diagonal, as shown below, then unfold.
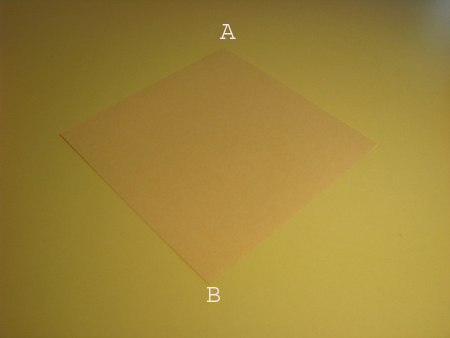
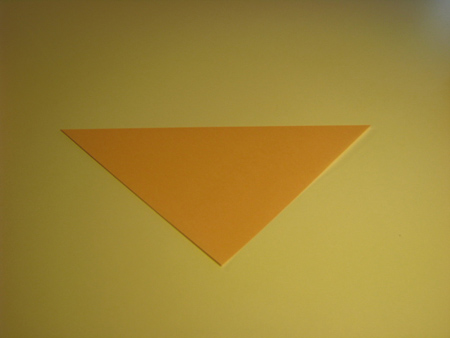
Now fold the corners A and B to the centerline, resulting in a kite:
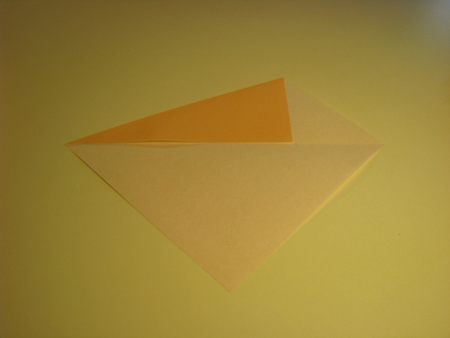
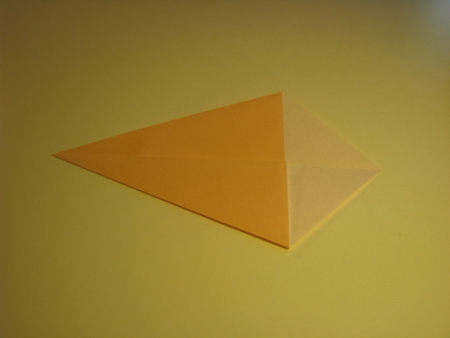
Next fold the long edges of the kite towards the centerline.
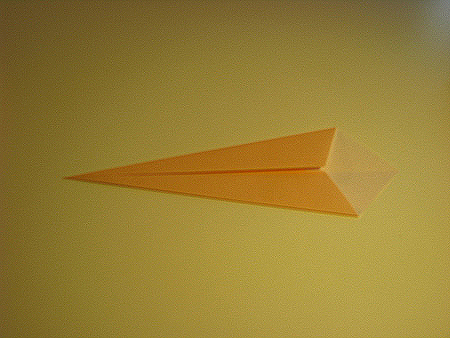
Then fold the short edges to the centerline. Next fold corner C over...
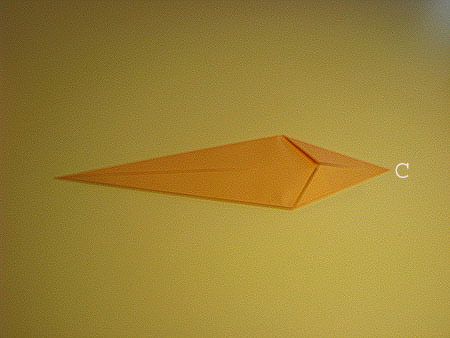
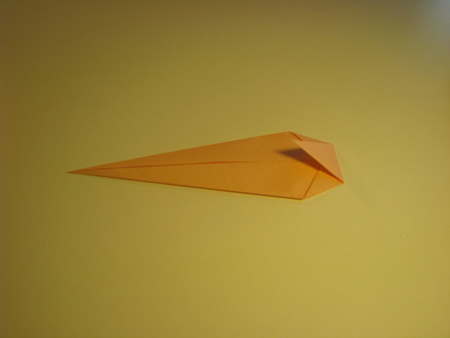
...and back again, to form a simple pleat fold. Flip the model over, and cut a small hole where shown:
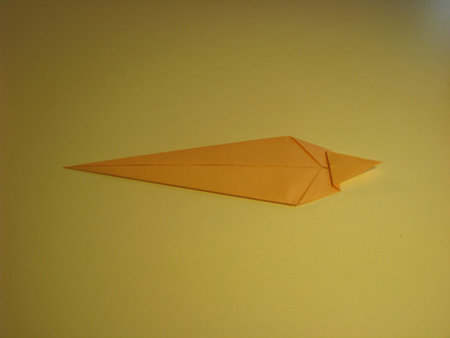
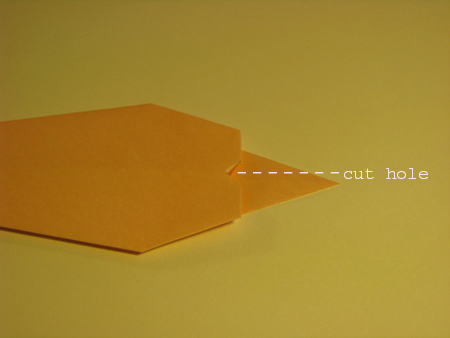
Flip the model over again, and unfold back to the kite. Now cut narrow triangular strips, part-way up the kite as shown below. These strips form the shrimp's antennae (feelers).
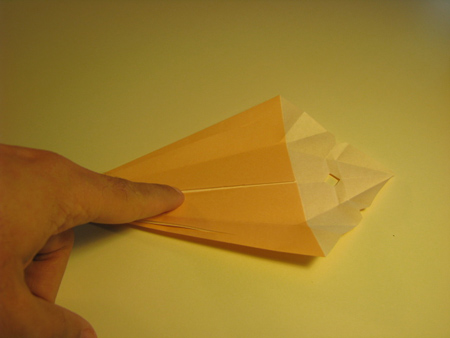
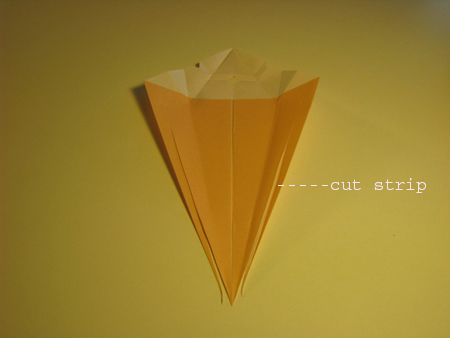
Now re-fold the shrimp, and slip the ends of the feelers through the hole.
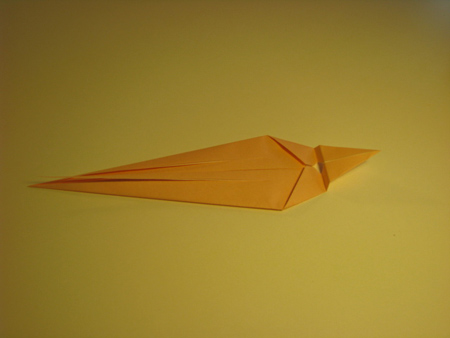
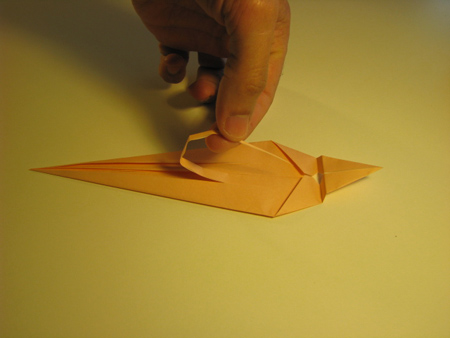
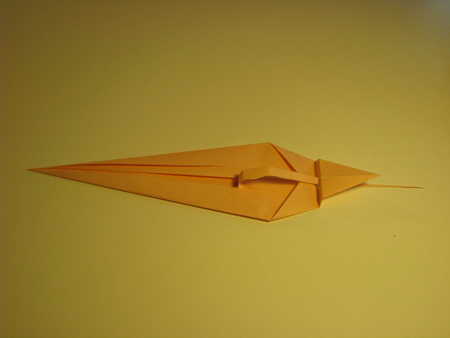
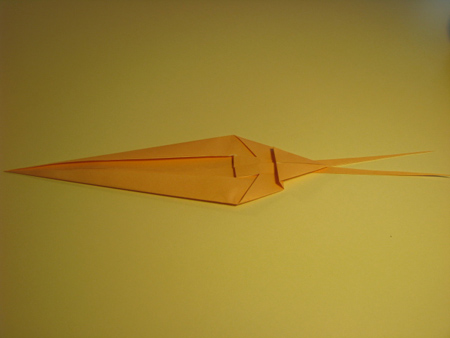
Now make another pleat fold in the body of the shrimp:
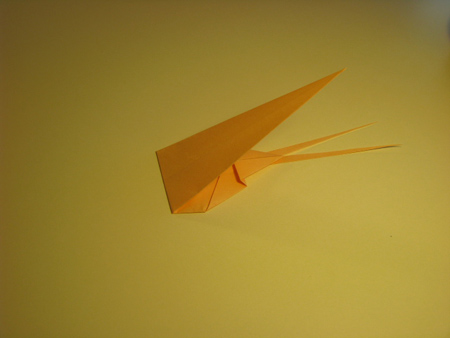
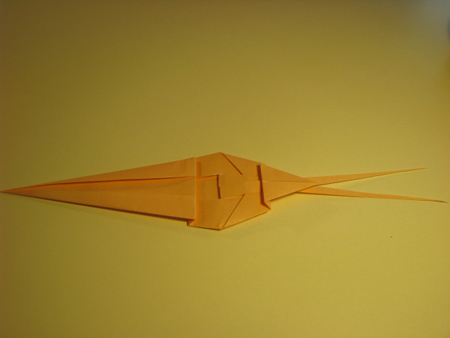
Do four (4) more pleat folds as shown. The fold the shrimp in half lengthwise:
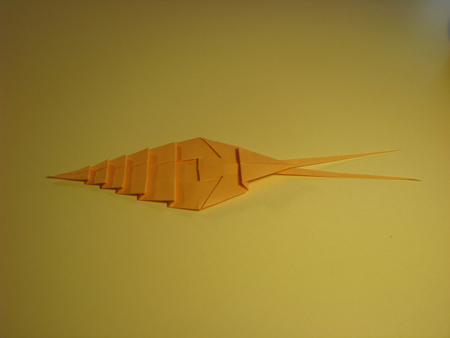
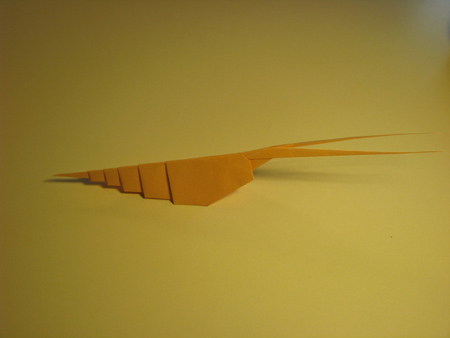
At each pleat fold, re-crease the fold as shown, to create a curve in the body. Now your origami shrimp (or lobster) is ready for the ocean!
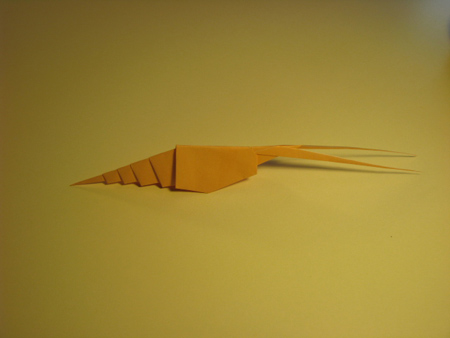
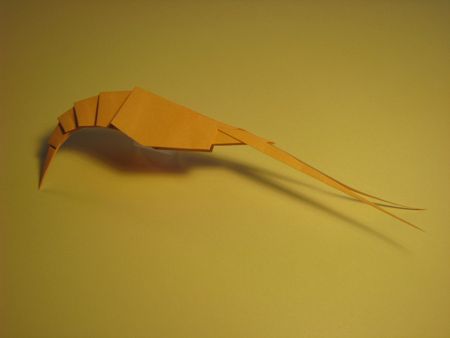
Check out the many origami shrimp photos that have been submitted by our readers!
