Origami Tie
Made this origami? Comment and Submit your photo using the comment box at the end of this page!
Origami Tie Step 1: Start with a 6 inch x 6 inch (15cm x 15cm) square origami paper, color side down.
Use a smaller sheet of paper if you're making this for a greeting card.
Fold paper in half on the vertical diagonal axis but make only a small crease in the center to mark the spot.
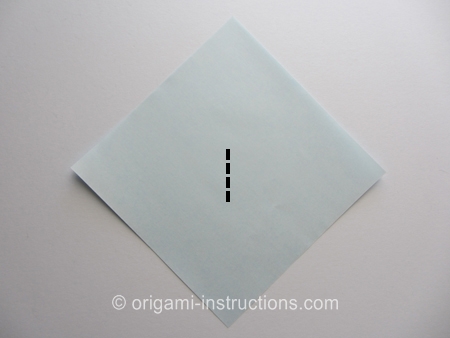
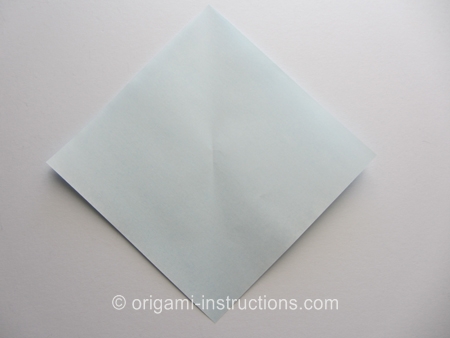
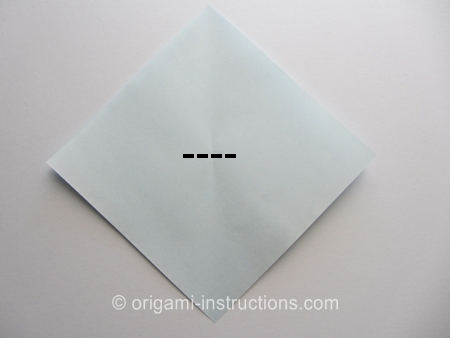
Origami Tie Step 2: Now fold paper in half on the horizontal diagonal axis. Once again, crease only in the center to mark the spot.
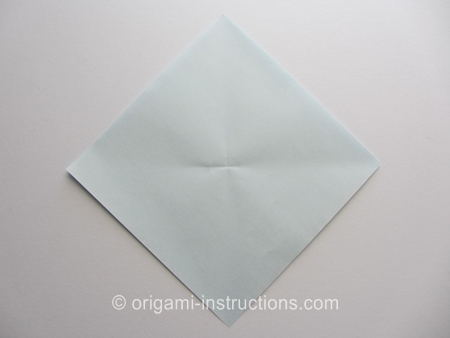
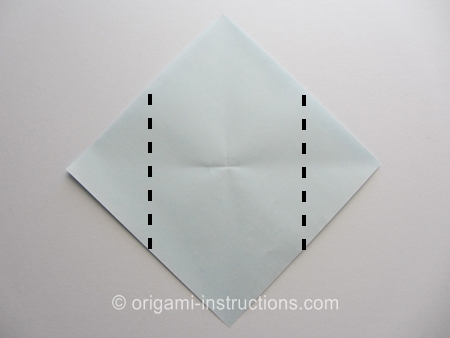
Origami Tie Step 3: Fold both sides to the center.
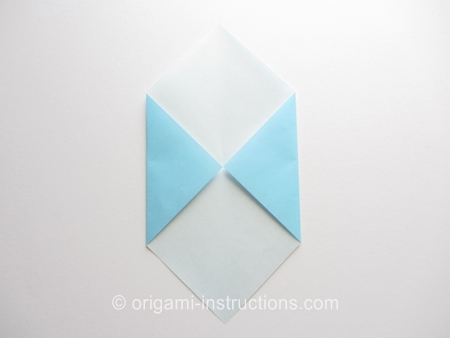
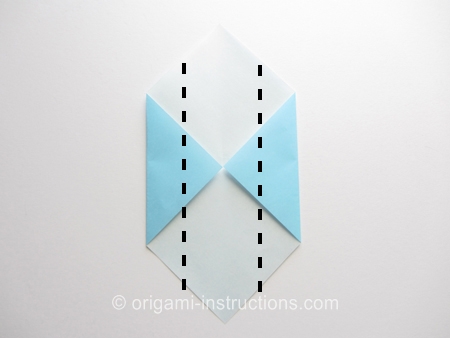
Origami Tie Step 4: Fold both sides to the center again.
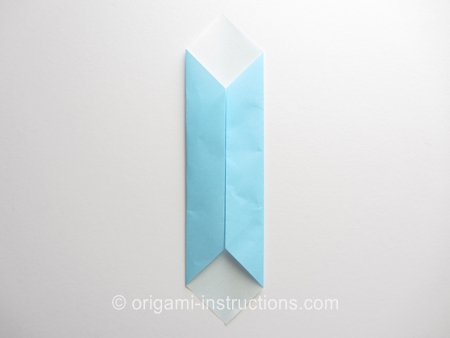
Origami Tie Step 5: Fold down the top tip.
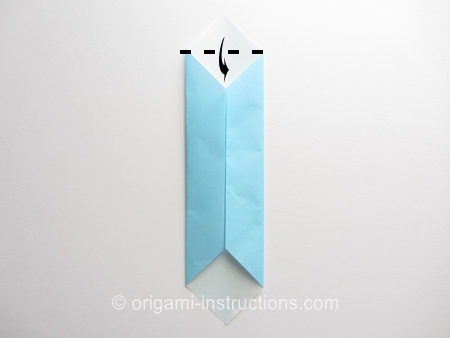
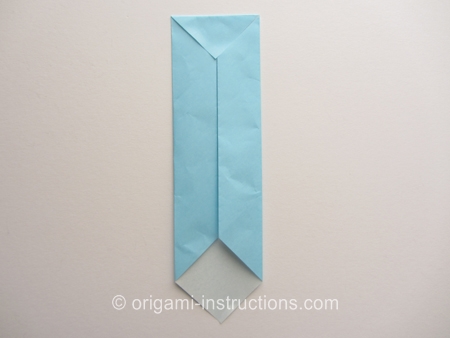
Origami Tie Step 6: Flip paper over.
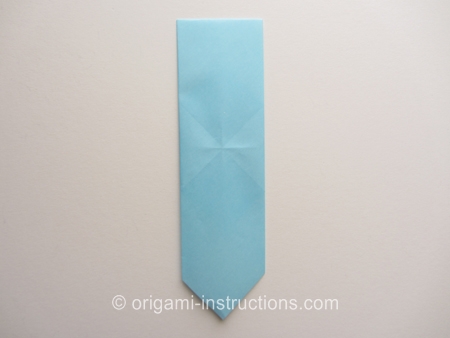
Origami Tie Step 7: Fold the top half to the center crease.
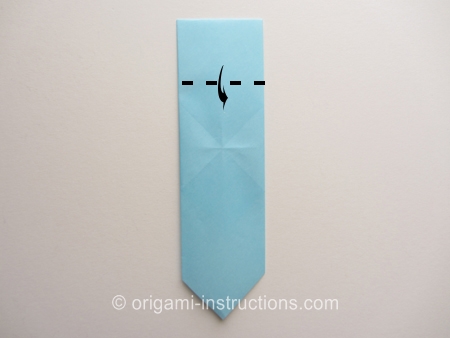
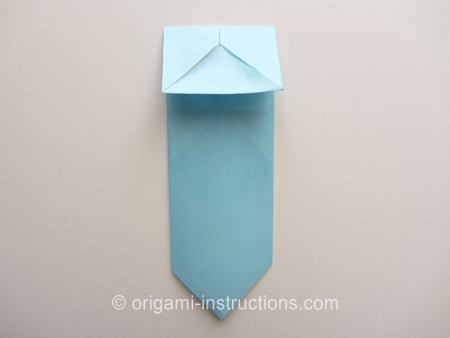
Origami Tie Step 8: Fold the top part back over. This forms the "knot" of the tie.
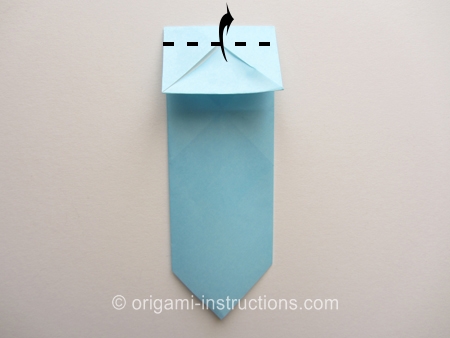
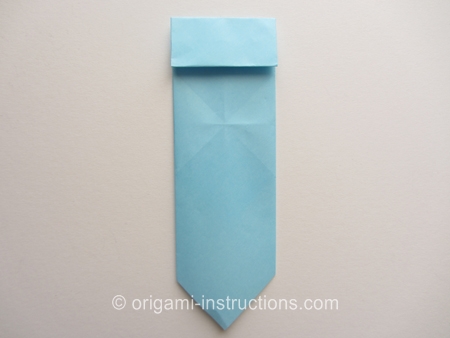
Origami Tie Step 9: Flip paper over.
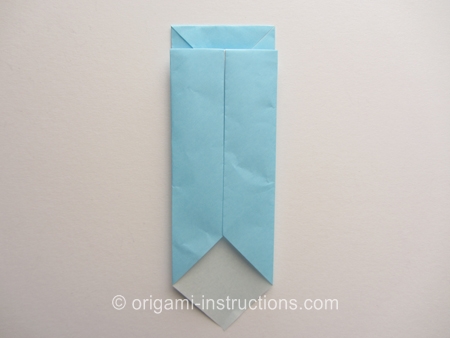
Origami Tie Step 10: Fold both the top right and left corners to the center. We're only creasing on the "knot" part of the tie.
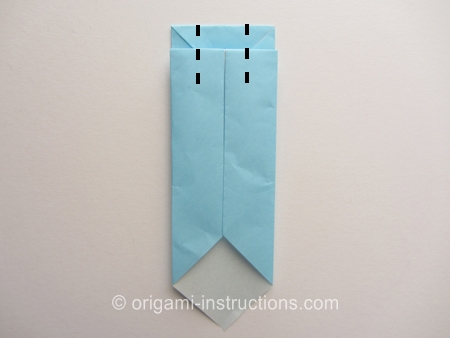
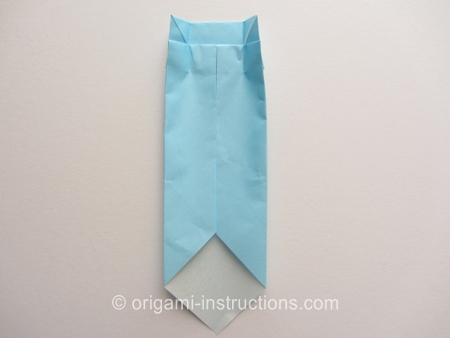
Origami Tie Step 11: Make a diagonal fold from the bottom of the crease in Step 10 to the lower right corner. Try to make a nice diagonal crease. It may be a bit tricky. Use a ruler to guide you if needed.
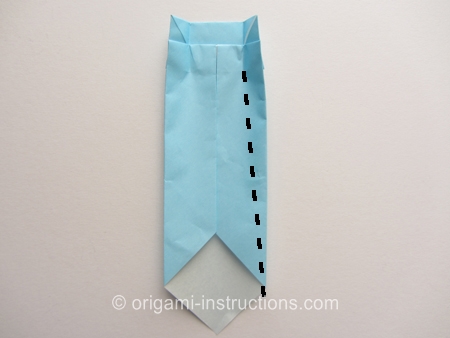
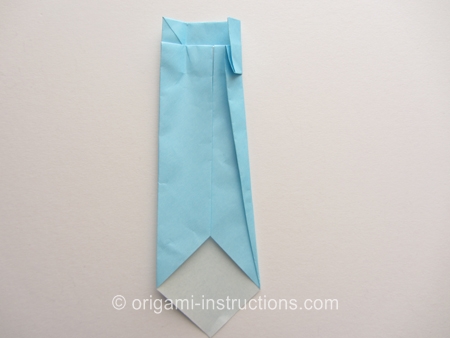
Origami Tie Step 12: Let's focus on the top part of the tie. Pry paper open at the corner (knot area) and make a squash fold by pressing the paper flat.
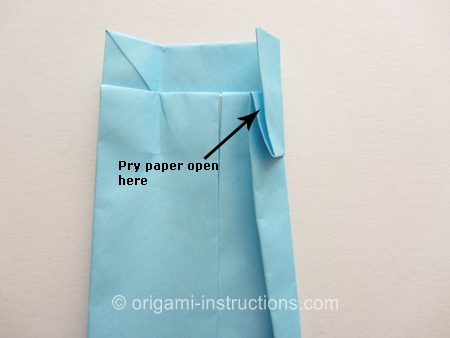
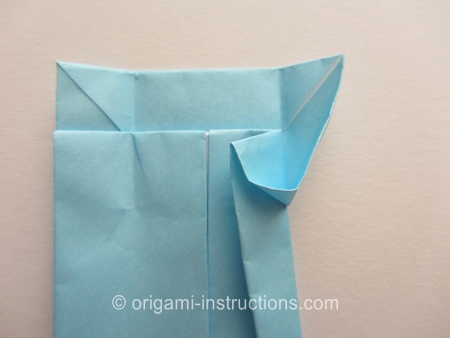
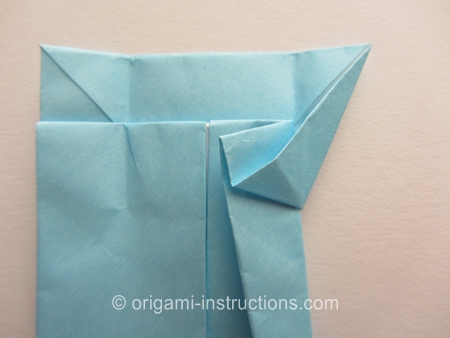
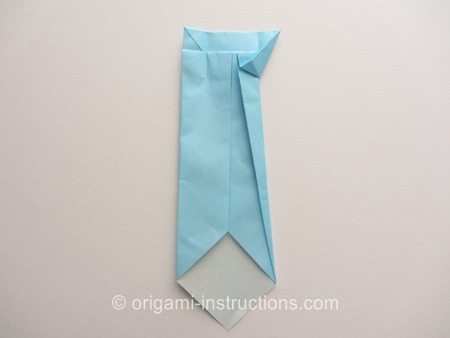
Origami Tie Step 13: With the right side completed, now we just need to repeat Steps 11 and 12 on the left side.
First make the diagonal fold.
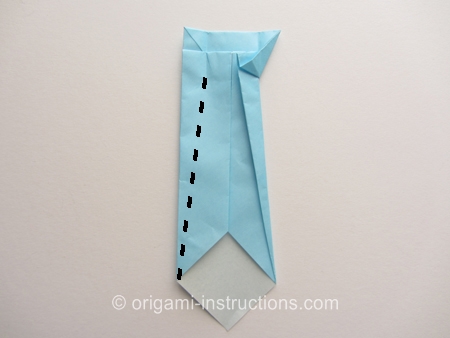
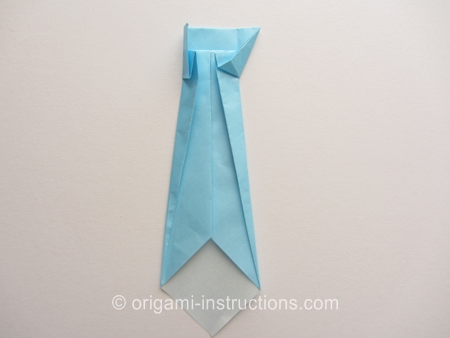
Origami Tie Step 14: Pry paper open and make the squash fold.
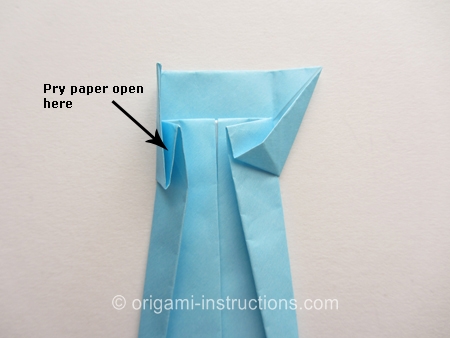
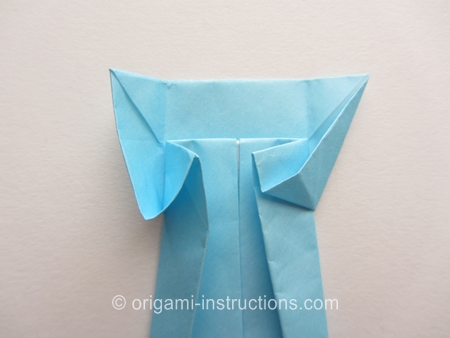
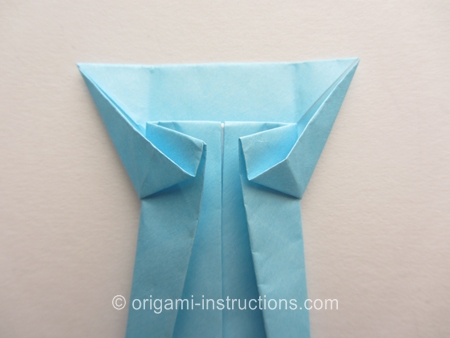
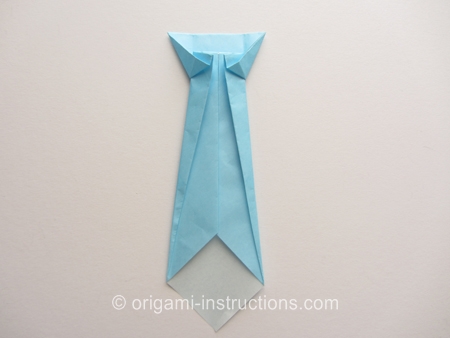
Origami Tie Step 15: Flip paper over and your origami tie is complete!
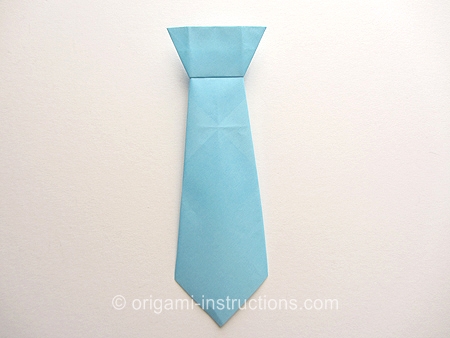
Don't forget to fold the super easy origami shirt . They look really cute together!

