Origami Modular Rotor
Made this origami? Comment and Submit your photo using the comment box at the end of this page!
Origami Modular Rotor Step 1: Fold an origami fish base . This is a commonly used base in origami and we've created a separate page of instructions for it.
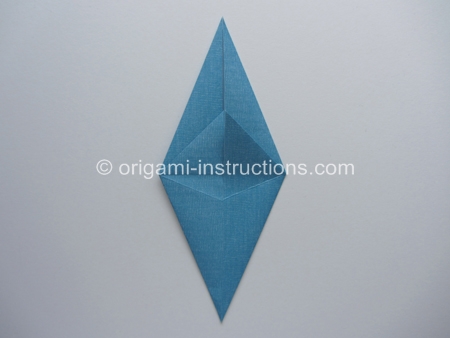
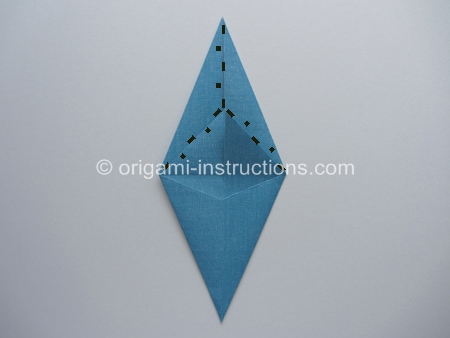
Origami Modular Rotor Step 2: Make 3 mountain fold creases as indicated below. Crease well.
Please check our page on mountain and valley folds if you're not familiar with them.
The next step will be much easier if you make the proper creases.
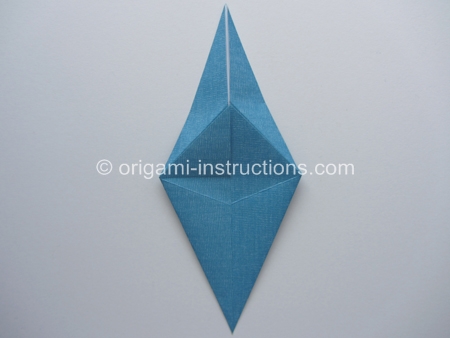
Origami Modular Rotor Step 3: Fold the bottom half of the paper in half. If you've made the proper creases in Step 2, then as you fold the bottom half of the paper over, the top part will form what looks almost like a "bird's head".
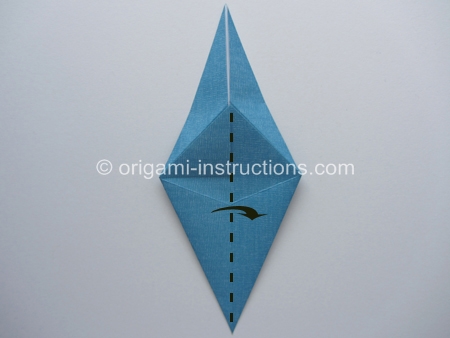
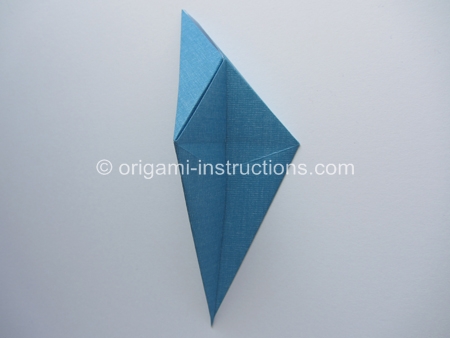
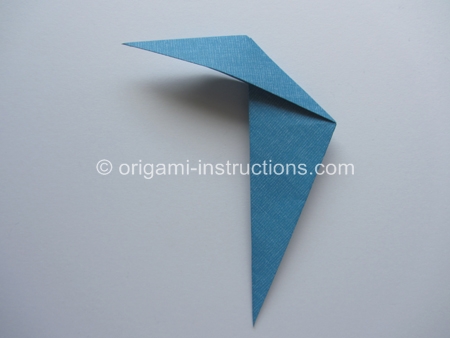
Origami Modular Rotor Step 4: Rotate paper 90 degrees clockwise.
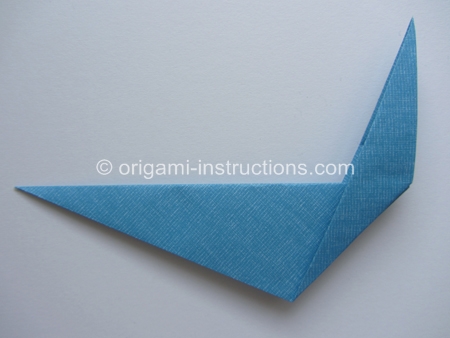
Origami Modular Rotor Step 5: Fold point A to point B. Crease well and unfold.
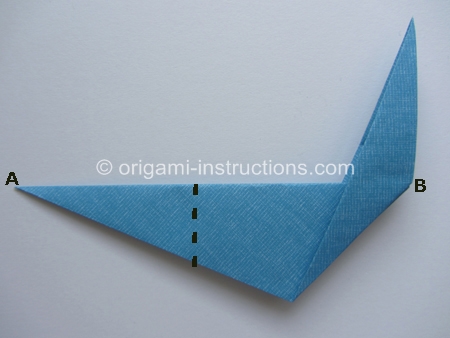
and this completes one modular unit!
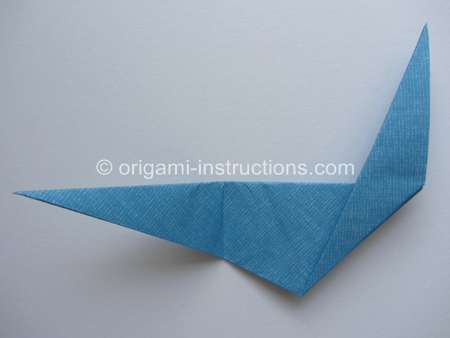
Origami Modular Rotor Step 6: Repeat Steps 1 to 5 and make a total of 4 units.
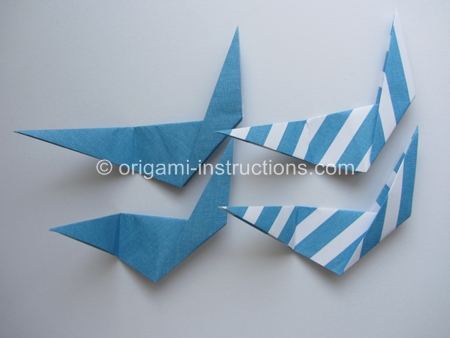
Origami Modular Rotor Step 7: Watch the video below for the full assembly process.
For assembly, let's start with 2 units. Insert the the tip of Unit#1 into Unit#2.
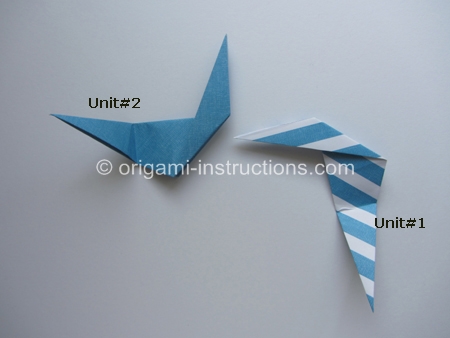
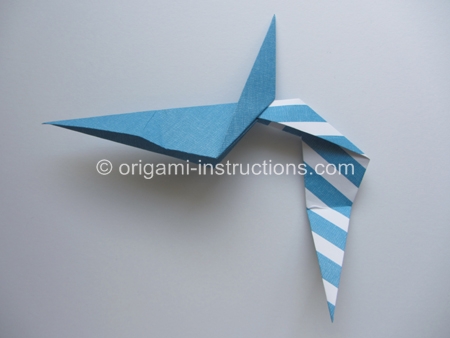

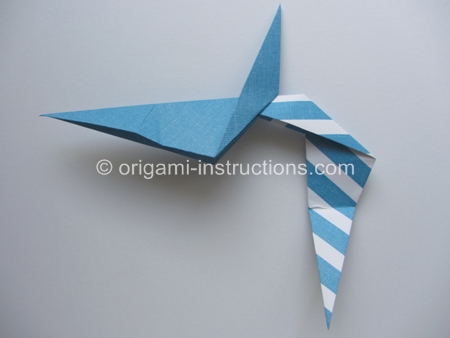
Origami Modular Rotor Step 8: Make a diagonal mountain fold on the upper layer of Unit#2.
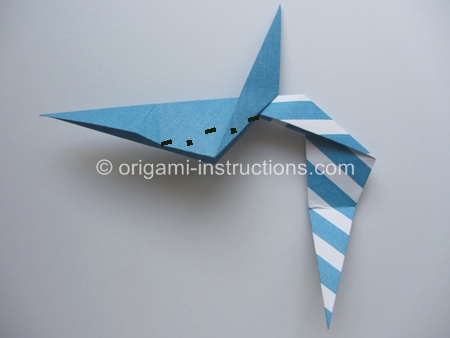
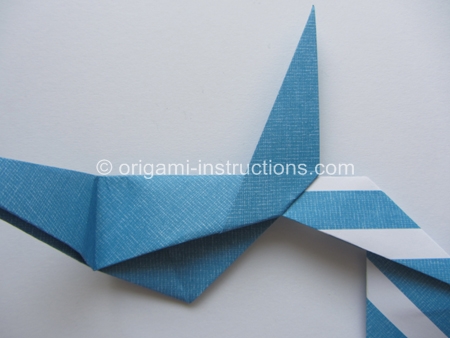
Origami Modular Rotor Step 9: Now make a diagonal valley fold on the bottom layer of Unit#2.
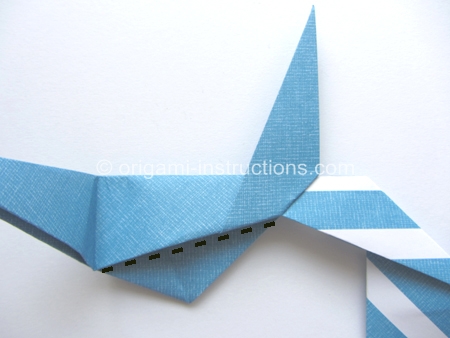
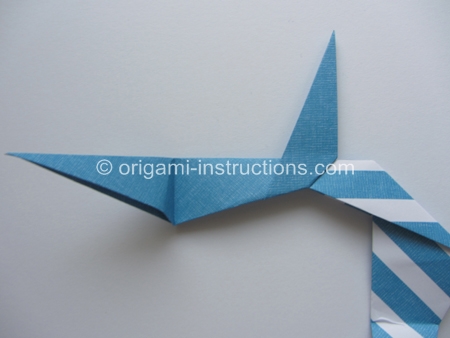
Origami Modular Rotor Step 10: Fold the left tip of Unit#2 over and tuck it into the pocket.

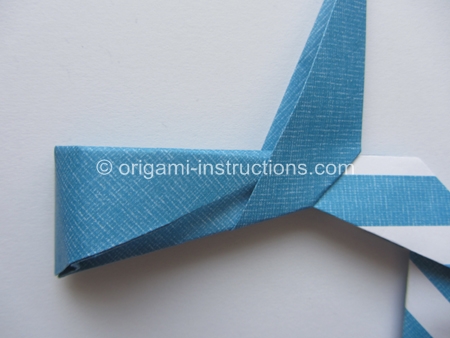
This completes the assembly of 2 units.
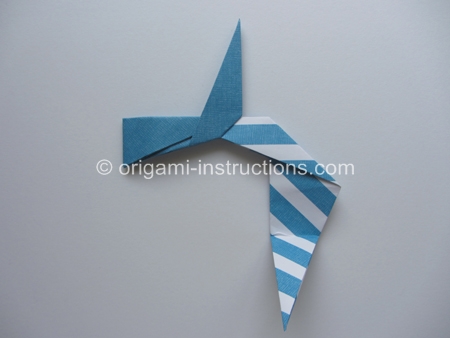
Origami Modular Rotor Step 11: Rotate paper 90 degrees counter clockwise. Repeat Steps 7 to 10 for the remainder 2 units.
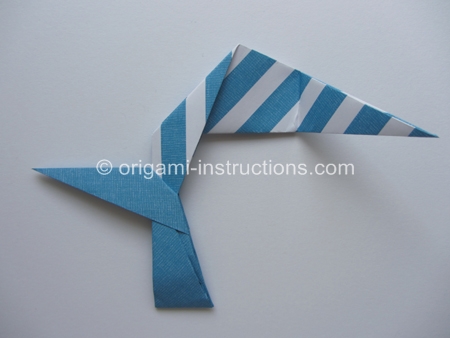
and your origami modular rotor will look like this when completed!

This modular rotor can have other looks...If you omit Steps 8 and 9, it'll look like this:

