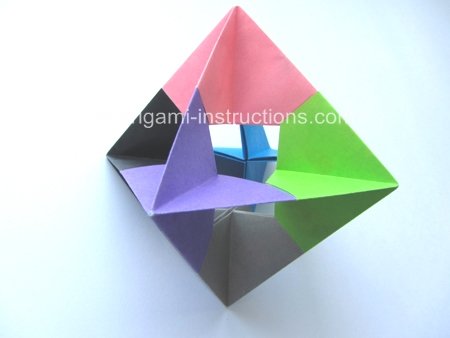
Modular Spinner
Made this origami? Comment and Submit your photo using the comment box at the end of this page!
Origami Modular Spinner Step 1: Fold an origami waterbomb base . We used a 3 inch (75mm) square origami paper. The finished modular origami is about 4 inches from top to bottom and can be held between your thumb and index finger.
The waterbomb base is a commonly used base in origami. The video instructions and link are below.
Origami Waterbomb Base Video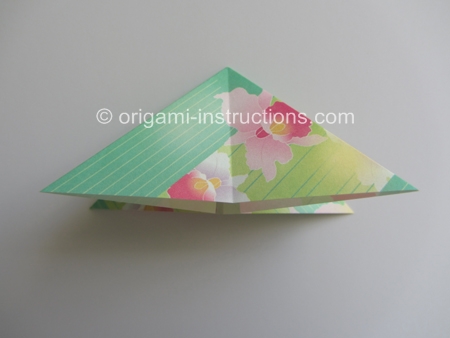
Origami Modular Spinner Step 2: Fold an origami square base . Once again, we used a 3 inch (75mm) square origami paper.
The square base video and link are below.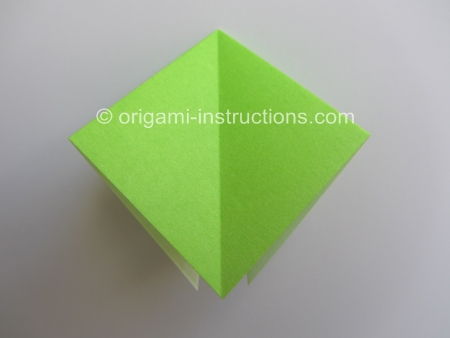
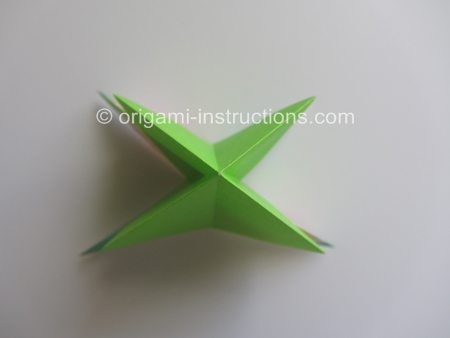
Origami Modular Spinner Step 3: First look at the waterbomb and square bases from the top. They are pretty similiar. Both have 4 "arms" and sides which is good....
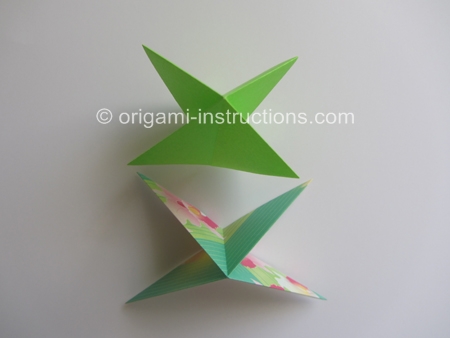
...because we're going to place the square base over the waterbomb base.
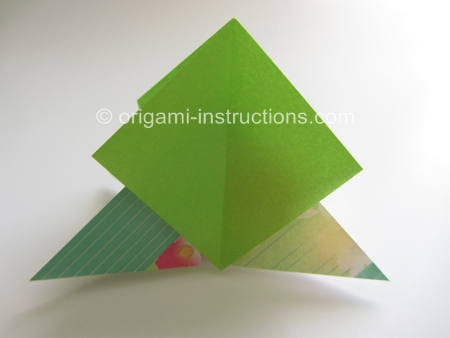
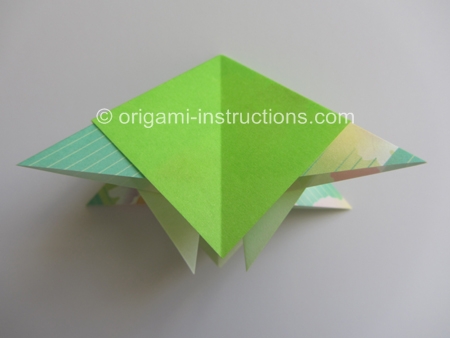
Origami Modular Spinner Step 4: Now make a horizontal mountain fold. This means that the bottom tip will be tucked under.
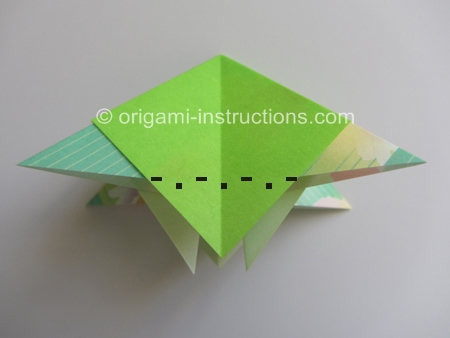
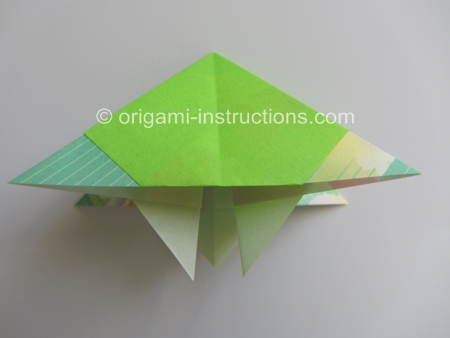
Origami Modular Spinner Step 5: Repeat Step 4 for the other 3 sides. This completes one modular unit.
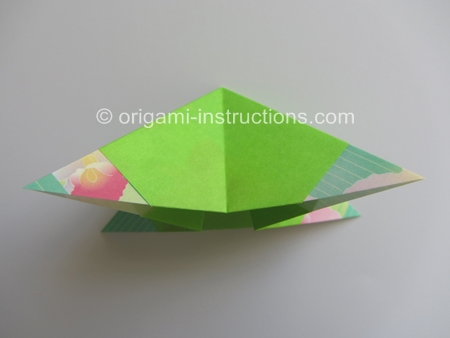
Origami Modular Spinner Step 6: We need 6 modular units for this origami so repeat Steps 1 to 5 and make another 5 units.
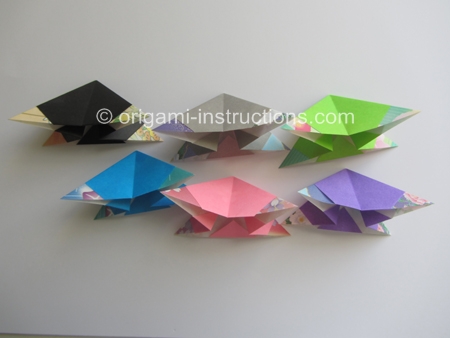
Origami Modular Spinner Step 7: Watch the video to see the full assembly process.
Bring the 2 units together and slide one arm into another.
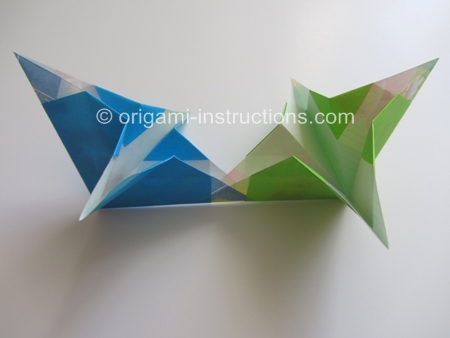
The blue unit is acting as a "pocket" for the green arm. Notice that the blue tip will go under the solid green paper (which is the square base part of the unit).

Slide in the paper completely.
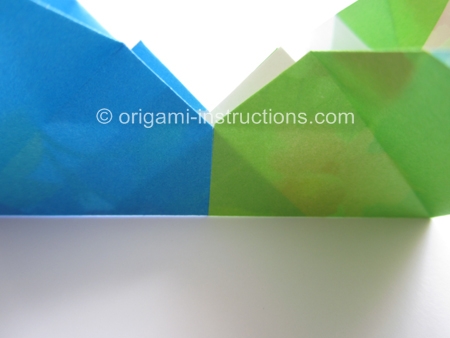
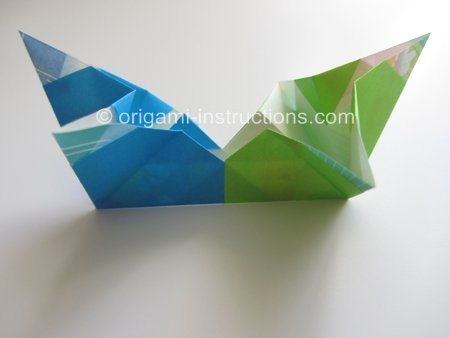
Origami Modular Spinner Step 8: Repeat Step 7 for the rest of the units. When completed your unit will look really cool like this!
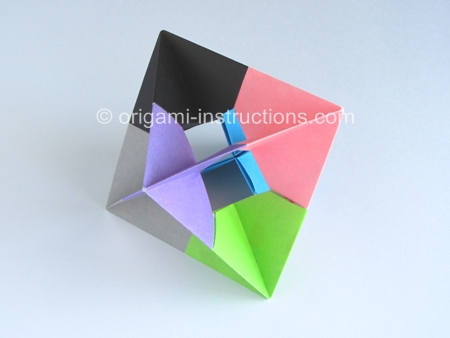
You can hold it with between your thumb and index finger and either blow on it or hold it near a fan and it will start spinning!
You can also hang it up with a thread and use it as decoration!
