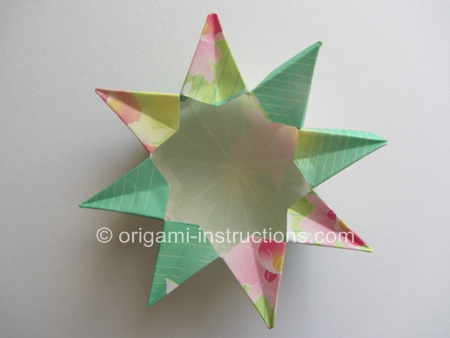
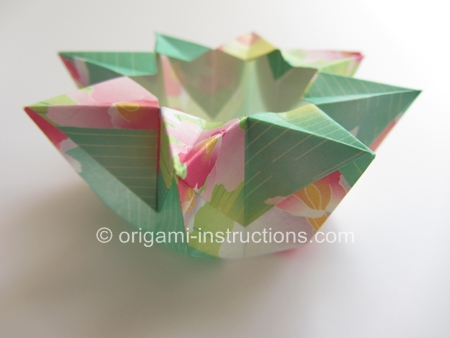
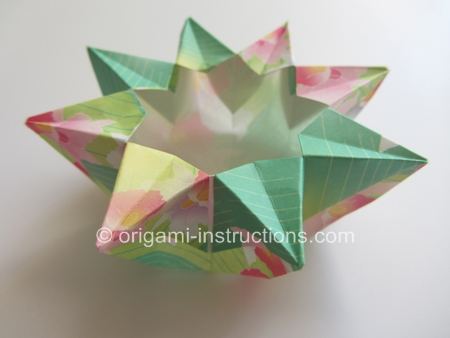
Origami 8-pointed vase
Made this origami? Comment and Submit your photo using the comment box at the end of this page!
Origami 8-pointed Vase Step 1: Start by following instructions for the origami frog base from Step 1 to 5. Your paper should then look like this.
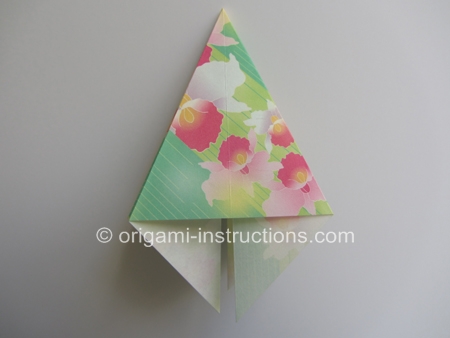
Before we get to the next step, take some time to look at your paper. Notice that it has 4 tips at the bottom.
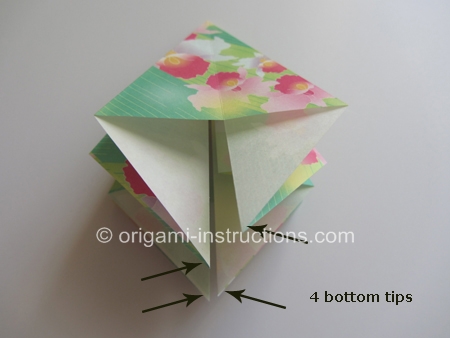
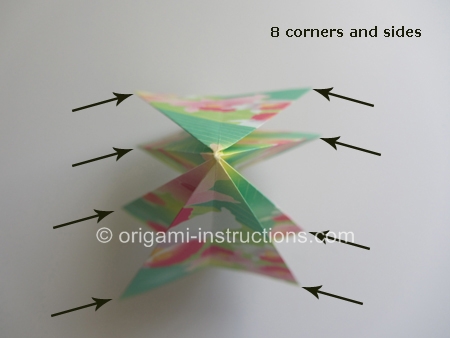
And even though you started with a square piece of paper with only 2 sides, your paper now has 8 corners and 8 sides! This is important because we'll be making use of all the sides later.
Origami 8-pointed Vase Step 2: Fold the upper layer from the right to left. This is how you get from one side of your paper to another,something you'll be doing a lot of in this origami.
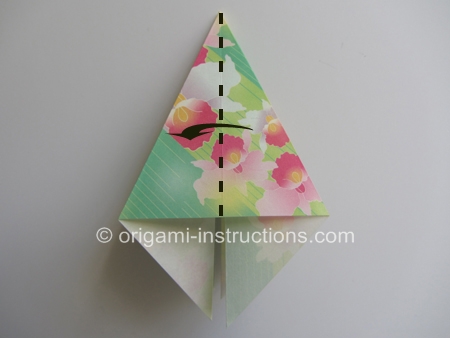
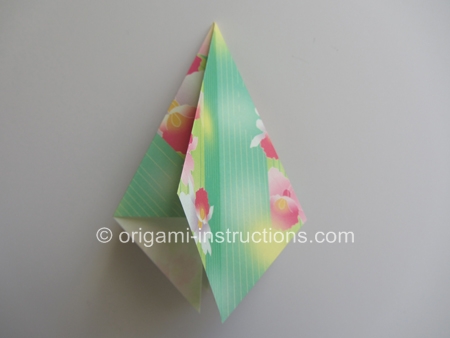
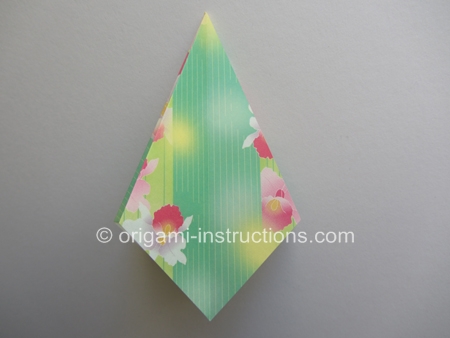
Origami 8-pointed Vase Step 3: Make a horizontal mountain fold. This means that the bottom tip will be folded or tucked under.
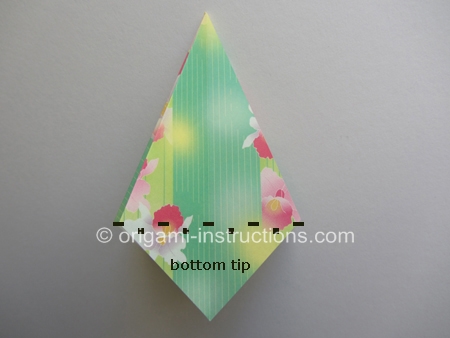
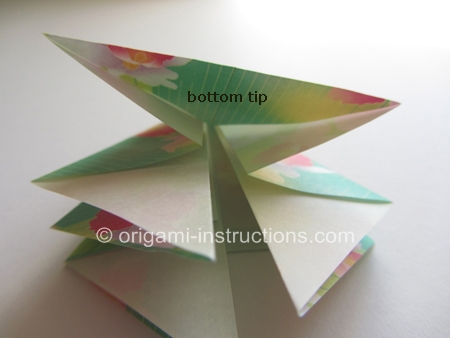
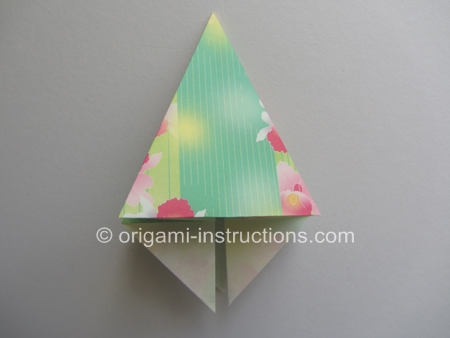
Origami 8-pointed Vase Step 4: You now have 3 more bottom tips left. Repeat Steps 2 and 3 on the other sidesand you're left with a triangle-shaped paper.

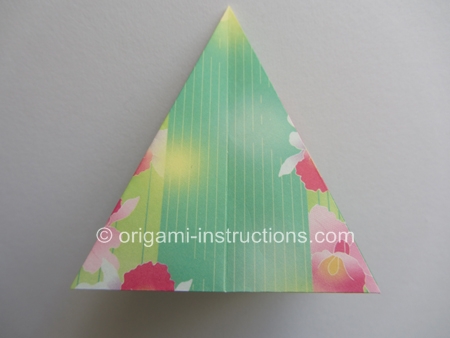
Origami 8-pointed Vase Step 5: Fold both the right and left corners to meet in the center. Crease well and unfold.
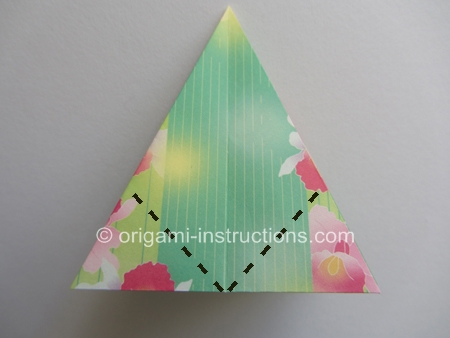
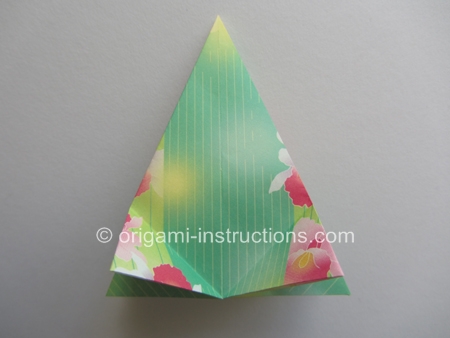
Origami 8-pointed Vase Step 6: Now use the creases to make inside reverse folds. This is a commonly used technique in origami.
It means you push the corners inwards. In this case, the bottom corners will be pushed inwards towards the center.
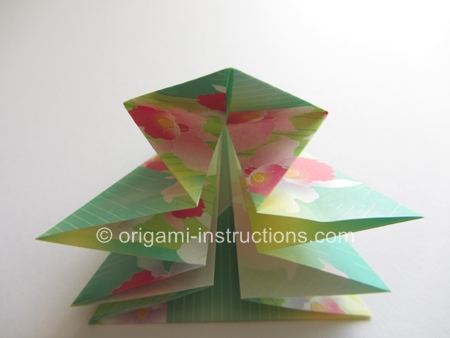
See how by making the 2 inside reverse folds, the bottom corners have "disappeared"? And the top layer is no longer triangle-shaped?
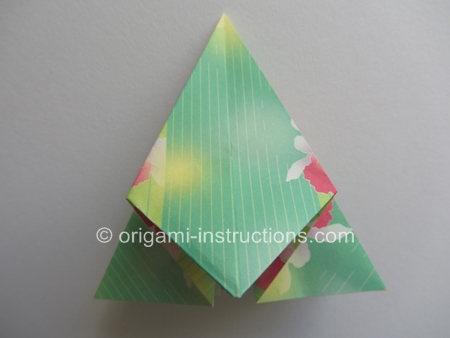
Origami 8-pointed Vase Step 7: Repeat Steps 5 and 6 on the other sides of the paper ( six more inside reverse folds) and your paper should now look like this....
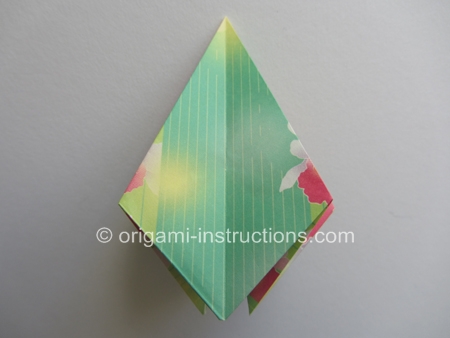
Origami 8-pointed Vase Step 8: Make a horizontal valley fold.
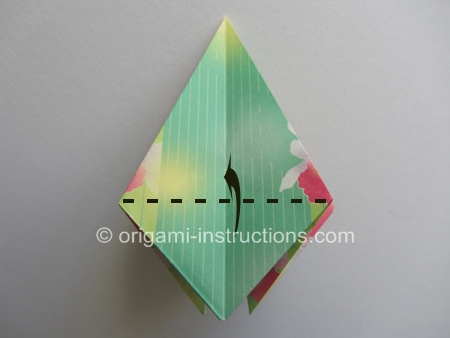
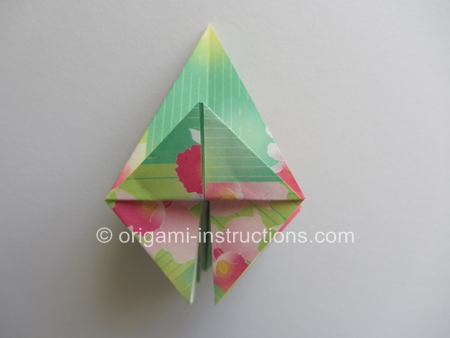
Origami 8-pointed Vase Step 9: Once again, we'll be repeating the valley fold on all sides. So fold the top layer from the right to left.
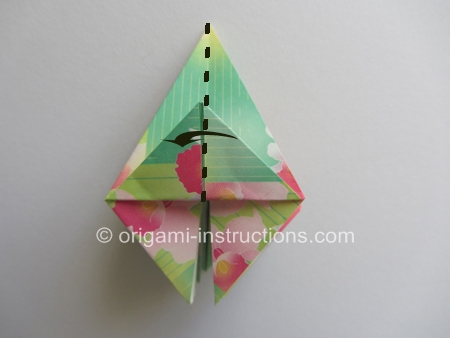
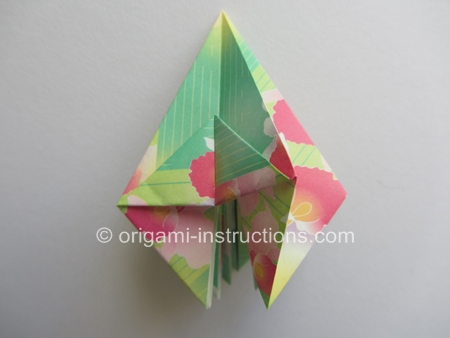
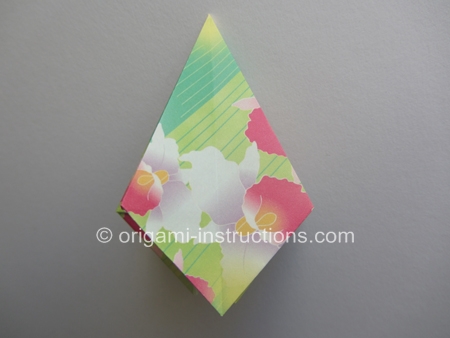
Origami 8-pointed Vase Step 10: Repeat Steps 8 and 9 seven more timesso that all sides are taken care of. Your paper should now be back to a triangle shape.
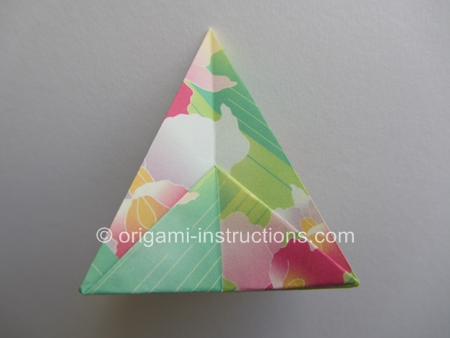
Origami 8-pointed Vase Step 11: Fold point A to B. Crease well and unfold. If you want a "taller" vase, don't fold point A all the way to B.
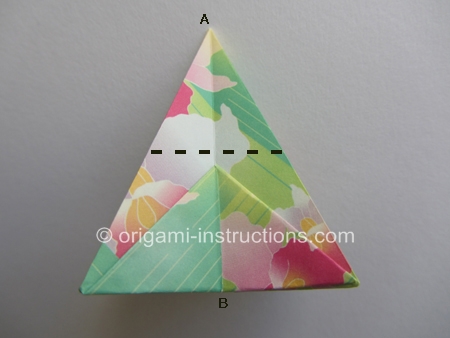
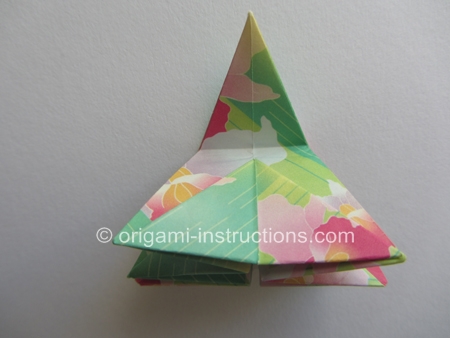
Origami 8-pointed Vase Step 12: We're now going to transform the paper! Pry the paper open in the center.
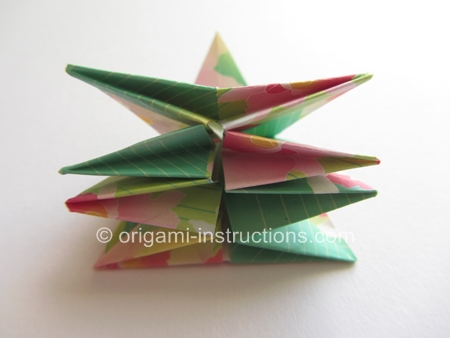
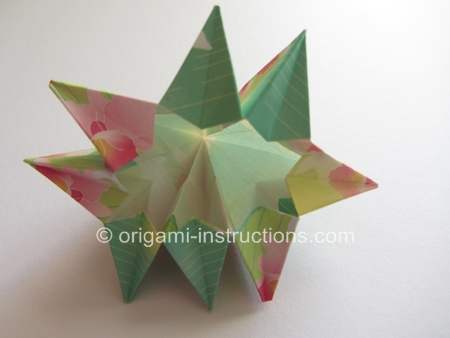
Push down the paper in the center to form the base. And your origami 8-pointed vase is complete! It's pretty, isn't it?
