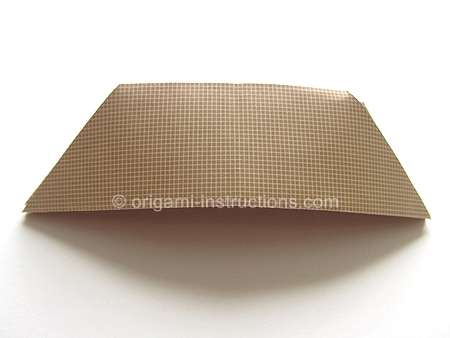
Origami Army Cap
Made this origami? Comment and Submit your photo using the comment box at the end of this page!
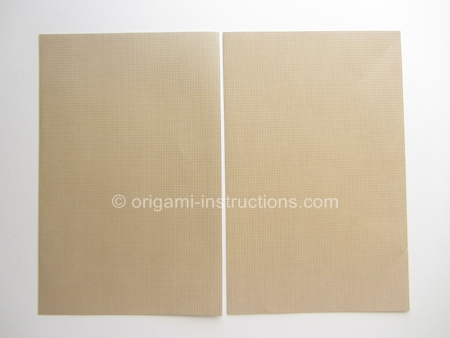
Origami Army Cap Step 1: Start by dividing a 8.5 inch x 11 inch (21.5cm x 27.9cm) paper in 2. We'll only use one half of the paper.
You'll be able to wear the origami army cap if you use a larger sheet of paper e.g. newspaper.
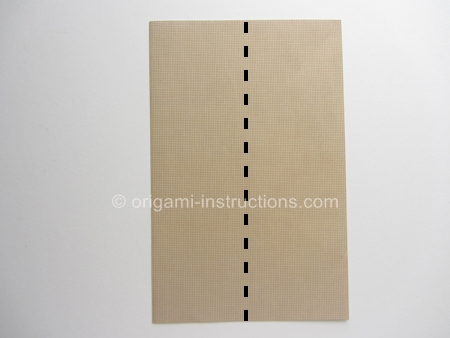
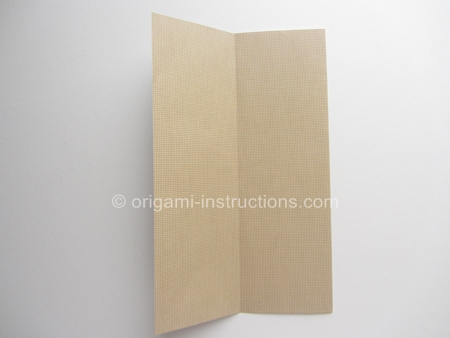
Origami Army Cap Step 2: With the color side up, fold paper in half on the vertical axis. Crease well and unfold.
Origami Army Cap Step 3: Fold paper in half on the horizontal axis.
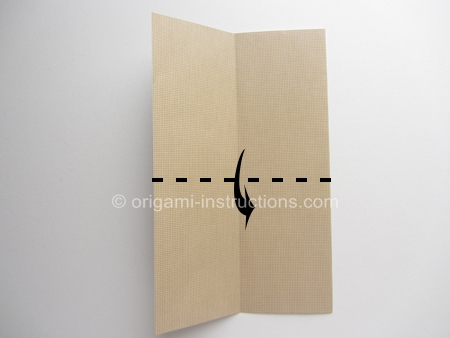
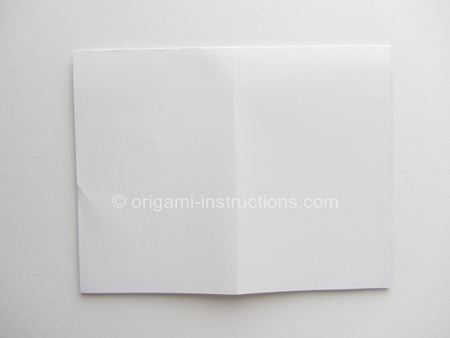
Origami Army Cap Step 4: Fold both the top right and left corners to meet in the center.
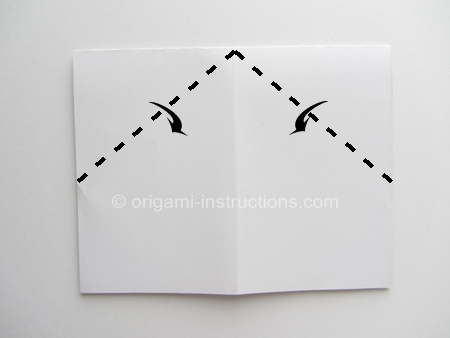
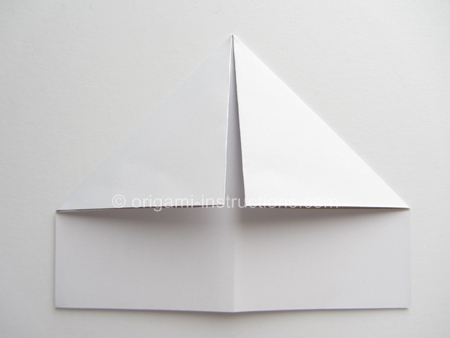
Origami Army Cap Step 5: Make the horizontal valley fold. Crease well and unfold.
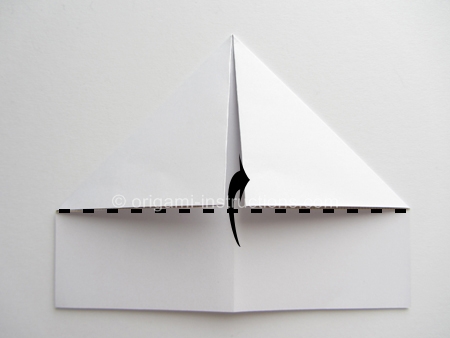
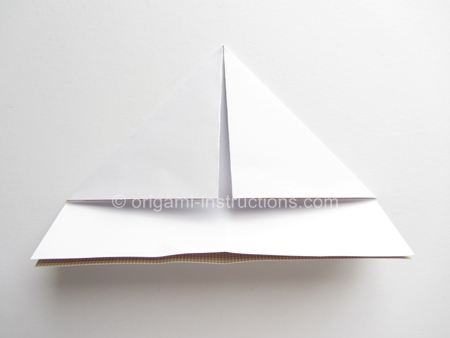
Origami Army Cap Step 6: Flip paper over. Fold down the top tip.
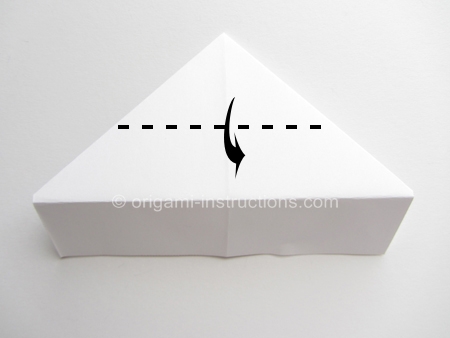
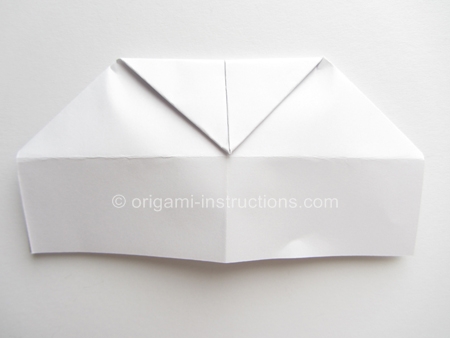
Origami Army Cap Step 7: Make the horizontal valley fold. Notice we're folding the upper layer only.
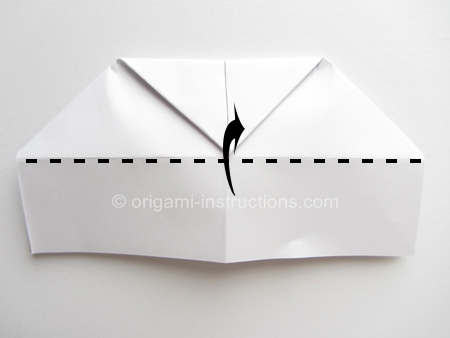
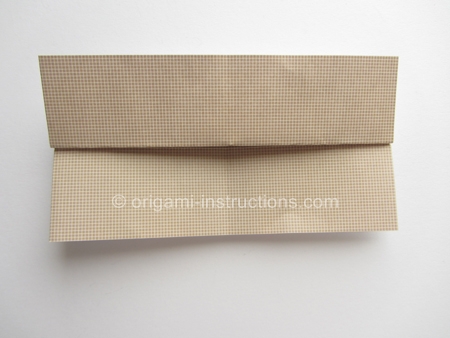
Origami Army Cap Step 8: Flip paper over. Make the 4 diagonal folds.
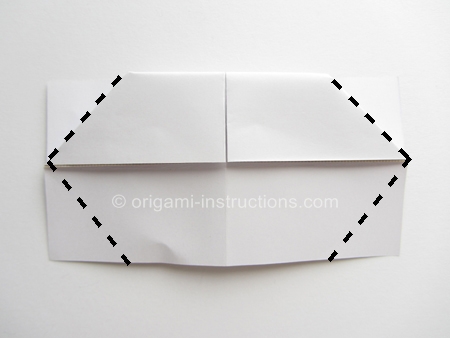
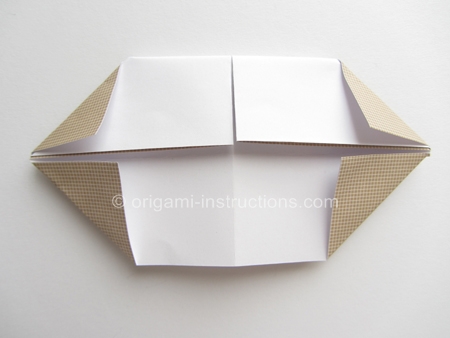
Origami Army Cap Step 9: Fold up the bottom half.
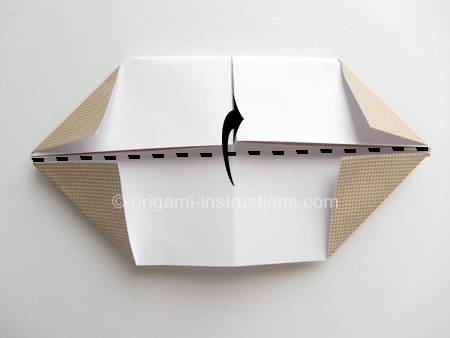
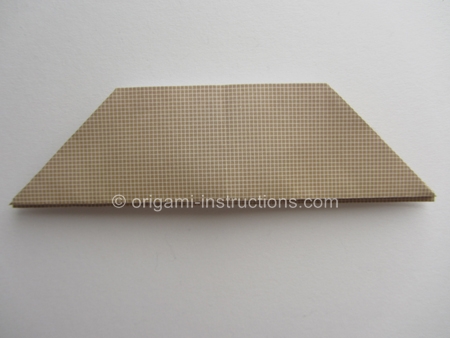
Origami Army Cap Step 10: Pry paper open and your origami army cap is complete!
