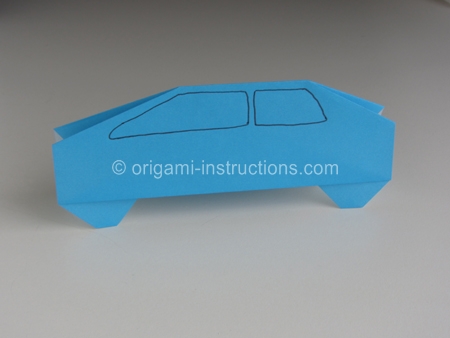
Origami Car
This origami car is very easy to make.
Made this origami? Comment and Submit your photo using the comment box at the end of this page!
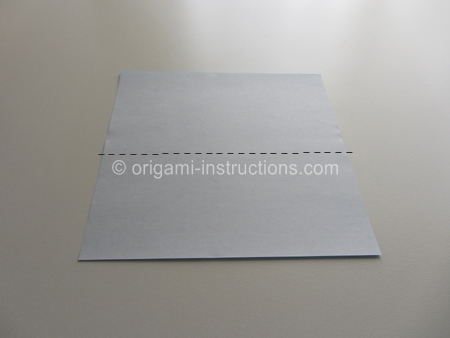
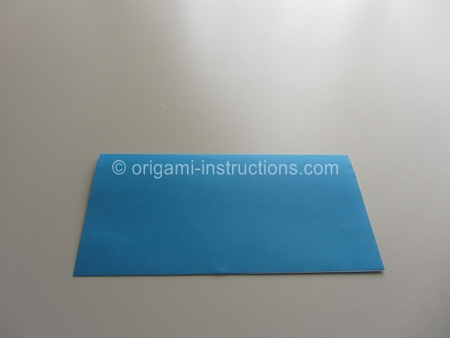
Start with a square of origami paper, color side down. Make a valley fold , then unfold.
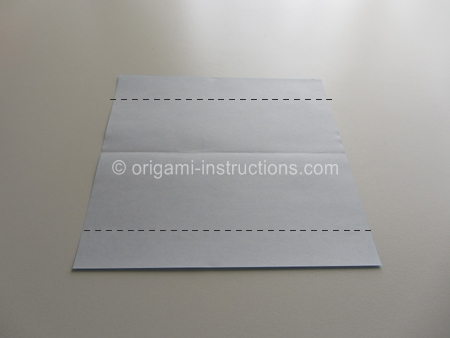
Now make valley folds as shown, at about the 1/3 line for both top and bottom halves of the paper.
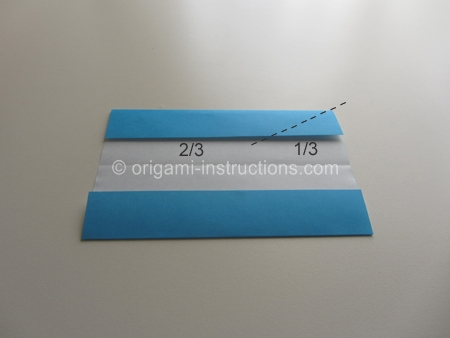
Next make a valley fold as shown on the top right corner flap. This should be at about the 1/3 point of the flap.
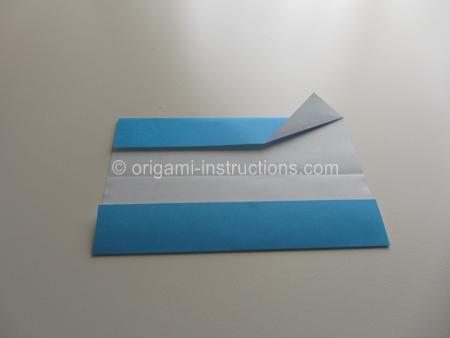
Repeat this fold for the other three (3) flaps.
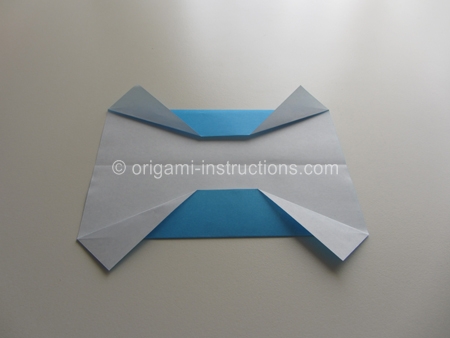
Now fold the tips of the corners down as shown. Then fold the entire piece in half, and repeat the tip folds. Doing it in this order helps the car sit neatly on the tires.
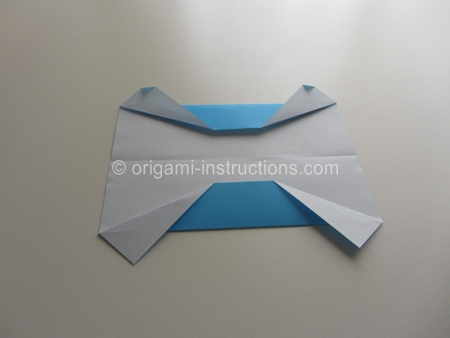
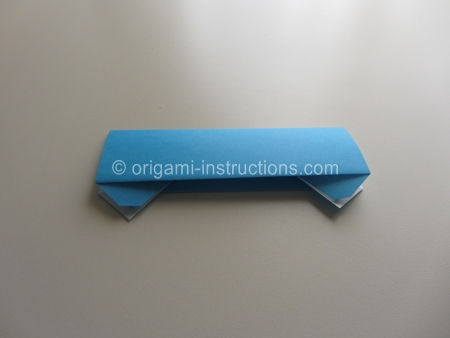
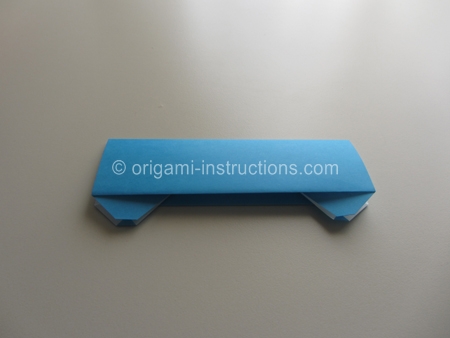
Now do inside reverse folds to form the front and back windshields of the car.
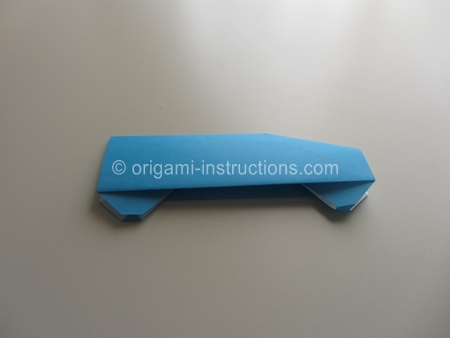
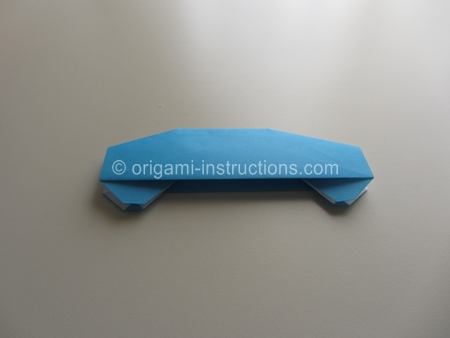
And now your origami car is done! Draw side windows on the car if you like.
