Origami Coin Purse
Made this origami? Comment and Submit your photo using the comment box at the end of this page!
So this is really a simple origami. The most difficult step in folding this particular origami is diving the paper into thirds!
Now it would be easy if the paper was exactly at 6 inches but no, it is 5 7/8 inches. So don't even try dividing that!
The paper is actually 15 cm in the metric system, so 15cm divided by 3 is 5cm - easy!
OK, let's not get ahead of ourselves. Let's start folding!
Origami Coin Purse Step 1: Start with a 6 inch (15cm) square origami paper, color side down.

Origami Coin Purse Step 2: Fold it in half, horizontally.
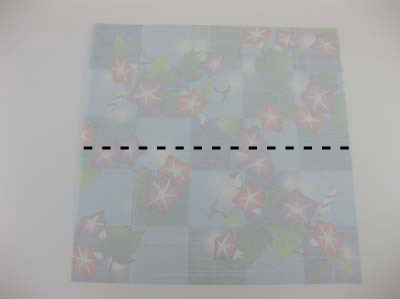

Origami Coin Purse Step 3: Now comes the "difficult" part. Measure 5 cm from the right edge and mark it. Fold it at the mark. Crease well.
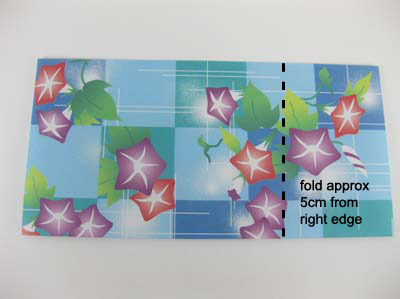

Origami Coin Purse Step 4: Now open up the fold you just made, and we're going to make a squash fold. Open the paper slightly, and press it flat to form a triangle.

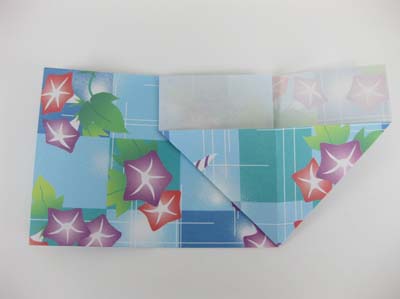
Origami Coin Purse Step 5: Now repeat Step 4 for the left side. Mark 5 cm from the left, fold and crease well at the mark. Then open back up the fold, and make a squash fold.
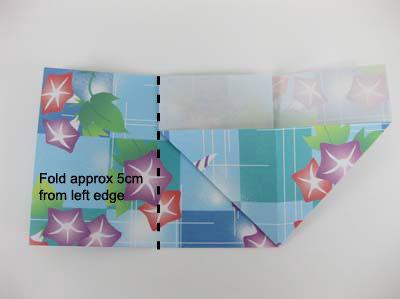

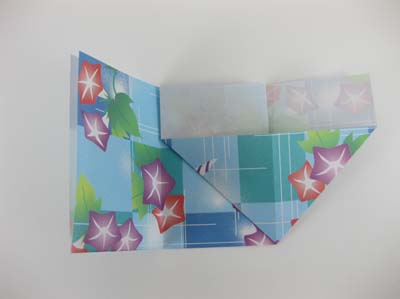

Origami Coin Purse Step 6: Flip paper over.

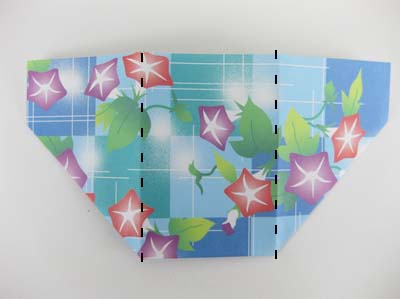
Origami Coin Purse Step 7: Now we will on the dash lines shown below. First fold the right side over, crease well. Then fold the left side over. Crease well.

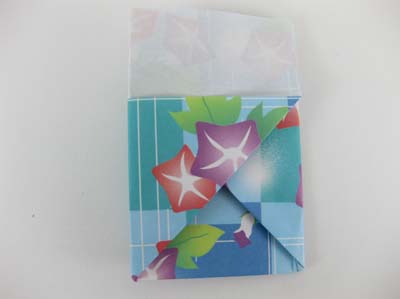
Origami Coin Purse Step 8: Fold the top flap down to meet the upper edge as shown in the photo below.
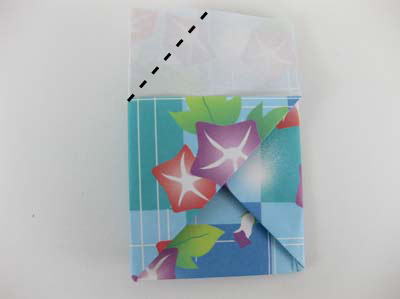
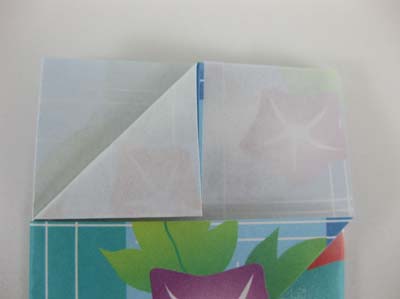
Origami Coin Purse Step 9: Then fold the entire top flap down.
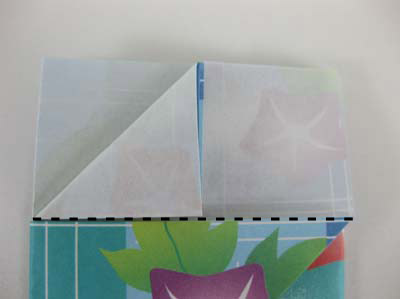
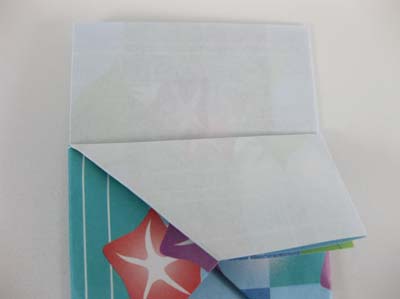
Origami Coin Purse Step 10: Now make a mountain fold on the diagonal line shown in the photo below. Once you've done that, you can tuck away the entire right side of the flap.
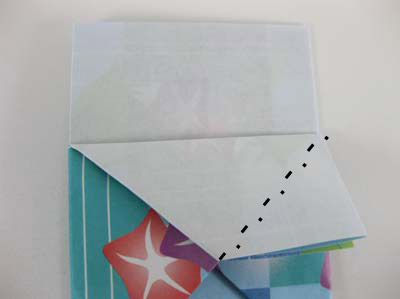
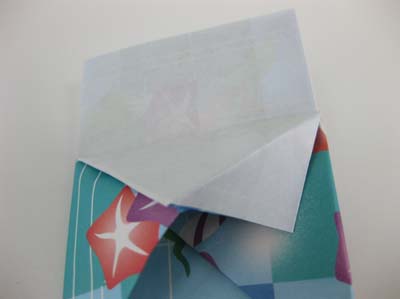
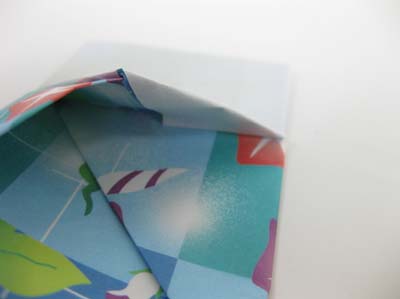


Origami Coin Purse Step 11: Flip paper over and repeat Step 10 on this other side. Once again, make a diagonal fold at the top.
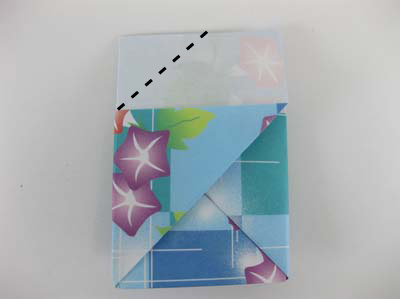
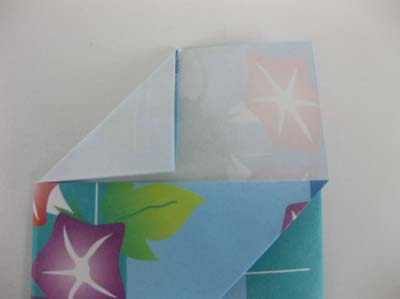
Then, fold the flap down.


Crease the paper on the diagonal and tuck it under.

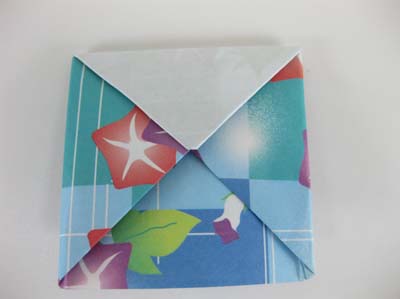
Origami Coin Purse Step 12: Now your beautiful but small origami coin purse is complete! Use it to store coins!
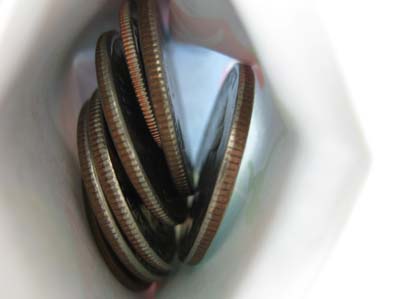
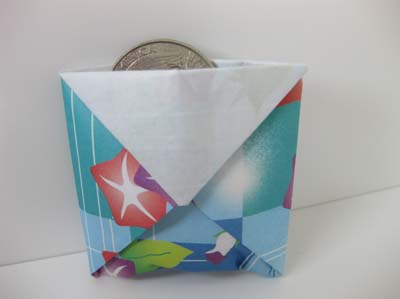
Check out the many origami coin purse photos that have been submitted by our readers!
