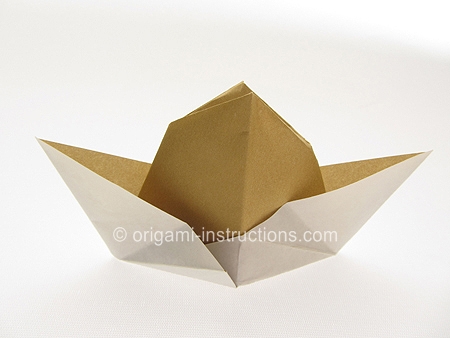
Origami Cowboy Hat
Made this origami? Comment and Submit your photo using the comment box at the end of this page!
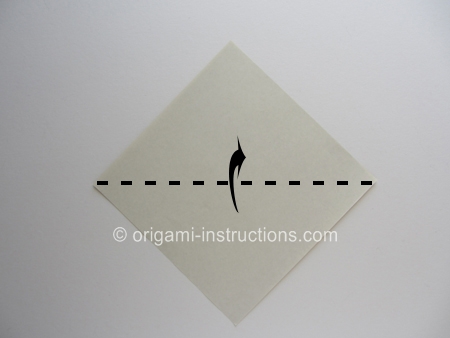
Origami Cowboy Hat Step 1: Start with a 6 inch x 6 inch (15cm x 15cm) square origami paper, color side down.
Fold paper in half on the horizontal diagonal axis. Crease well.
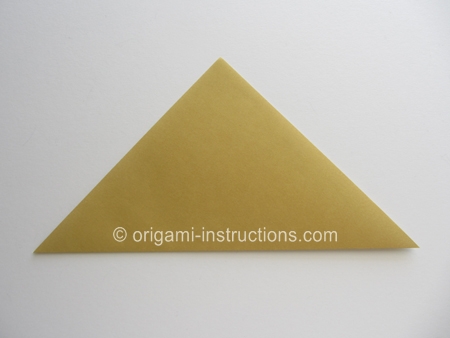
Origami Cowboy Hat Step 2: Fold the top tip down (top layer only) to the bottom edge. Crease well and unfold.
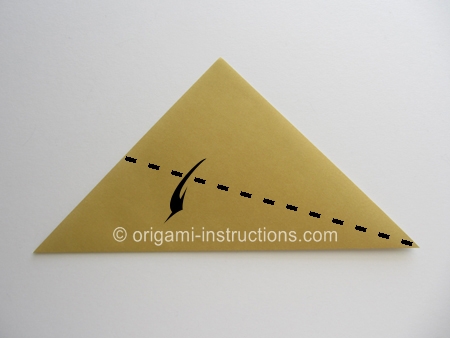
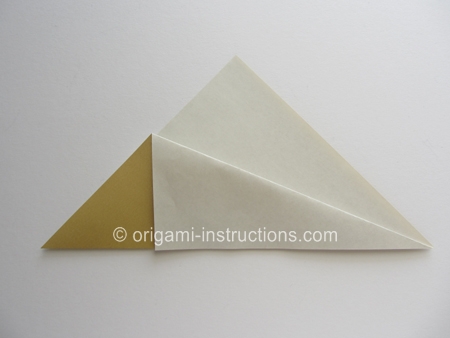
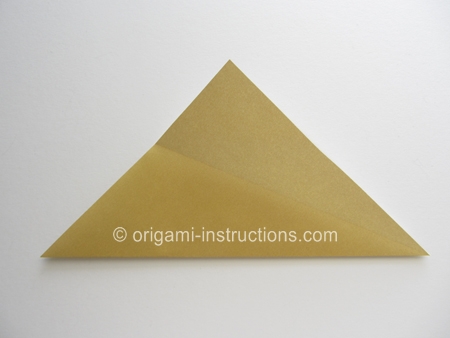
Origami Cowboy Hat Step 3: Now fold point A to B. Crease well.
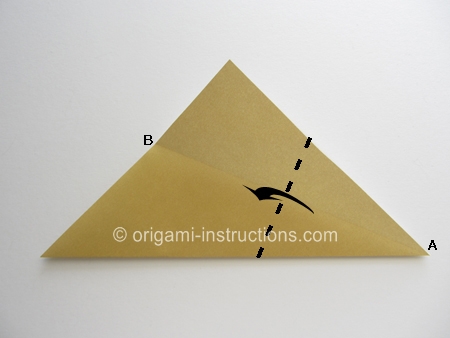
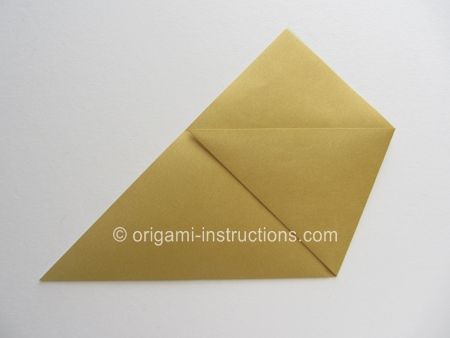
Origami Cowboy Hat Step 4: Fold point C to point D. Crease well.
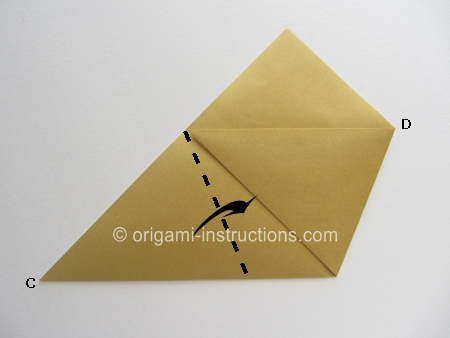
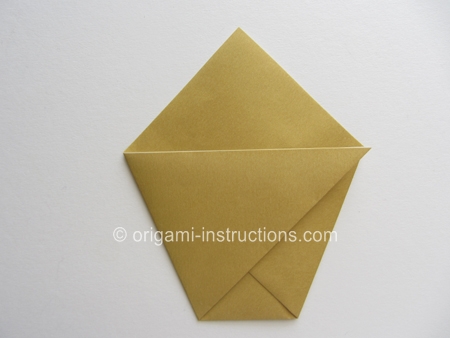
Origami Cowboy Hat Step 5: Fold down the top tip.
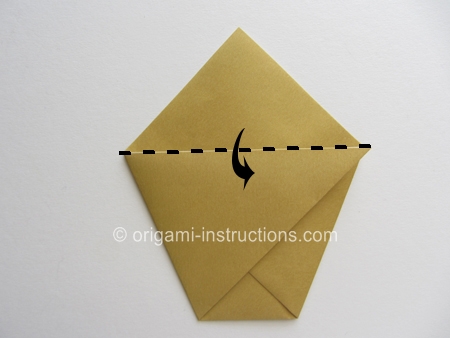
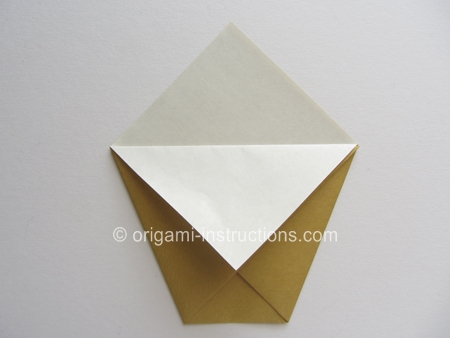
Origami Cowboy Hat Step 6: Flip paper over and fold down the top tip on this side as well.
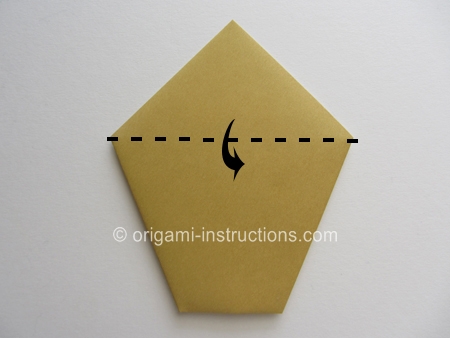
As you can see, we've folded the origami cup!
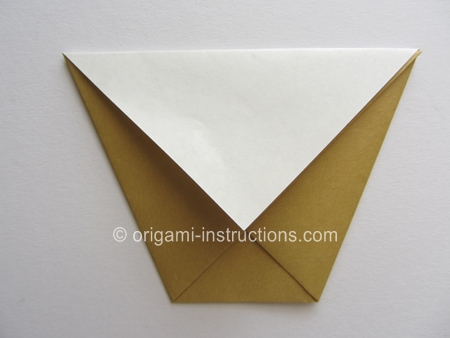
Origami Cowboy Hat Step 7: Rotate paper 180 degrees. Make the diagonal mountain creases.
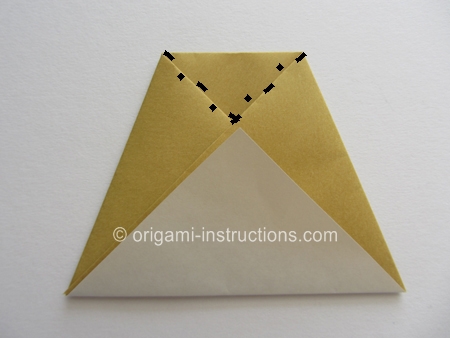
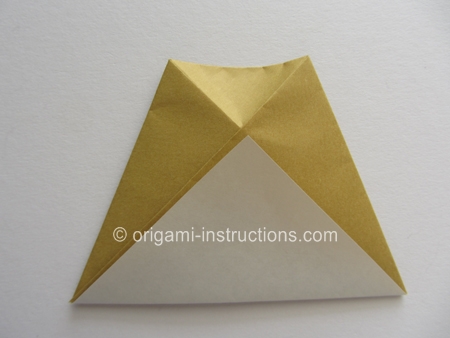
Origami Cowboy Hat Step 8: Fold paper in half by making a mountain fold. Crease and unfold.
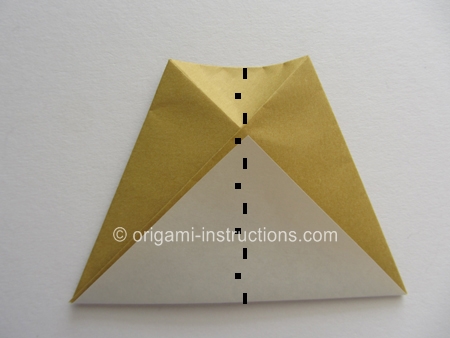
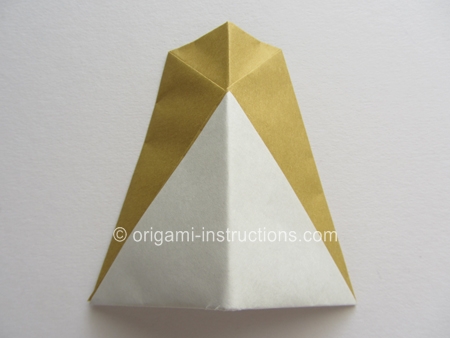
Origami Cowboy Hat Step 9: Now pry paper open at the bottom and press down the top.
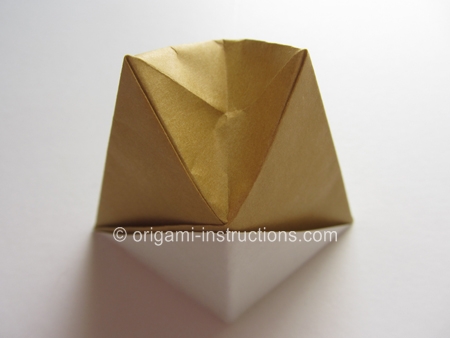
Origami Cowboy Hat Step 10: Press paper flat and turn it to the side.
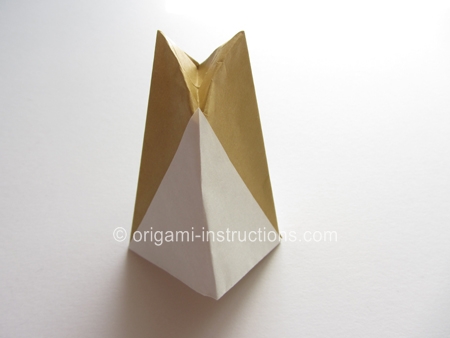
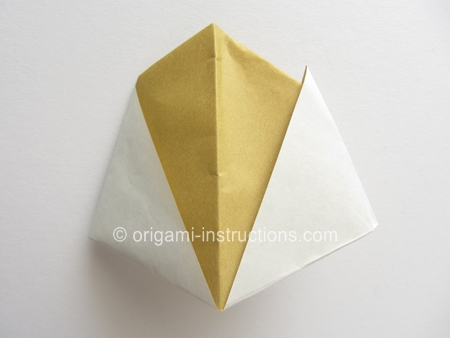
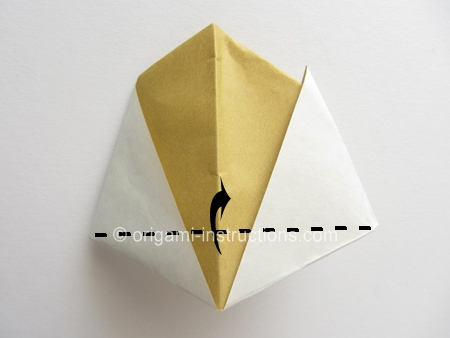
Origami Cowboy Hat Step 11: Make the horizontal valley fold as indicated below.
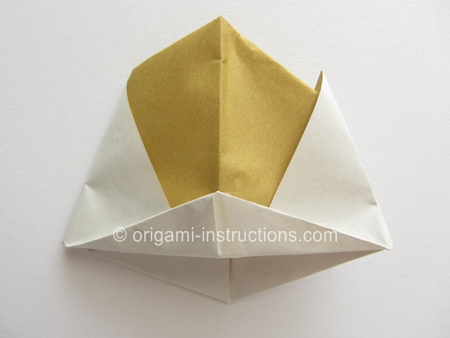
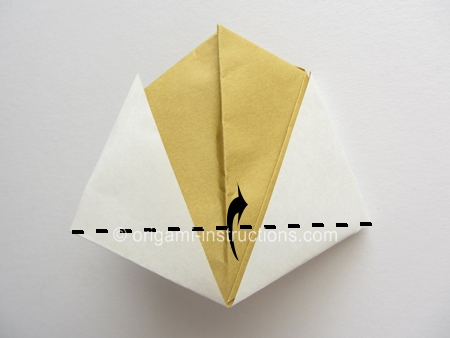
Origami Cowboy Hat Step 12: Flip paper over and make a horizontal valley fold on this side.
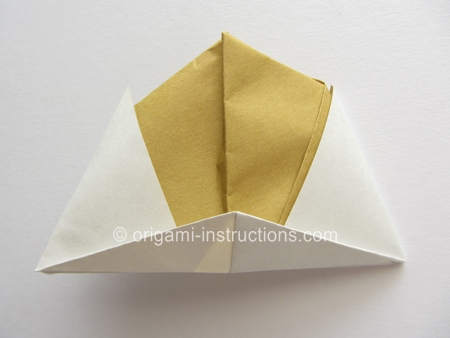
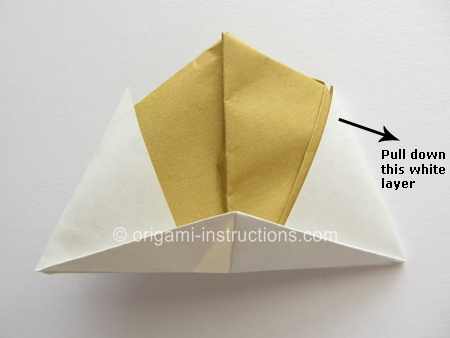
Origami Cowboy Hat Step 13: Gently pull down the white layer on the right side. Press paper flat on the edges.
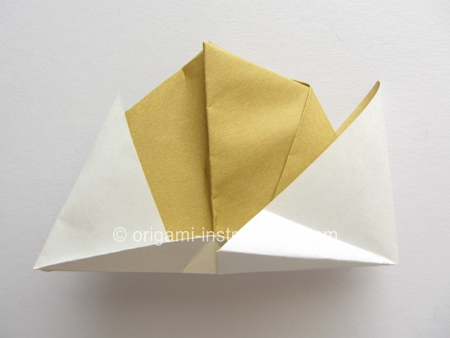
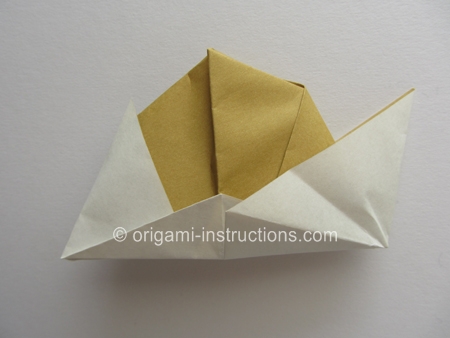
Origami Cowboy Hat Step 14: Repeat Step 13 on the left side.
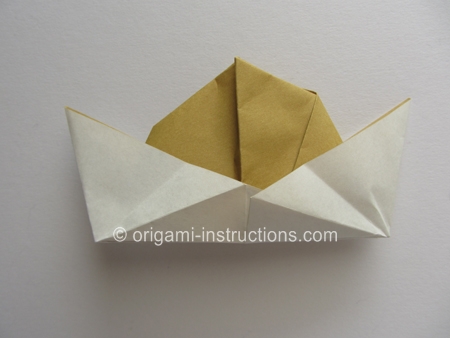
Pry paper open at the bottom and your origami cowboy hat is complete!
