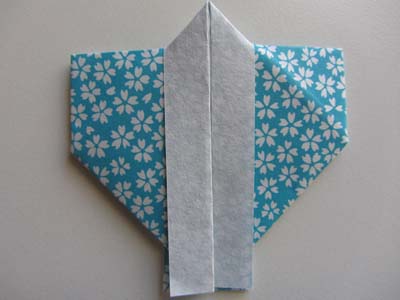
Origami Happi Coat
Made this origami? Comment and Submit your photo using the comment box at the end of this page!
This origami happi coat can be used as a decoration in front of a greeting card.
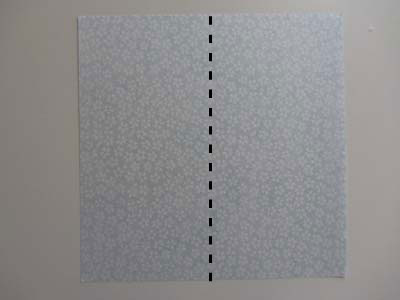
Origami Happi Coat Step 1: Start with a 6 inch x 6 inch (15cm x 15cm) square origami paper, color side down.
Fold in half on the vertical axis. Crease well and unfold.
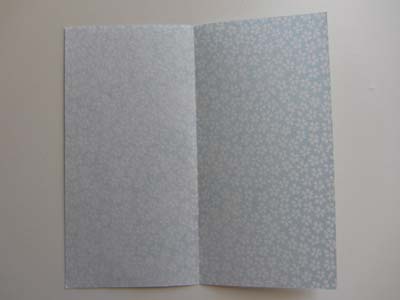
Origami Happi Coat Step 2: Fold paper in half, this time on the horizontal axis.
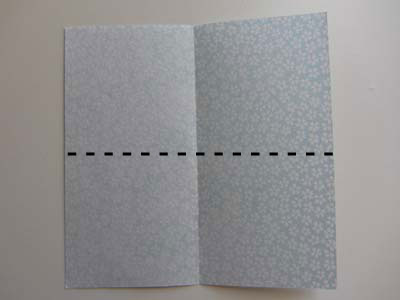
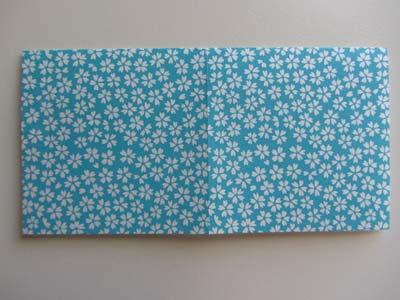
Origami Happi Coat Step 3: Now fold about 1/2 inch (~1cm) up from the bottom edge of the paper. Crease well and unfold.
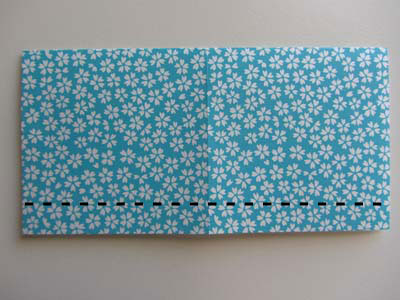
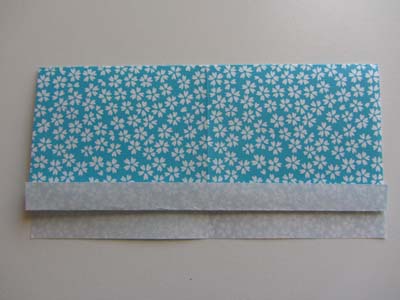
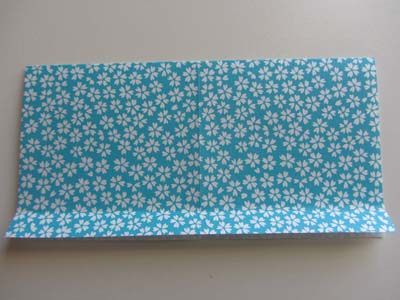
Origami Happi Coat Step 4: Now fold both sides to meet the crease you just made.
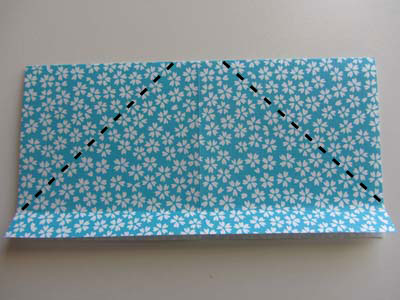
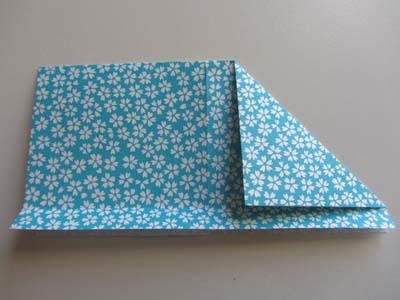
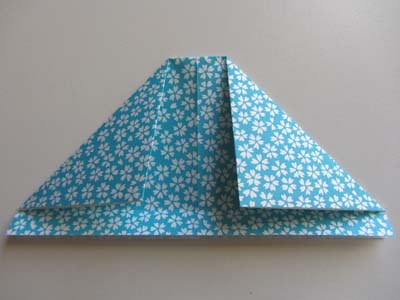
Origami Happi Coat Step 5: Repeat Step 3 to make that fold again. Crease well.
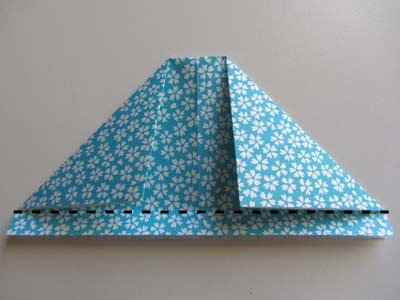
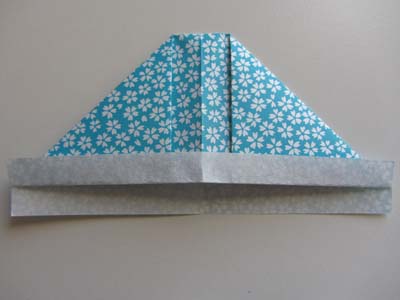
Origami Happi Coat Step 6: Flip paper over. Fold down the top so that the edges on both sides are lined up.
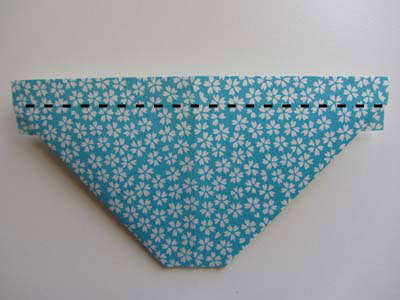
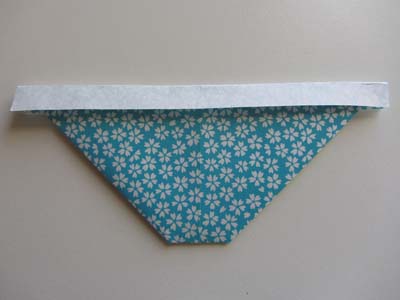
Origami Happi Coat Step 7: Now fold both sides to meet in the center.
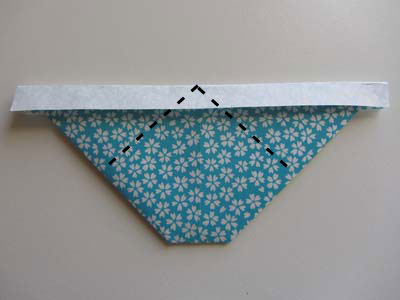
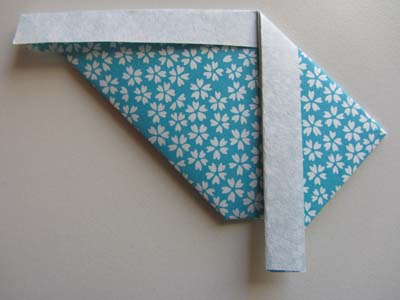
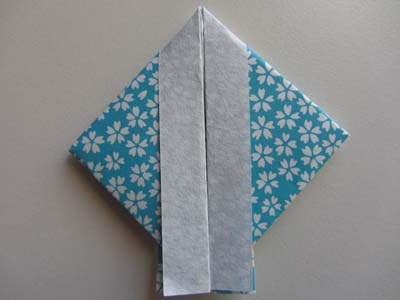
Origami Happi Coat Step 8: Make a fold where indicated below. Crease well and unfold.
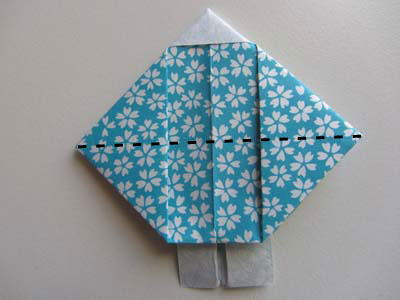
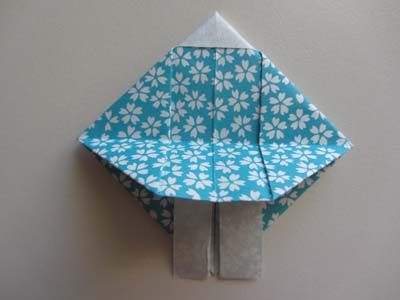
Origami Happi Coat Step 9: Pry open the "pocket" on each side.
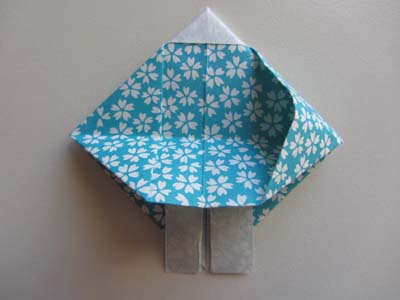
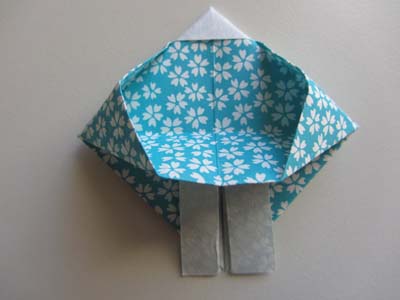
Then press the paper flat.
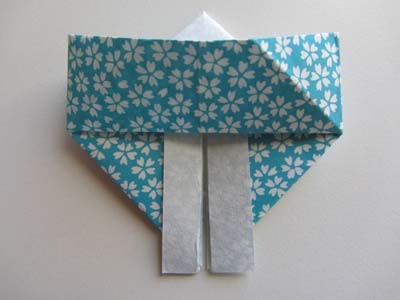
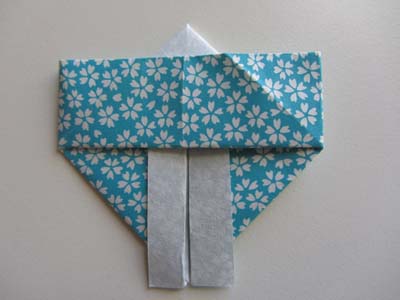
Origami Happi Coat Step 10: Flip paper over. Your origami happi coat is complete!
