Origami Horse Instructions
Made this origami? Comment and Submit your photo using the comment box at the end of this page!
Here's the video instructions:
Start with a square of origami paper, colored side down.
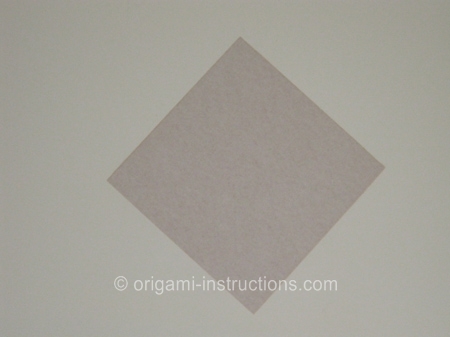
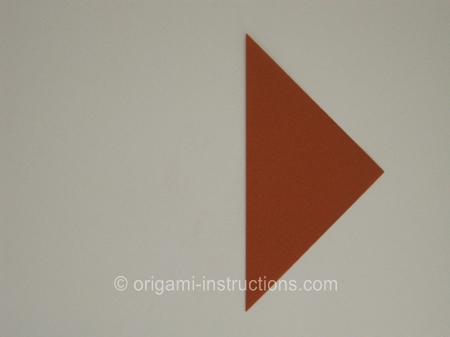
Make a valley fold along one diagonal, then unfold:
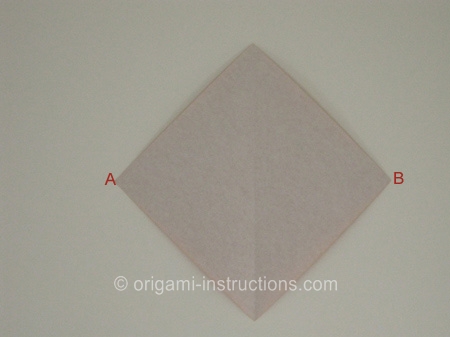
Now fold corners A and B to the centerline to form a kite:
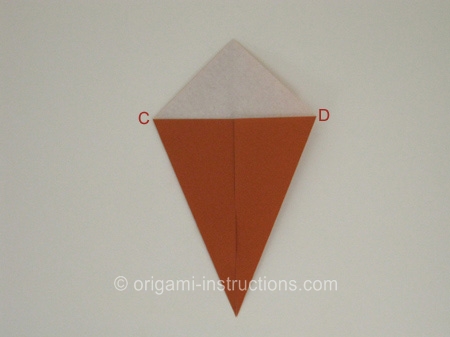
Then fold corners C and D to the centerline.
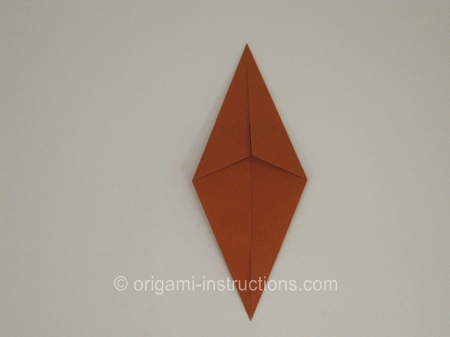
Then put your index finger in one of the pockets just created, and make a squash fold as shown in the next four (4) photos:
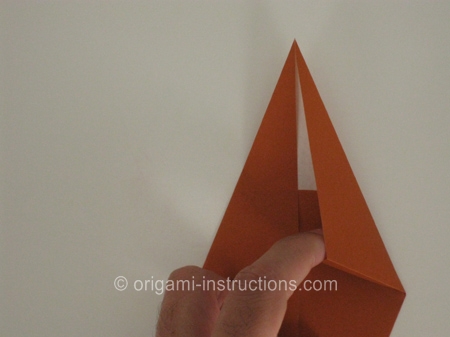
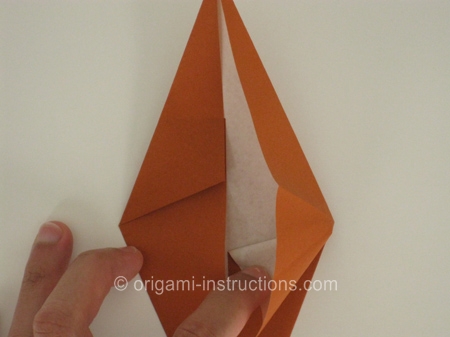
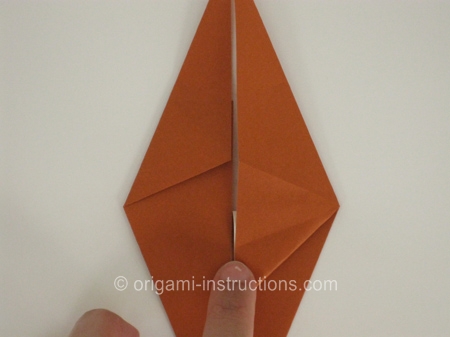
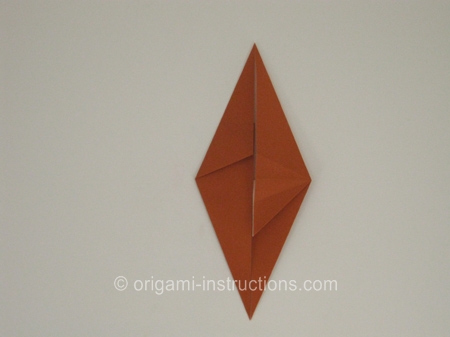
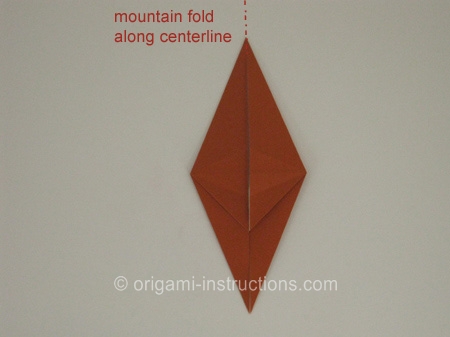
Repeat on the other side, then fold the piece in half along the long centerline:
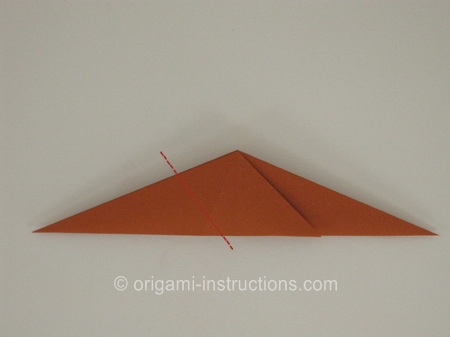
Next crease along the dotted line, in preparation for an inside reverse fold to form the neck of the horse:
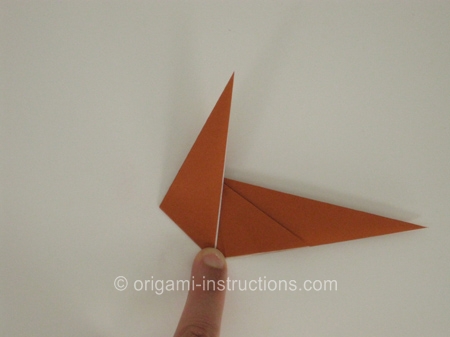
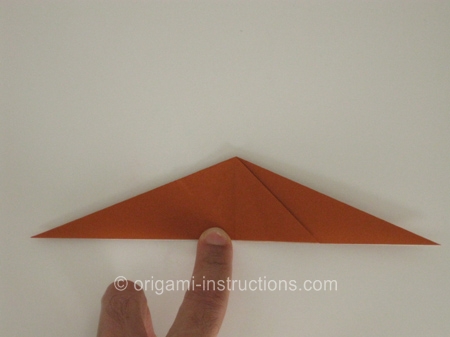
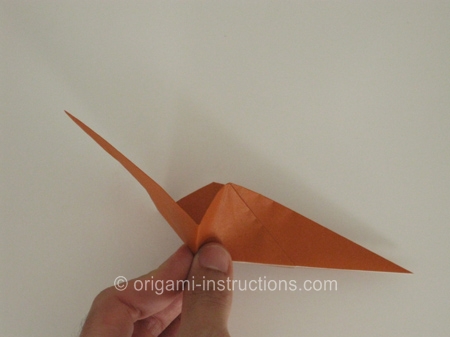
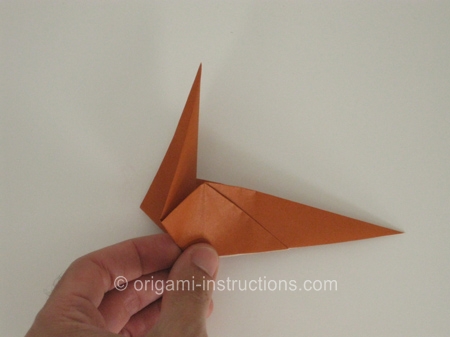
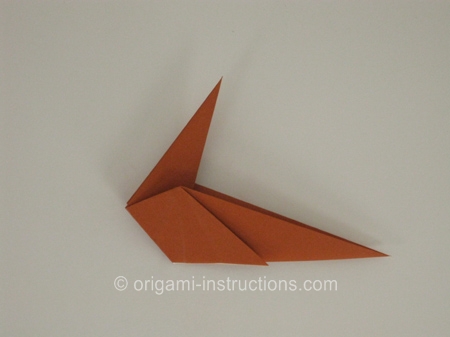
Now do another inside reverse fold to form the head of the horse, followed by one more to form the mouth:
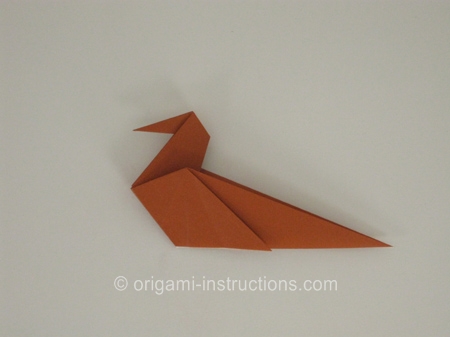
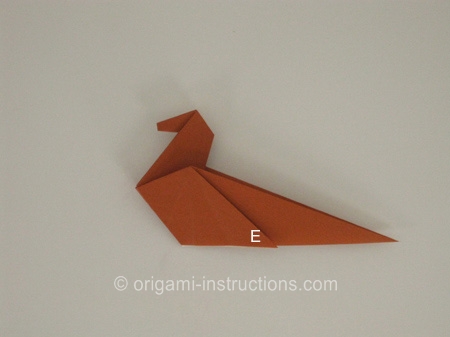
Next we start on the legs. Fold corner E forwards as shown, and repeat on the backside:
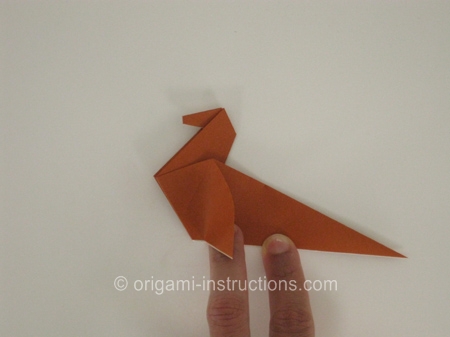
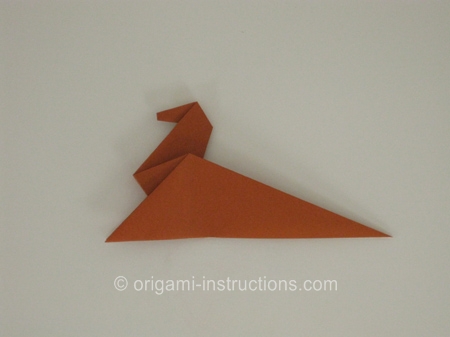
Then do an outside reverse fold to form the back legs, as shown in the next five (5) photos:
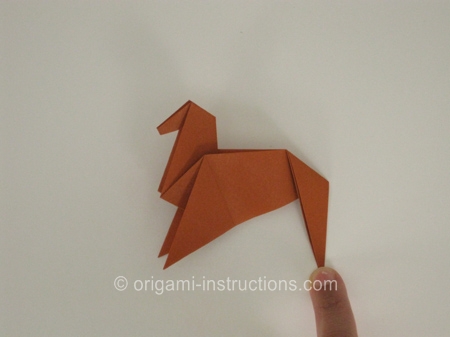
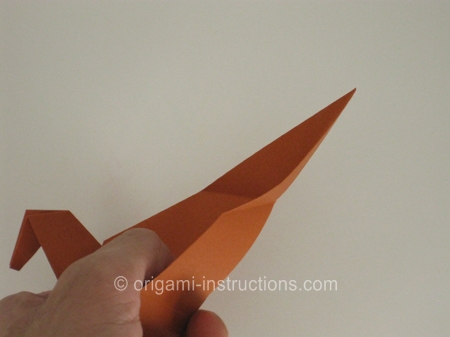
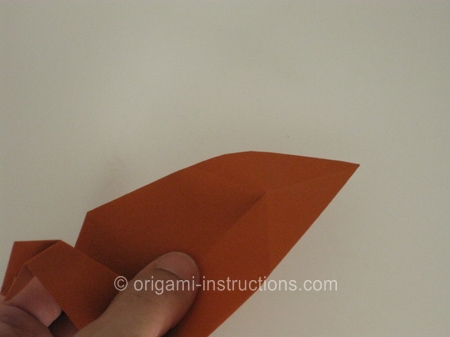
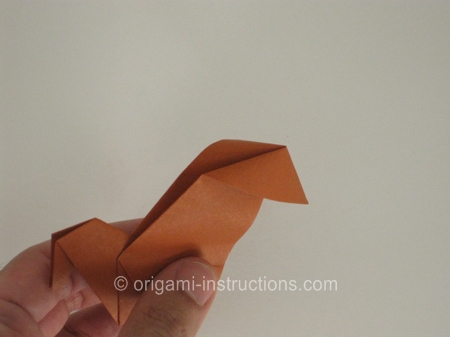
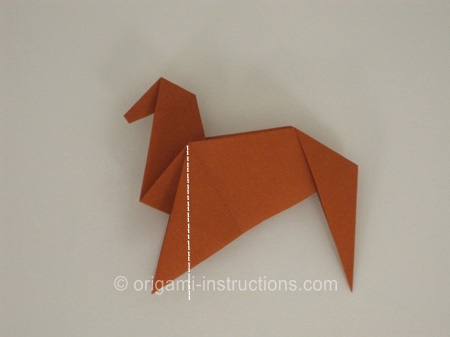
Fold along the dotted line, then repeat on the backside, to form the front legs:
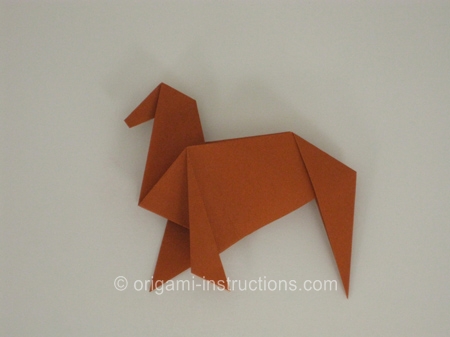
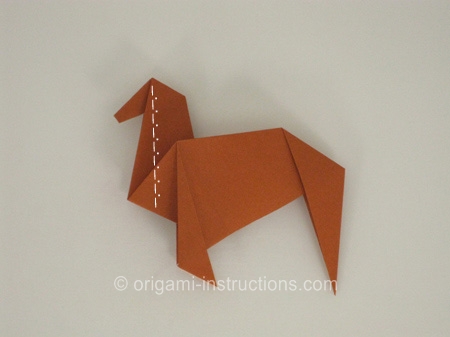
Fold along the dotted line, tucking the flap inside to finish forming the neck. Repeat on the backside:
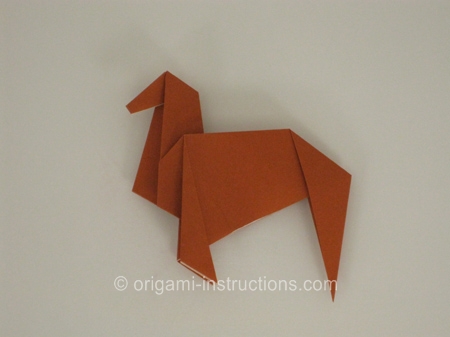
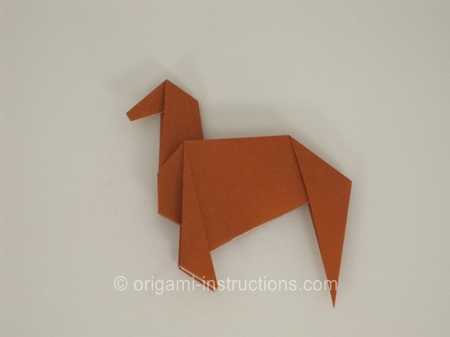
An inside fold at the tip of the back legs forms the hooves. Use pen / pencil / markers to add eyes and a mane to the horse.
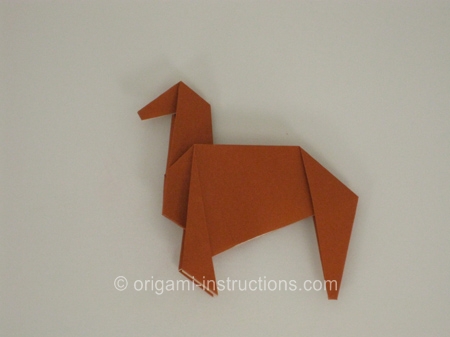
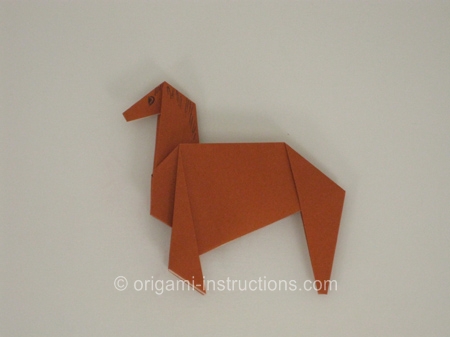
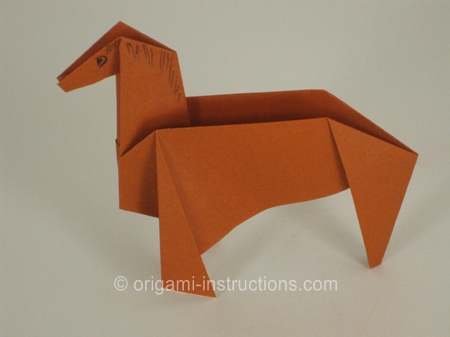
Now your origami horse is complete! Make sure to give the horse a cool name, like Secretariat.
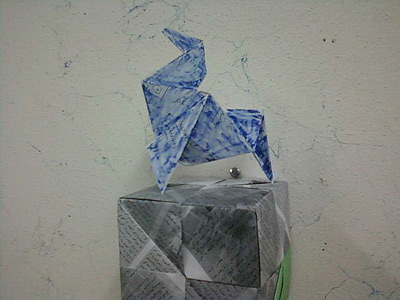
From Reza in Mashad "My origami horse on my origami cube... "
Good job, Reza!
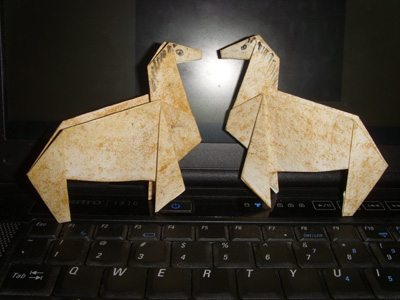
From Chaminda in Colombo:
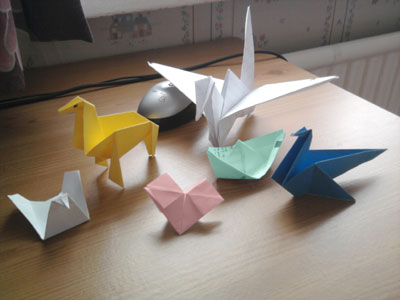
From Katrina in Shrewsbury " Origami horse, origami swan, origami birds, origami boat and origami heart."
