Origami Pig Base
Origami Pig Base Step 1: Start with a 6 inch x 6 inch (15cm x15cm) square origami paper, color side down.

Origami Pig Base Step 2: Fold in half. Crease well and unfold.
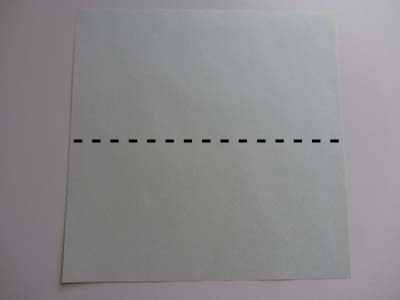

Origami Pig Base Step 3: Fold both the top and bottom halves to meet the center crease.
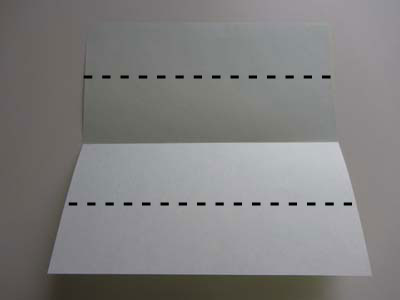
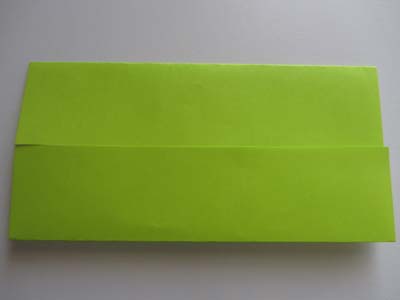
Origami Pig Base Step 4: Fold paper in half on the vertical axis. Crease well and unfold.
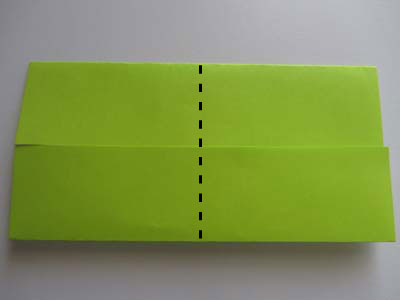
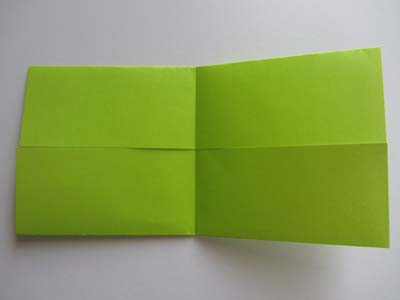
Origami Pig Base Step 5: Fold both the right and left halves to meet the center crease. Crease well and unfold.
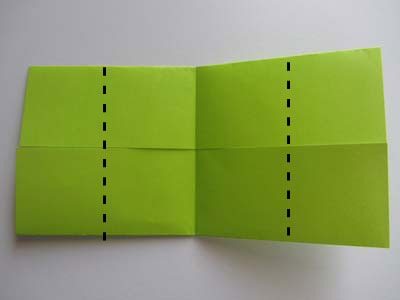
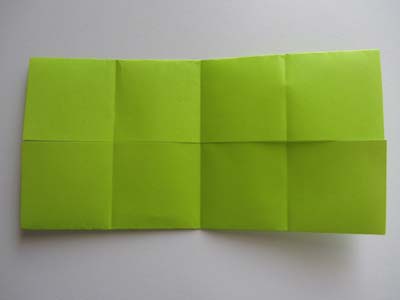
Origami Pig Base Step 6: Fold all 4 corners on the diagonal as shown below. Crease well and unfold.
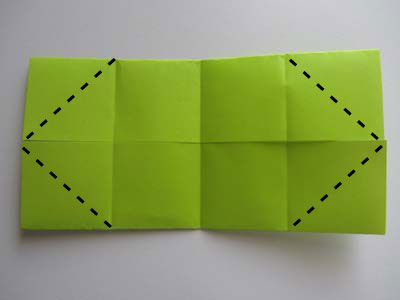
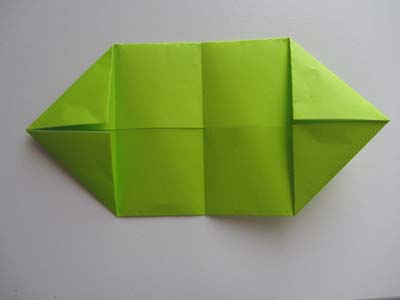
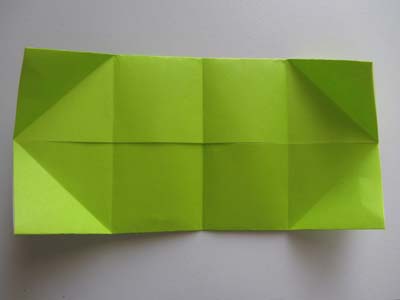
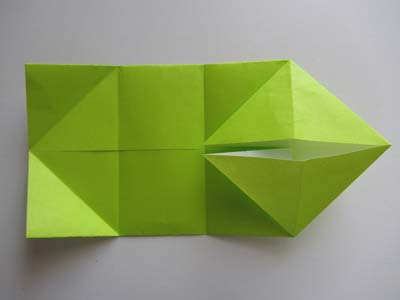
Origami Pig Base Step 7: Now we need to make a squash fold on each of the 4 corners.
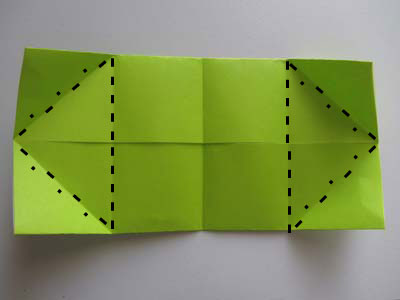
Let's start with the top right corner.
We've marked the points A, B, C, D to help show how they will move when we make the squash fold.
We need to make A-B, which is currently a valley fold, into a mountain fold and move it over to A-D.
Please refer to our page on valley and mountain folds if you're not clear as to what they are.
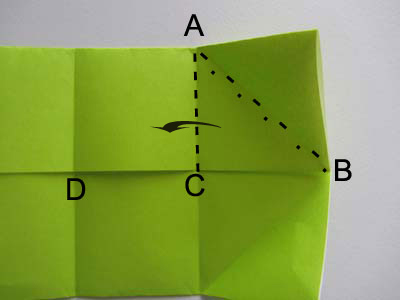
First, pry open the paper and pinch A-B into a mountain fold.
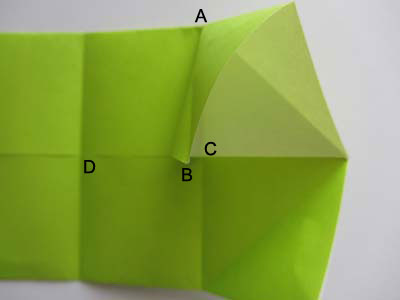
Now we'll bring the mountain fold A-B over to the left and squash it down flat.
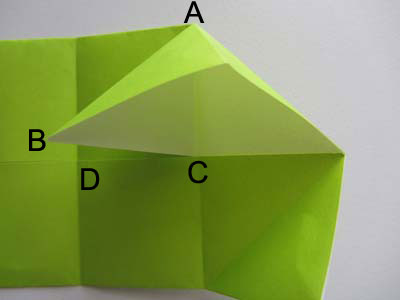
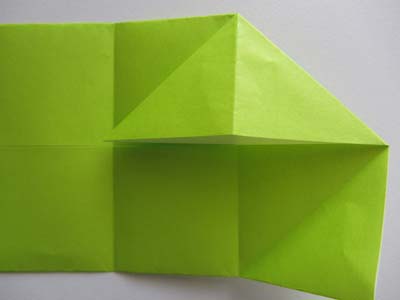
This is how your paper looks like now.
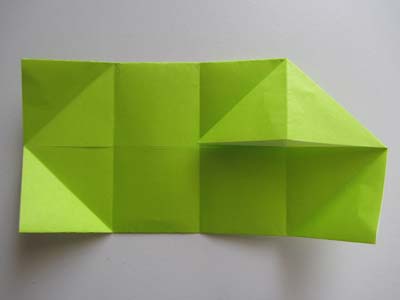
Origami Pig Base Step 8: Repeat the squash fold on the other 3 corners.
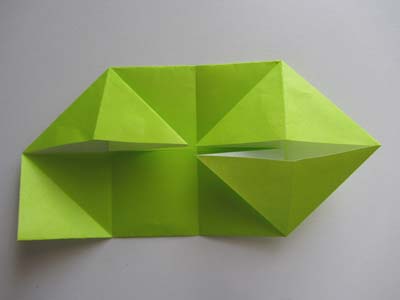
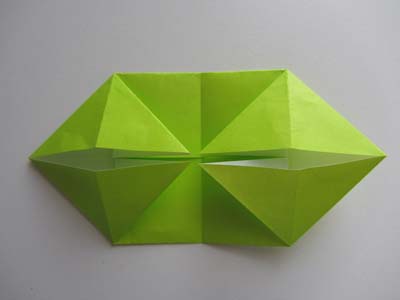
That's it! Your origami pig base is complete!
