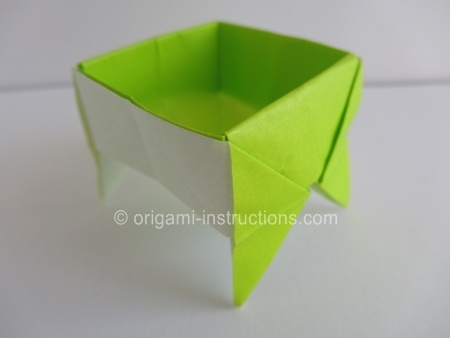
Origami Standing Container
Made this origami? Comment and Submit your photo using the comment box at the end of this page!
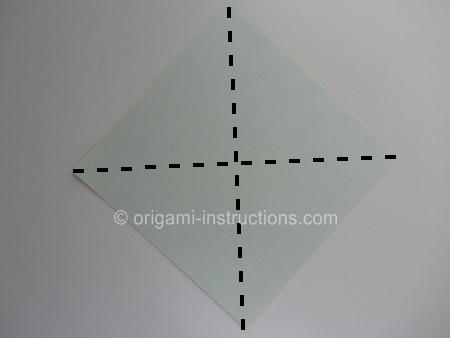
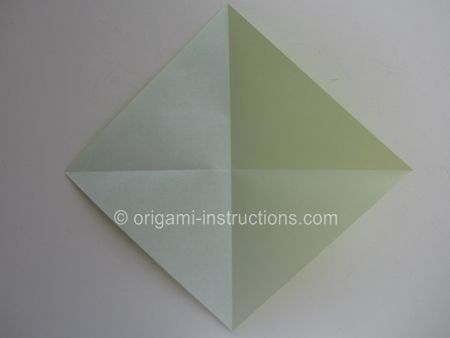
Origami Standing Container Step 1: Start with a 6 inch x 6 inch (15cm x 15cm) square origami paper, color side down. Fold paper in half on both diagonal axis. Crease well and unfold.
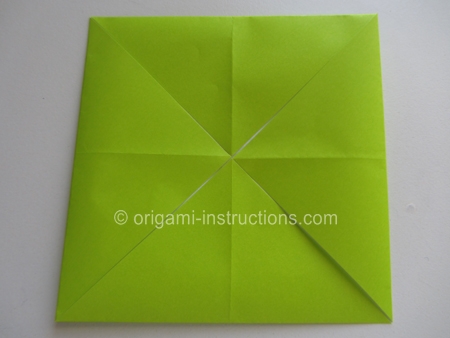
Origami Standing Container Step 2: Fold all 4 corners to the center.
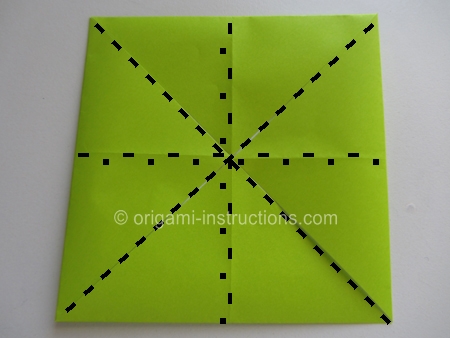
Origami Standing Container Step 3: Now recrease the paper with mountain and valley folds like you're making a square base.
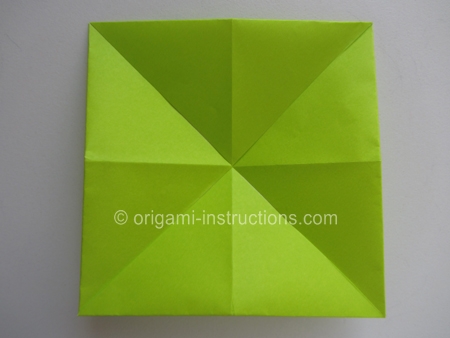
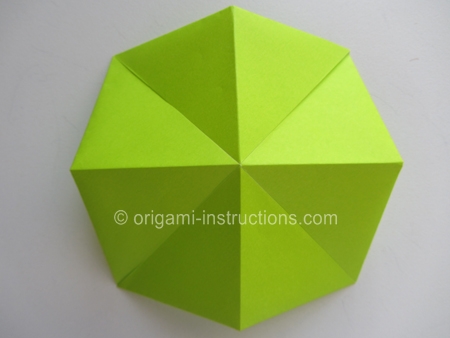
Origami Standing Container Step 4: Collapse paper into a square base. Please check our page on square base if you've never folded it or don't know what it is.
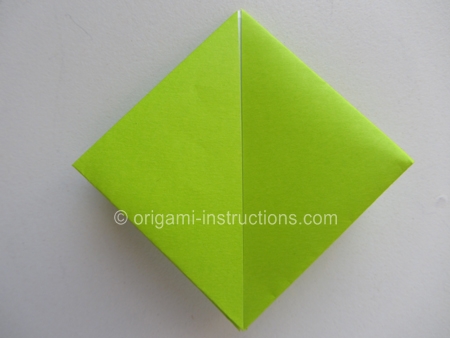
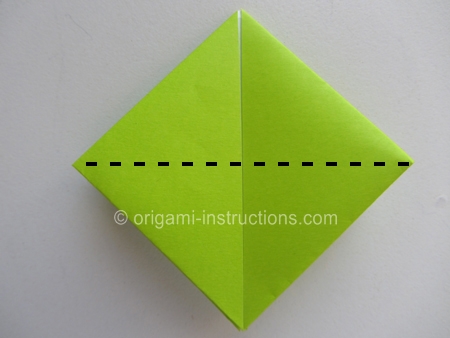
Origami Standing Container Step 5: From now onwards, everything we do on one side will be repeated on the other side. So it's not difficult, just repetetive.
Make a valley fold as shown. Crease well and unfold.
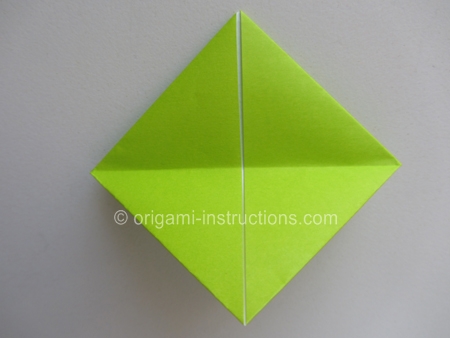
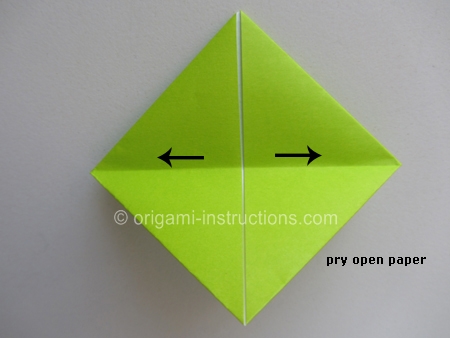
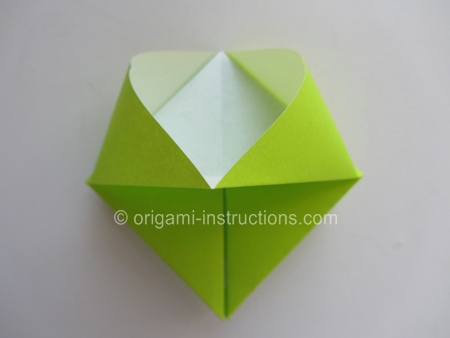
Origami Standing Container Step 6: Pry paper open and squash down the sides.
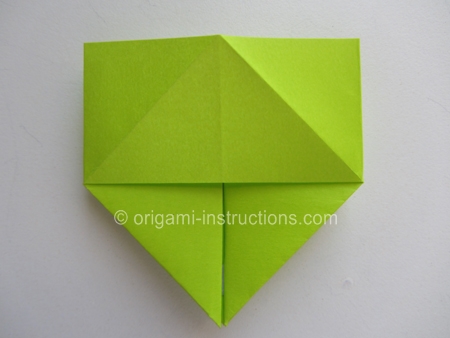
Origami Standing Container Step 7: Flip paper over.
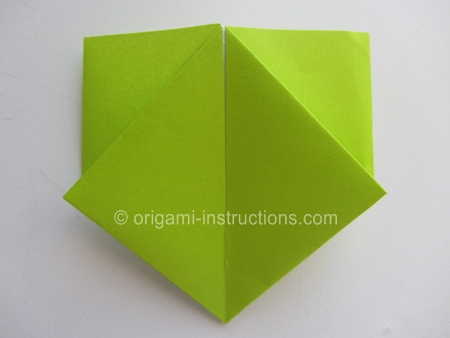
Origami Standing Container Step 8: Repeat Steps 5 and 6 on this side. Your paper should like this when you're done.
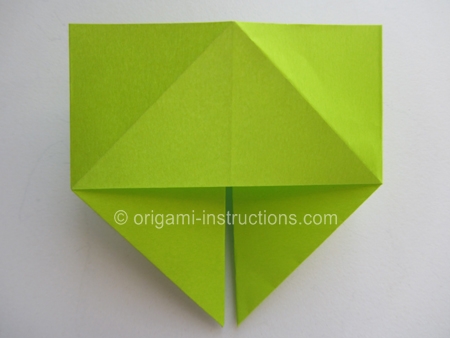
Origami Standing Container Step 9: Make diagonal folds on the top right and left corners. Crease well and unfold.
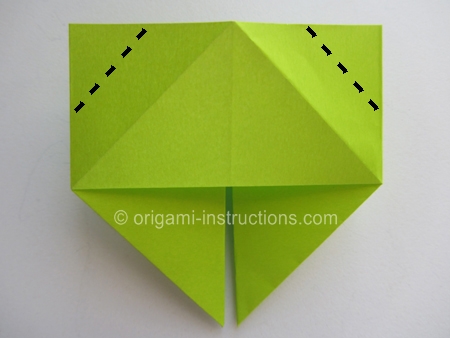
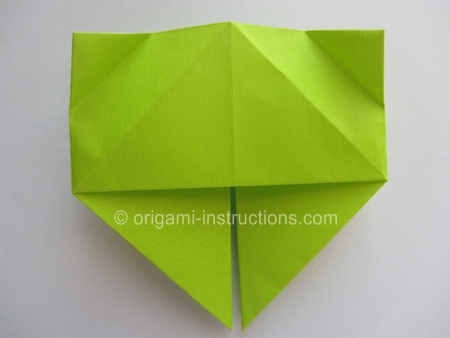
Origami Standing Container Step 10: Pry paper open and make a horizontal valley fold.
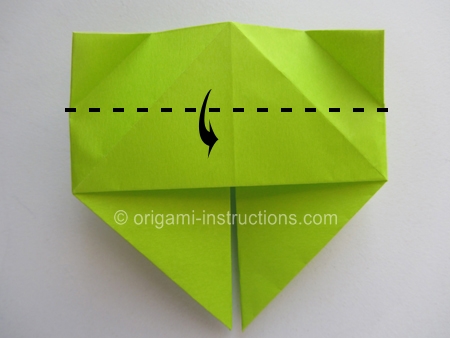
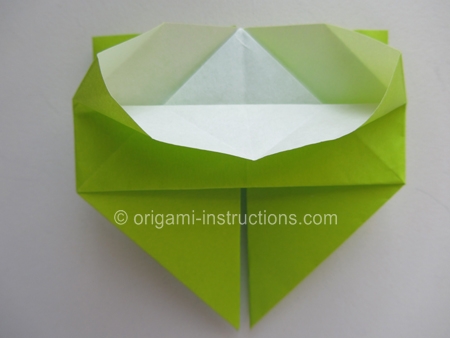
Then squash down the 2 sides and press paper flat.
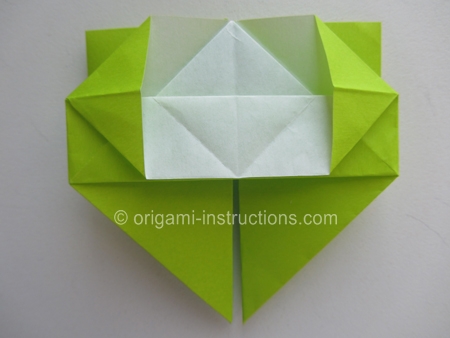
Origami Standing Container Step 11: Fold the top flap from the left to right.
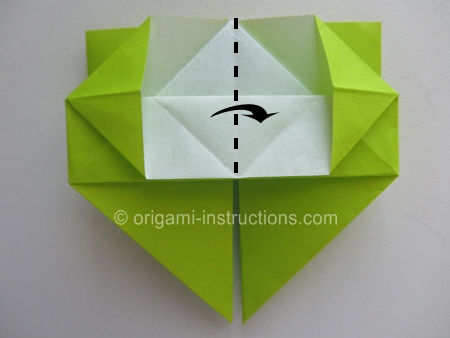
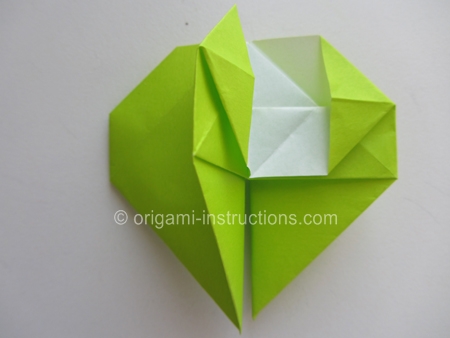
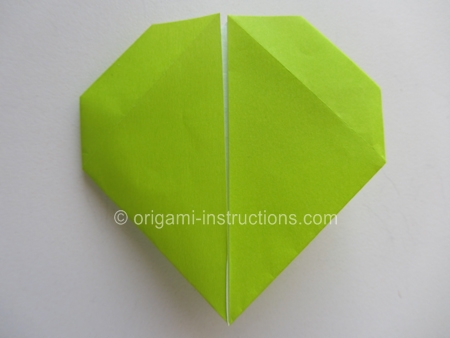
Origami Standing Container Step 12: Flip paper over.
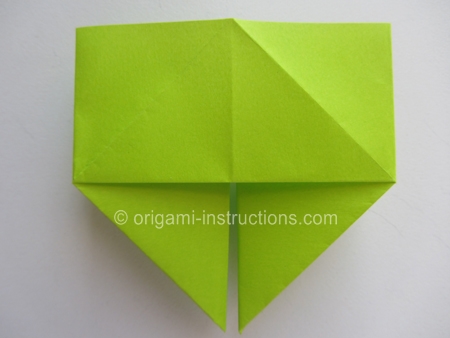
Origami Standing Container Step 13: Repeat Steps 9 to 11 on this side. You should end up with this....
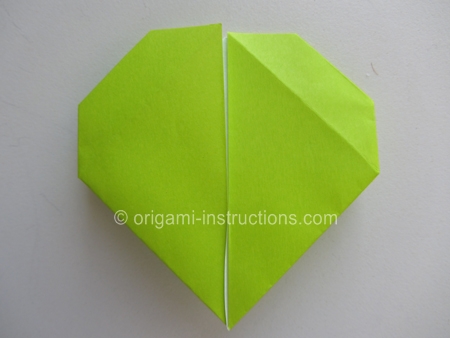
Origami Standing Container Step 14: Make 2 diagonal folds at the top.
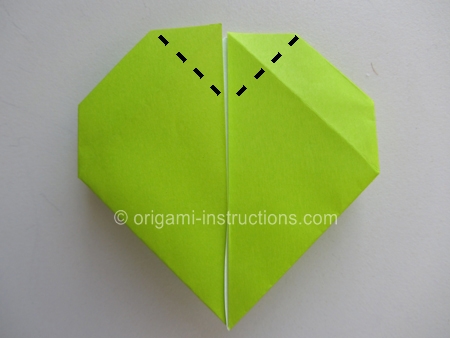
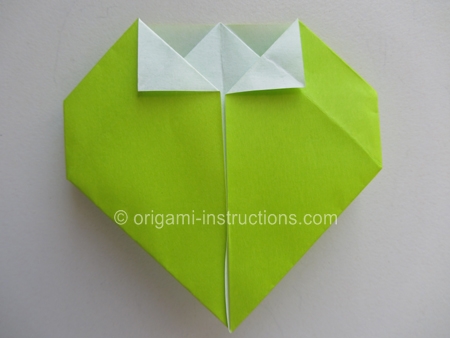
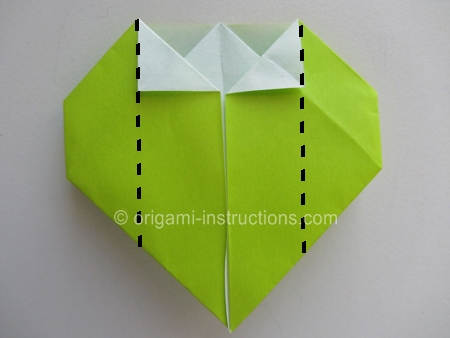
Origami Standing Container Step 15: Fold both the right and left sides to the center.
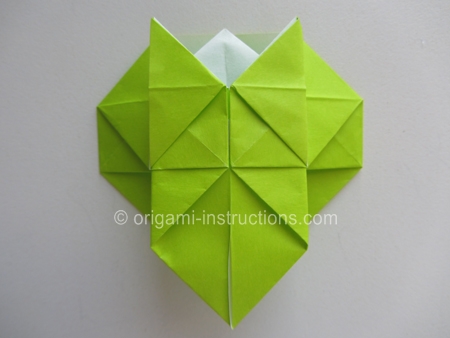
Origami Standing Container Step 16: Fold up the bottom tip.
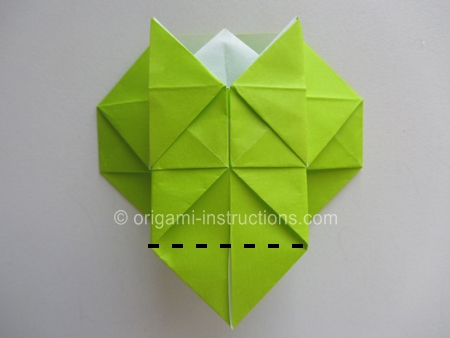
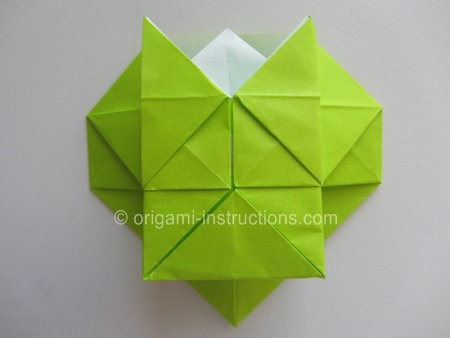
Origami Standing Container Step 17: One more fold...
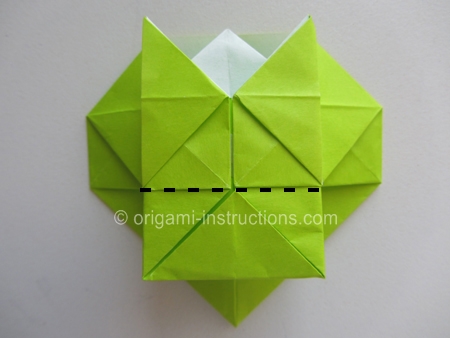
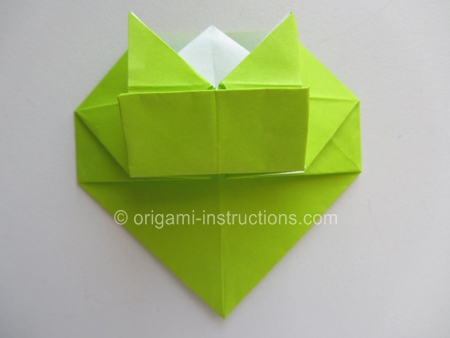
Origami Standing Container Step 18: Flip paper over.
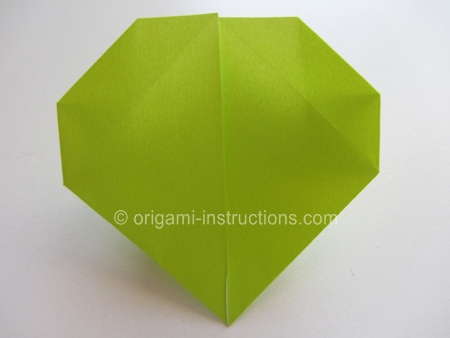
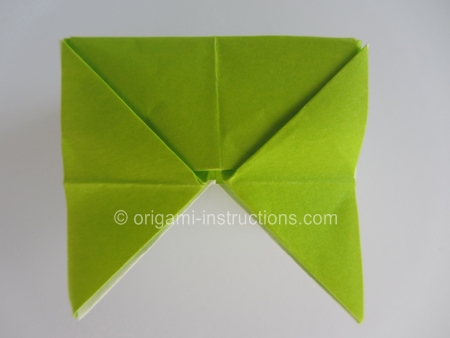
Origami Standing Container Step 19: Repeat Steps 14 to 17 on this side and you should have this....
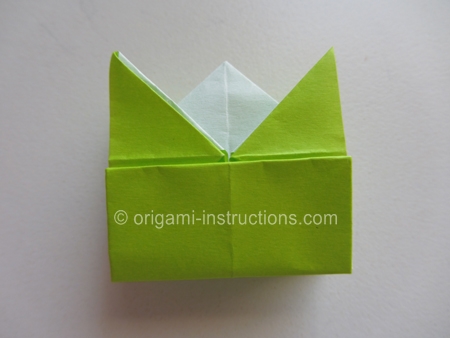
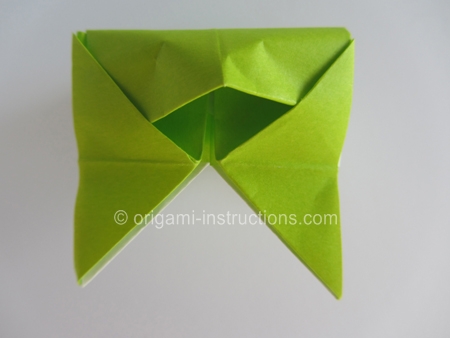
Origami Standing Container Step 20: Almost done! Looking at the paper from the top, pull paper open from both sides and your flat piece of paper will transform into a 3D object!
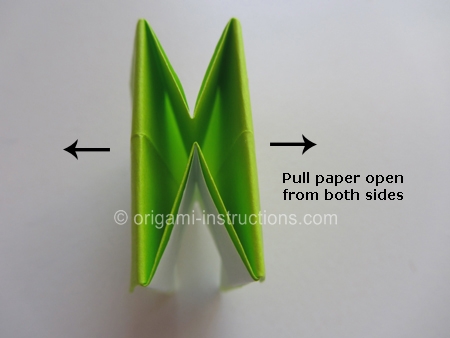
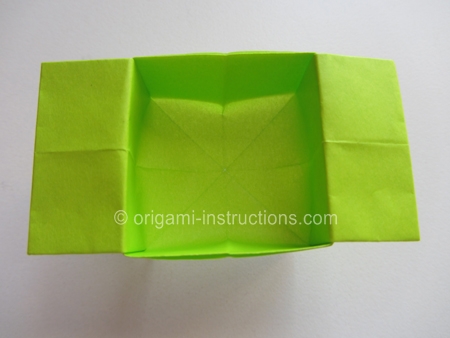
and your origami standing container is complete!
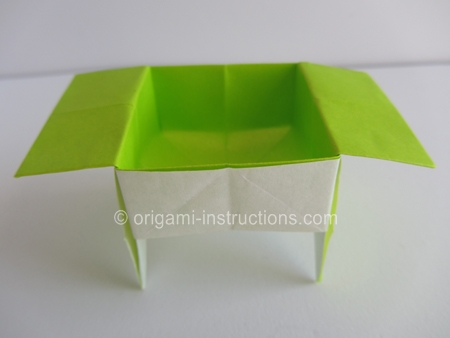
If you don't like the 2 side flaps, you can actually tuck them into the side pockets...
