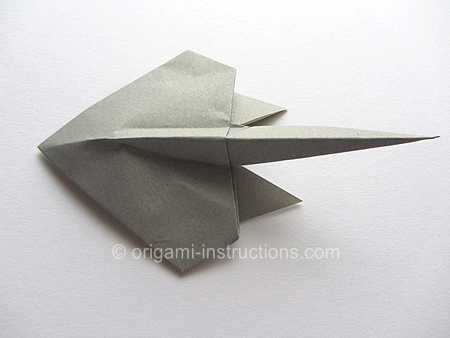
Origami Stingray
Made this origami? Comment and Submit your photo using the comment box at the end of this page!
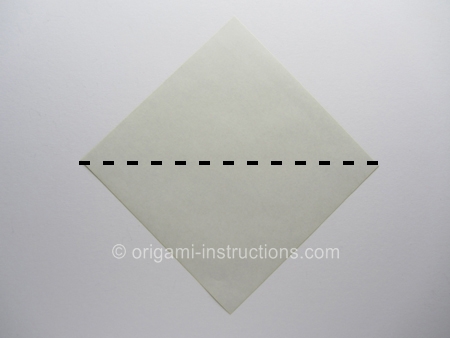
Origami Stingray Step 1: Start with a 6 inch x 6 inch (15cm x 15cm) square origami paper, color side down.
Fold paper in half on the horizontal diagonal axis. Crease well and unfold.
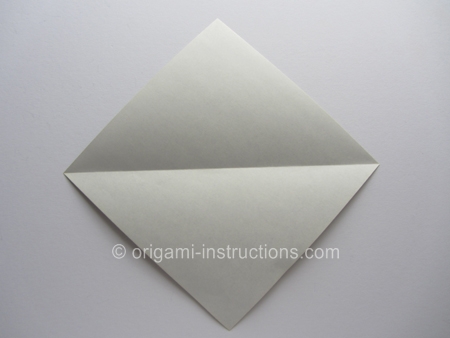
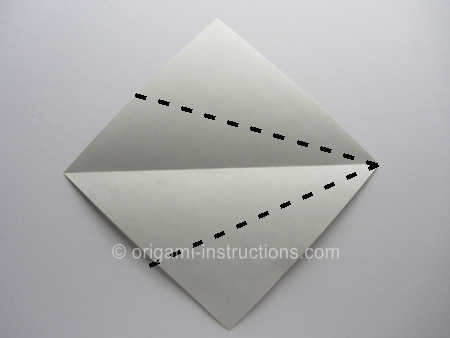
Origami Stingray Step 2: Fold both the top and bottom halves to meet in the center. Crease well.
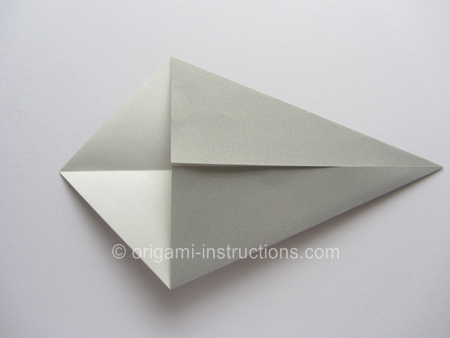
Origami Stingray Step 3: Fold the left tip over to the right. Crease well and unfold.
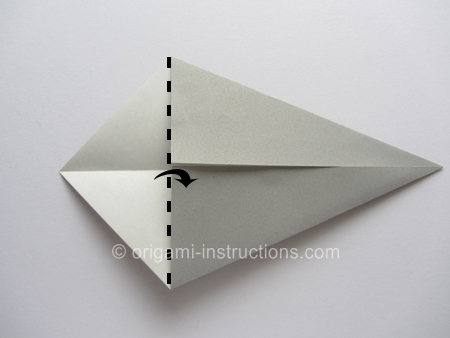
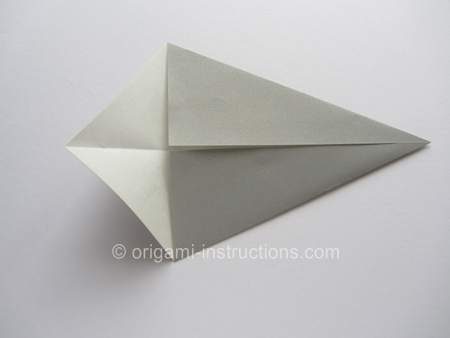
Origami Stingray Step 4: Now fold the left tip over to the right again, this time tucking it under the top layer of paper.
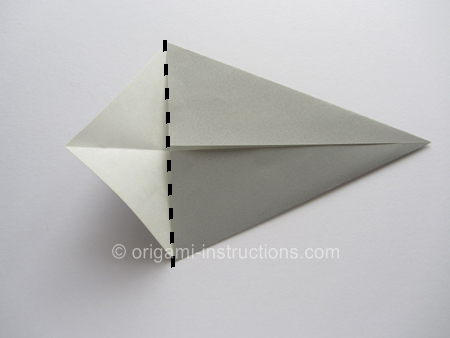
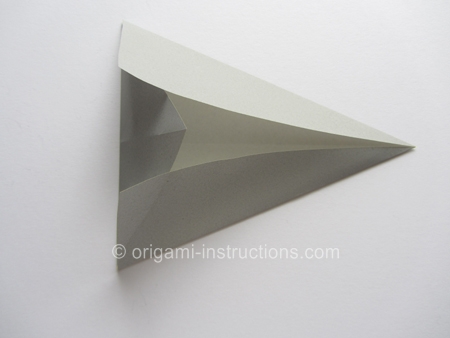
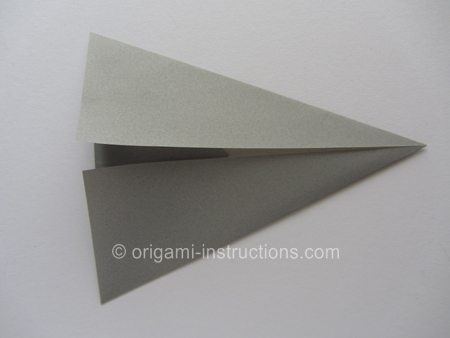
Origami Stingray Step 5: Fold both the top and bottom corners to the center. Crease well and unfold.
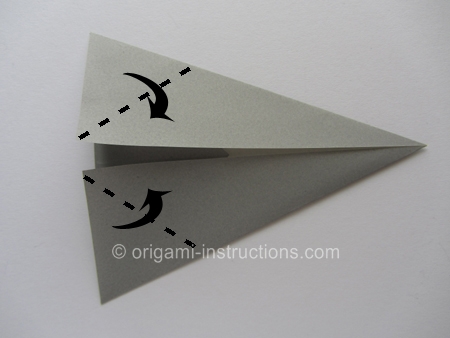
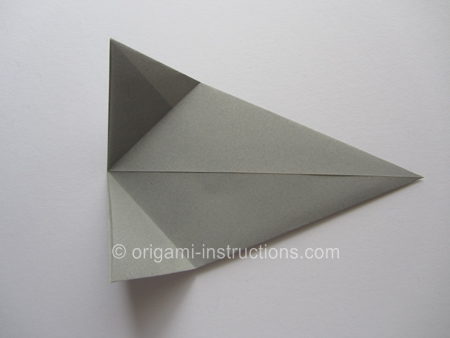
Origami Stingray Step 6: Now use the crease to make an inside reverse fold . This is a commonly used technique in origami. Check out the page or video below if you're not familiar with it.
Origami Inside and Outside Reverse Fold Video

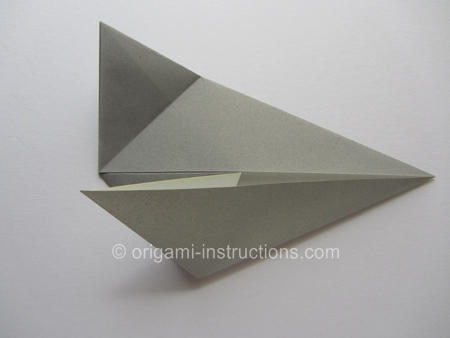
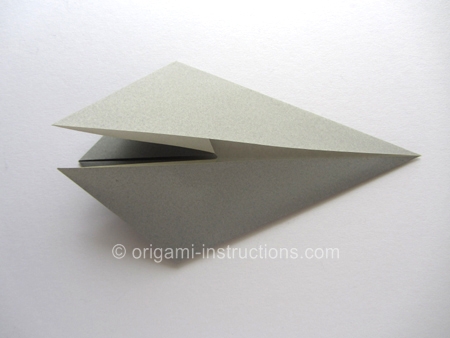
Origami Stingray Step 7: Fold the right tip over to the left.
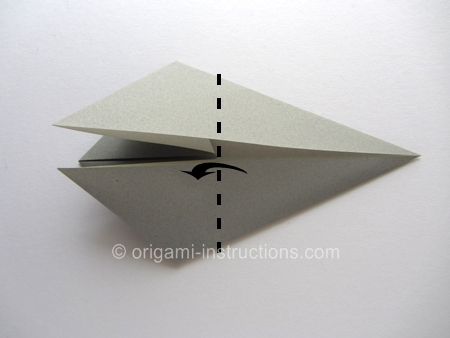
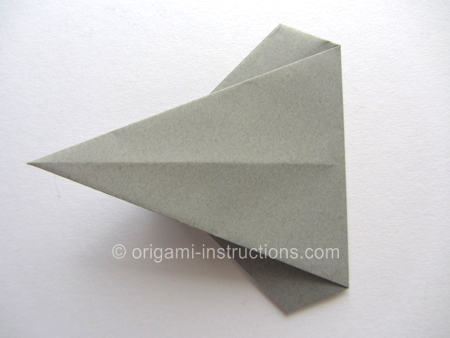
Origami Stingray Step 8: Now we're going to fold the tip back over to the right. This forms the stingray's tail.
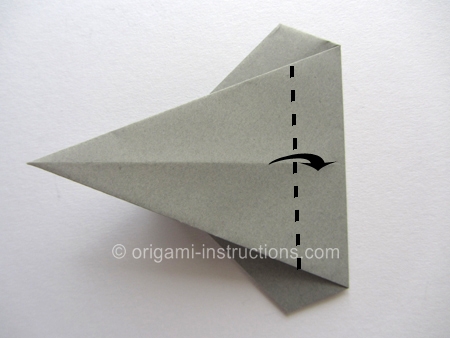
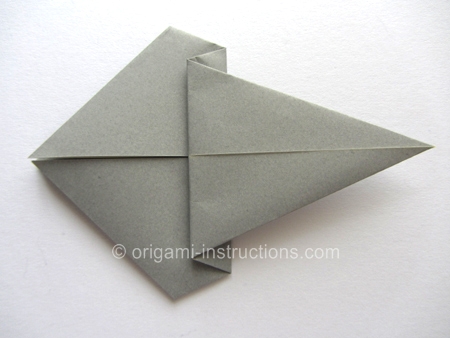
Origami Stingray Step 9: Fold both the top and bottom half of the stingray's tail to the center. As you do so, you will also need to form a squash fold on the left end of the tail to press the paper flat.
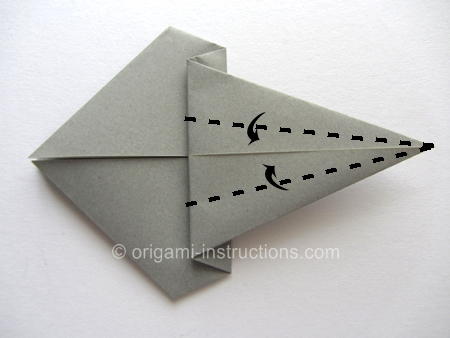
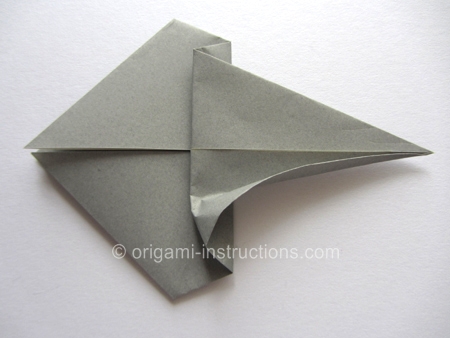
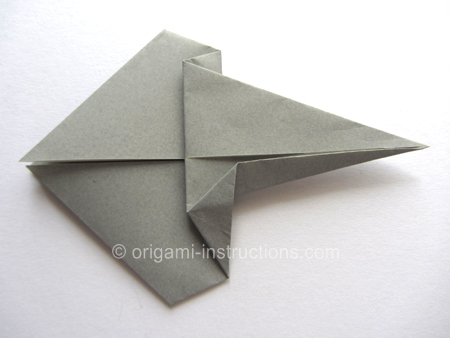
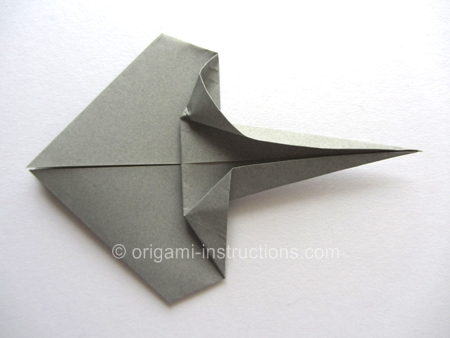
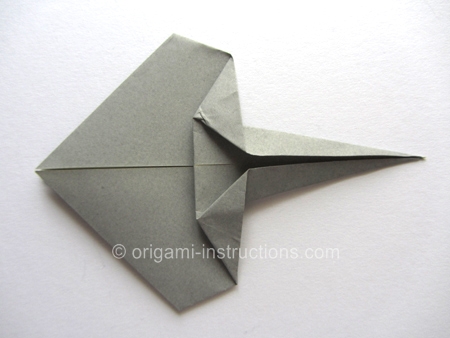
Origami Stingray Step 10: Make 2 diagonal folds as shown. Fold the top layer only.
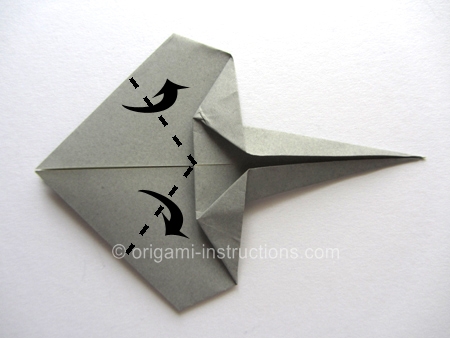
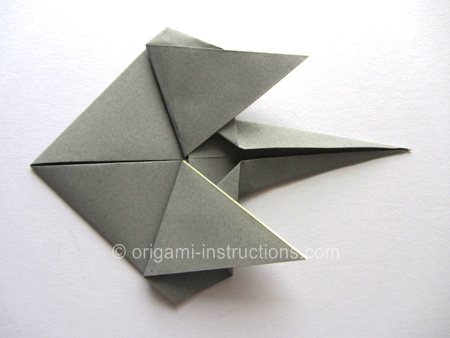
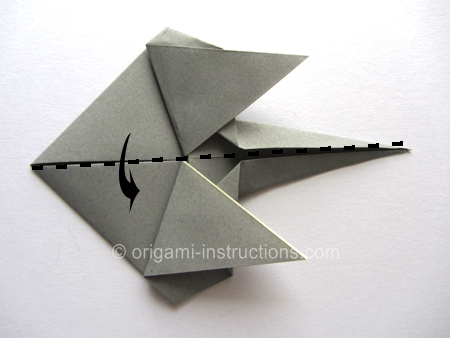
Origami Stingray Step 11: Fold paper in half.
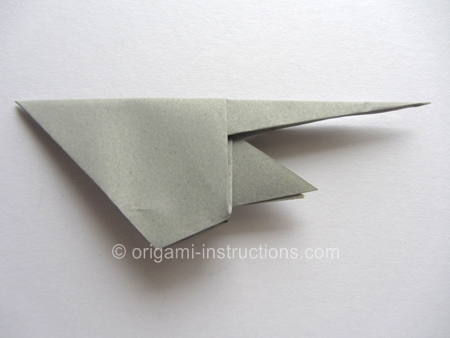
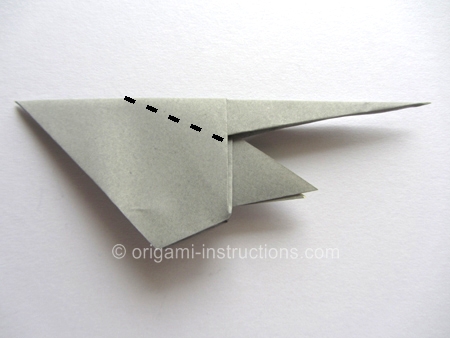
Origami Stingray Step 12: Now make a small diagonal fold as shown below. Crease well and unfold.
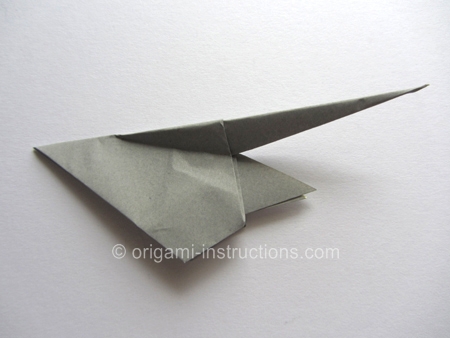
Origami Stingray Step 13: Unfold paper. Recrease the diagonal fold you made in Step 12 on both sides of the paper.
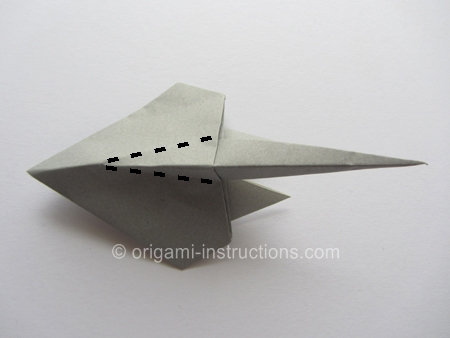
and your origami stingray is complete!
