Origami Tiger
Made this origami? Comment and Submit your photo using the comment box at the end of this page!
Right before you fold the ears forward, stop.
Looking at the pictures below, we are actually going to fold the ears across each other.
At the same time, we will flatten (broaden) the tiger's face, with our thumb and fingers (photo 3).
Origami Tiger
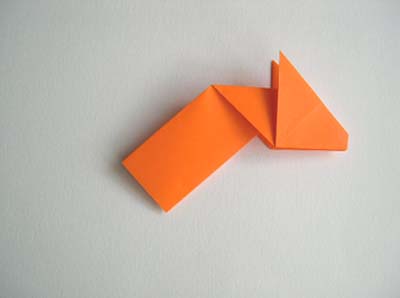
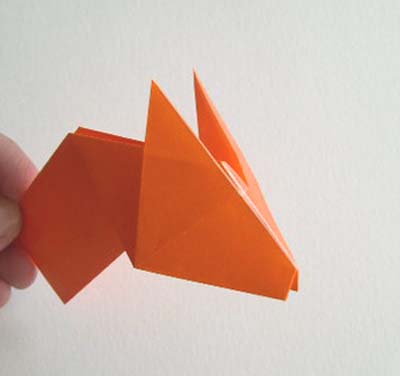
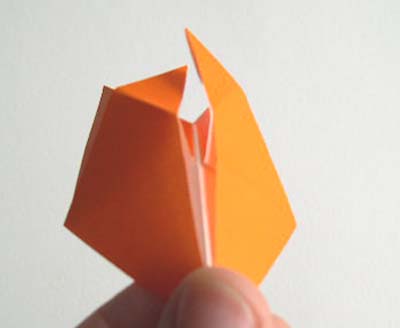
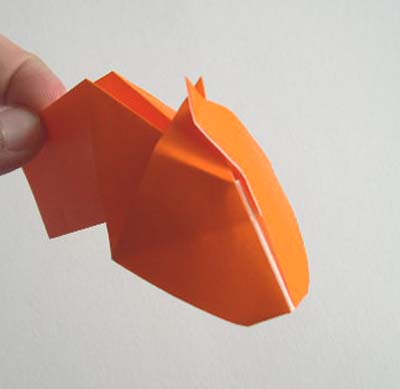
You may prefer a small piece of tape between the ears to hold them in place.
Use a key or similar object to open the tiger's ears slightly.
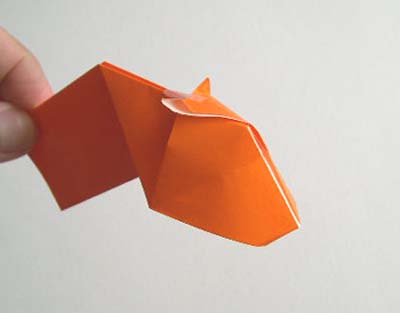
Now crease and tear off about half of the lower part of the tiger's neck.
Unfold the torn part and lay it flat; we'll use it to make the tiger's tail.
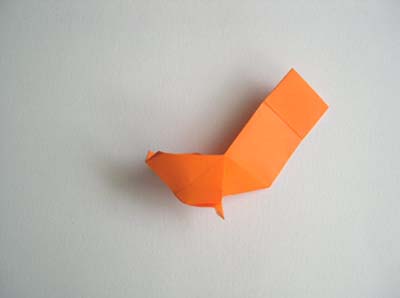
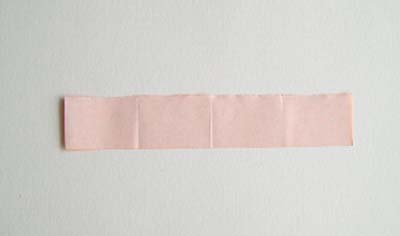
Now start rolling the paper diagonally, from one corner.
Go slowly and keep the roll as tight as possible.
When you get near the end of the roll, start a roll from the opposite corner, as shown below.
Now complete the roll in the original direction. (The roll on the end piece will allow it to overlap the main paper tube, without needing tape or glue to prevent unrolling.)
You can tighten the final tube a bit by holding the ends and turning your hand in opposite directions.
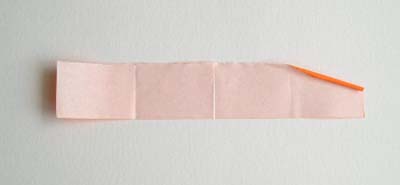
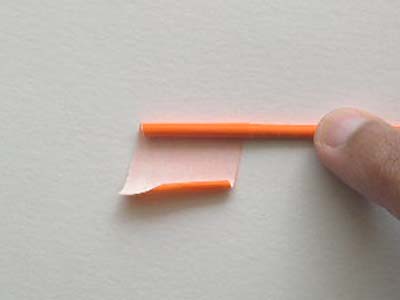
The paper tube will be fairly flexible. Bend it into a gentle "S" shaped curve to form the tiger's tail.

Now all that's left is to make the tiger's body. Again we recycle an origami design, using the body of the origami cow .
Place the tiger's head and tail into the body (we used tape). Now decorate with pens and markers if you like.
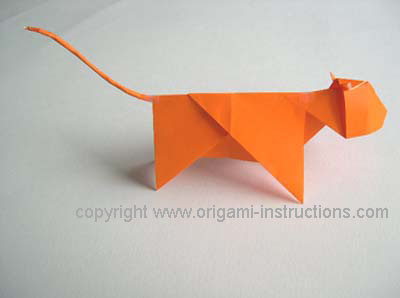
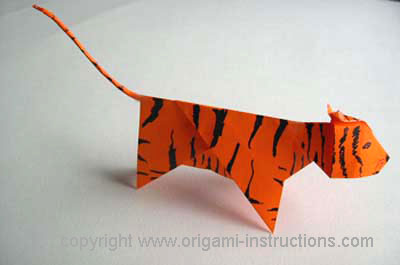
Below is Tony the Tie-Dye Tiger. Made with sheets of multicolored origami paper (white, red, yellow on the same sheet).
You can also use an Animal Print Origami Paper to make your origami more life-like.
Origami, it's Greeaaat! TM
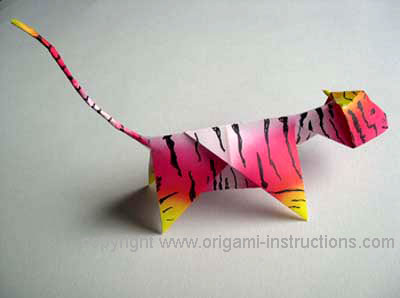
Check out the many origami tiger photos that have been submitted by our readers!
