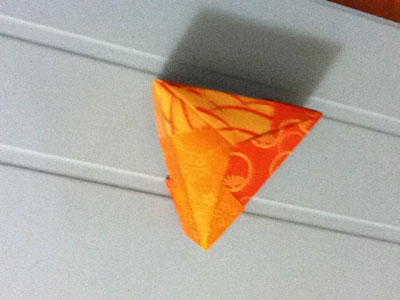
Origami Triangular Box
The origami triangular box is a modular design from Francisco Caboblanco, using three (3) pieces of paper. A triangular cover can also be made for the box, we'll show you how.
Made this origami? Comment and Submit your photo using the comment box at the end of this page!
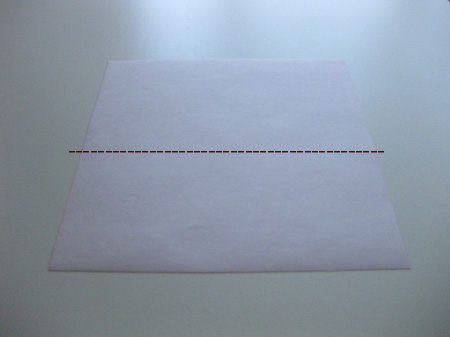
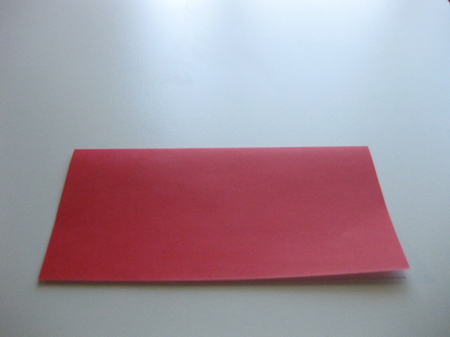
Start with a piece of origami paper, colored side down. Make a valley fold along the centerline as shown, then unfold.
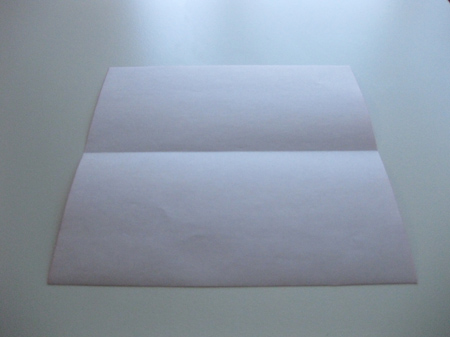
Now fold the top edge to the centerline, and unfold.
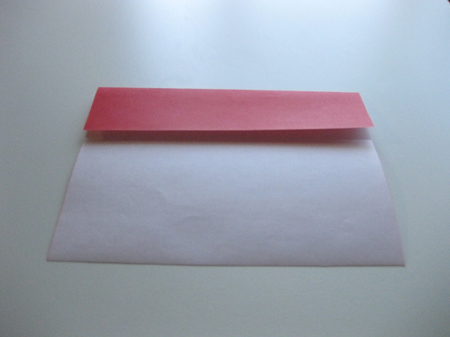
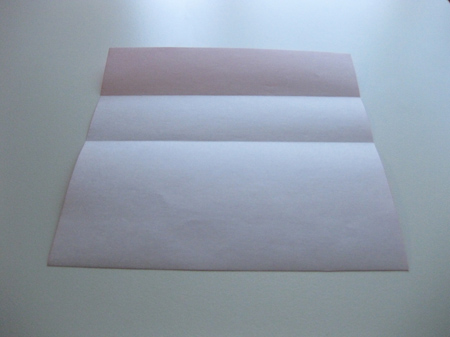
Fold the right corner down to the crease line you just made, as shown. Then fold the top edge again to the centerline:
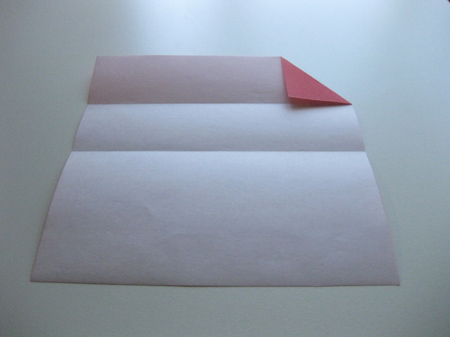
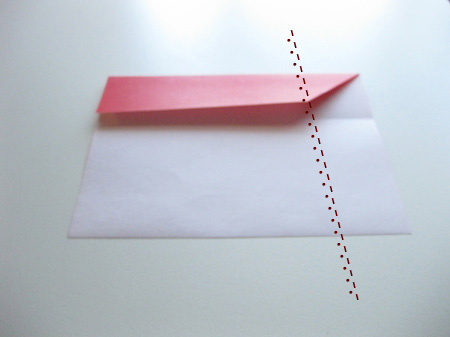
Make a mountain fold along the line shown, then unfold.
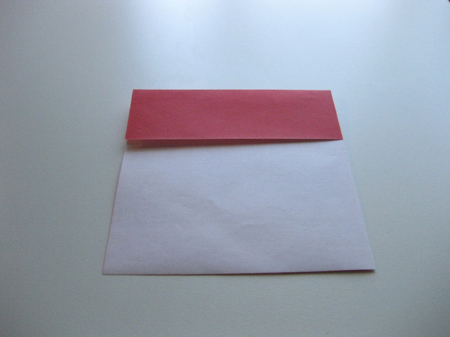
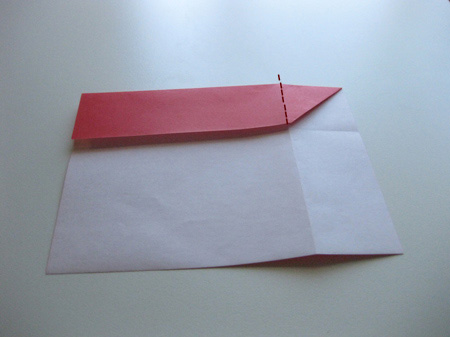
Re-fold just the top portion of the last fold, as a valley fold instead of a mountain fold.
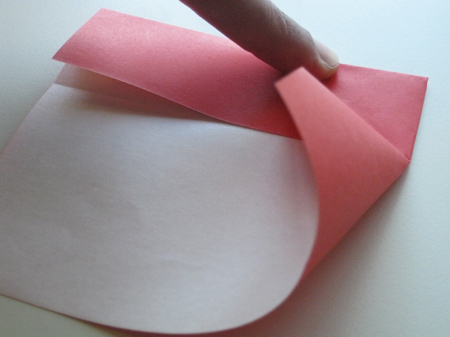
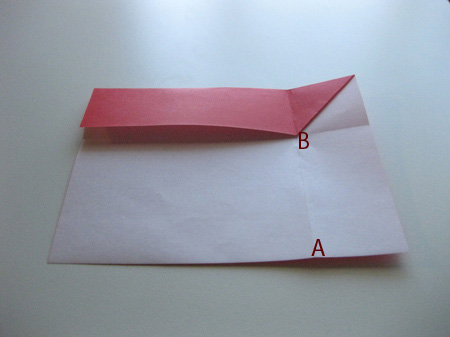
Now fold point A up to the top edge, pivoting around point B.
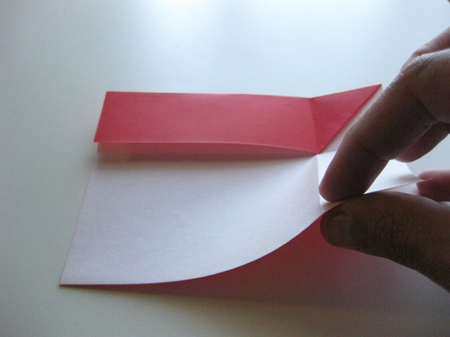
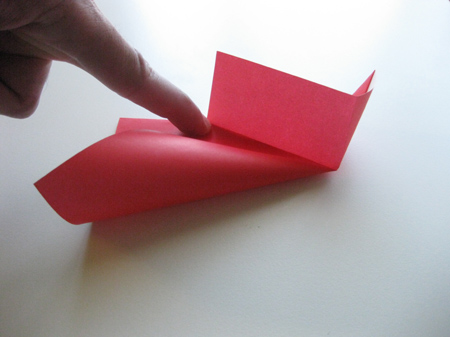
Make a crease from Point B down to Point C. Fold Point D down as shown, then make a valley fold to form the bottom edge of the box.
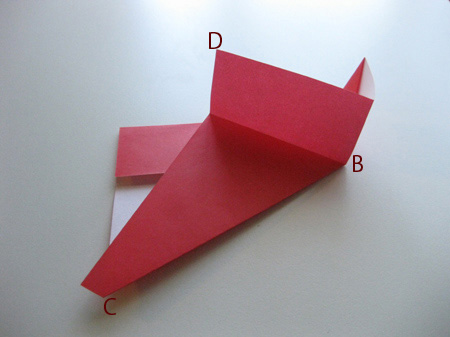
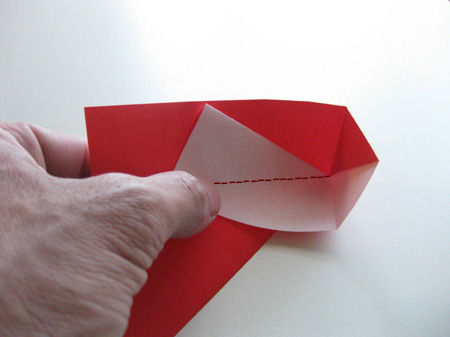
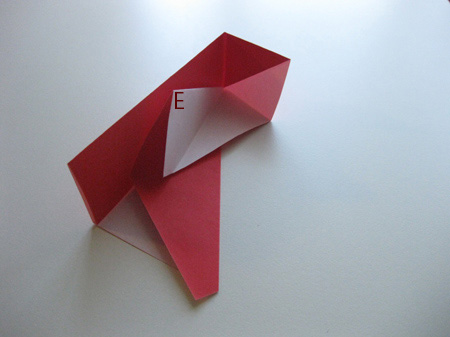
Tuck Point E under the flap as shown.
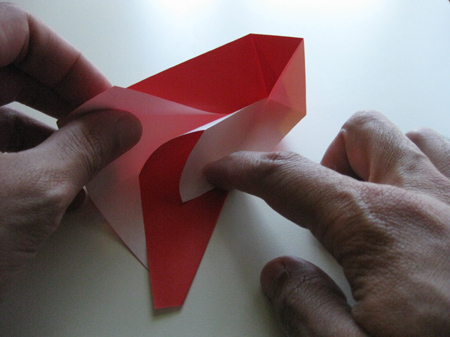
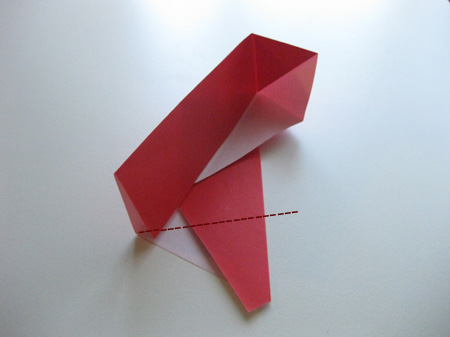
Make a valley fold along the line shown, then unfold.
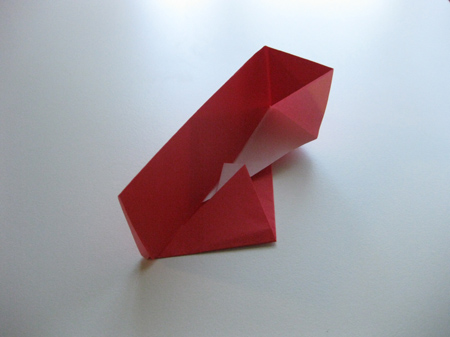
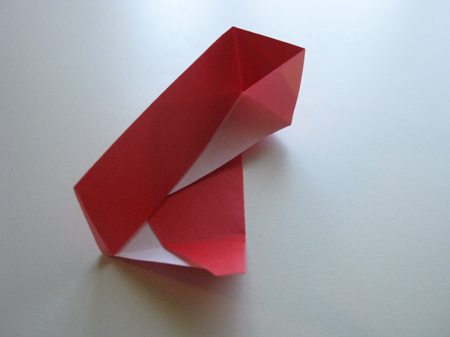
Now make two (2) more pieces just like the first one.
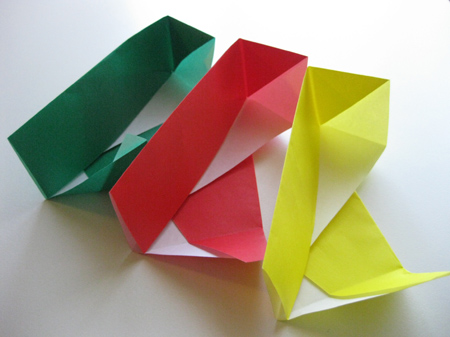
Take any two pieces and place them together as shown. First, the edge of Piece 1 shown goes into the pocket on Piece 2 as shown. Then the loose flap of Piece 1 gets tucked into Piece 2.
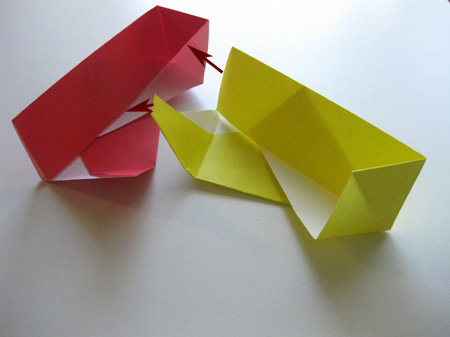
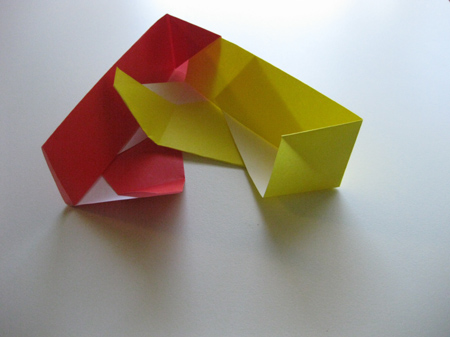
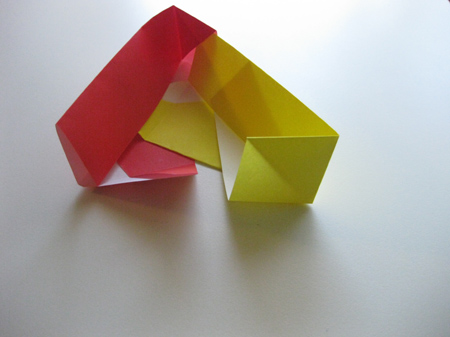
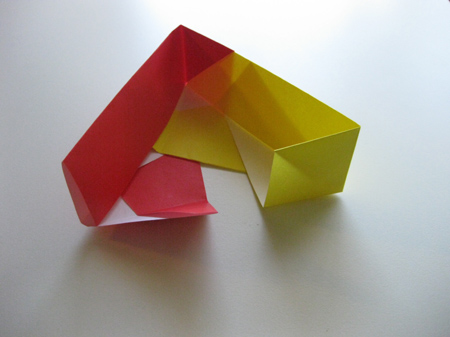
Now repeat these moves to connect Piece 3 to 2:
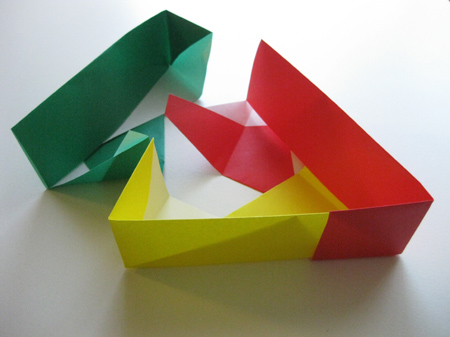
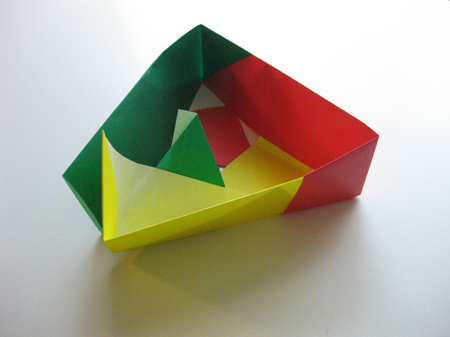
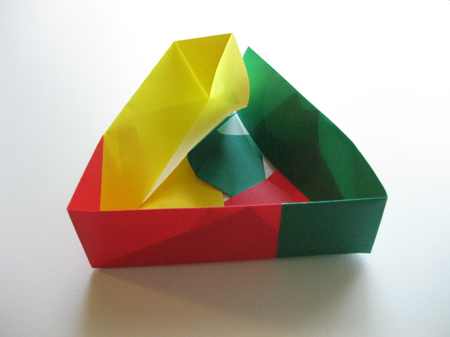
Then repeat to join 3 to 1:
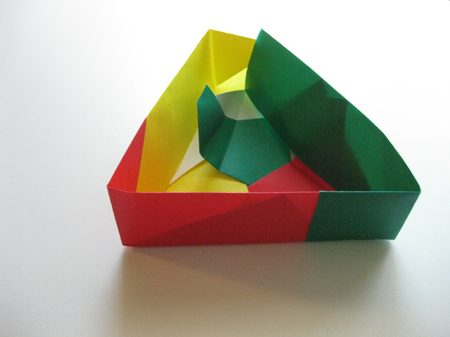
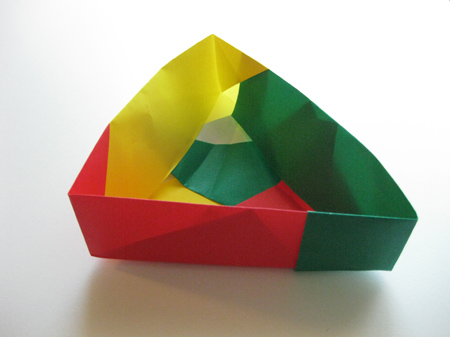
And here is your completed origami triangular box!
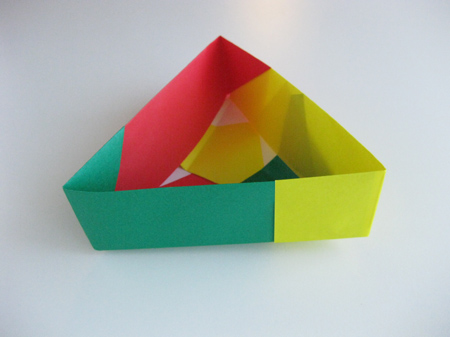
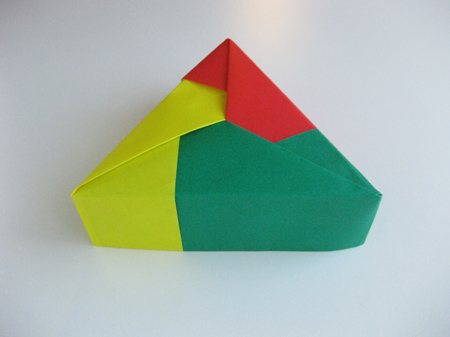
Making a cover for the triangular box uses almost the same method. For these instructions, we'll use the part we've already made as the cover, and make another triangle for the bottom of the box.
The first four (4) steps are the same, but when folding the top edge down to the pre-creased centerline, fold it just a small distance past, about 1 to 2 mm.
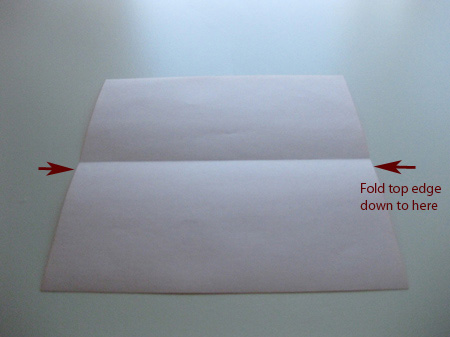
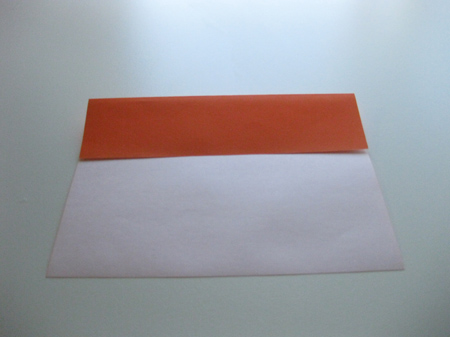
Now follow the rest of the instructions, making three (3) units and assembling them as before. That one slight change will result in a slightly smaller box, which will fit nicely with the cover you already made.
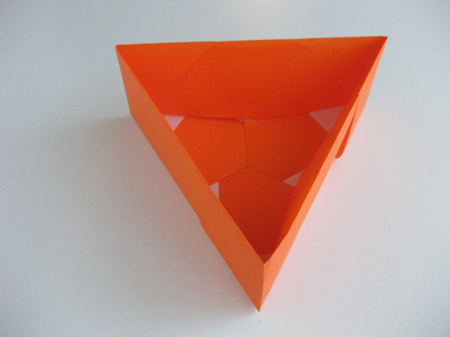
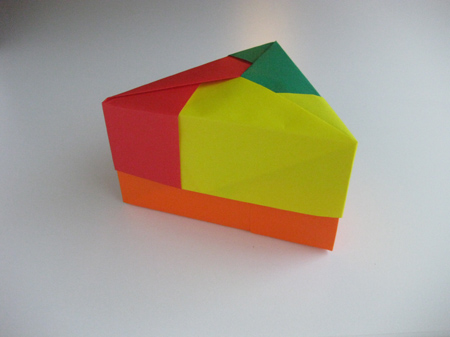
From Noah in Hauppauge " my first origami triangular box ! "
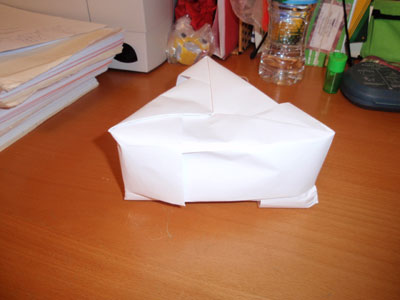
From reader in Portland " I got stumped at a few steps in making this really cool triangular box, but I figured it out and when it was done I was so proud of it! It looks so cool and geometric, it's awesome! "
It is awesome, isn't it?
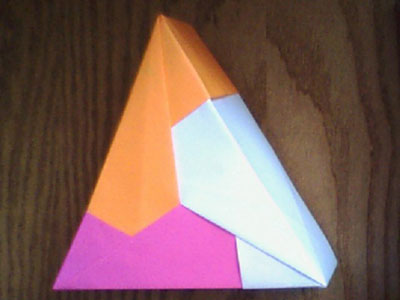
From Jill in Morgantown " Mini Triangle Origami Box: The only part I had trouble with was tucking the flaps in at the end. "
