Origami Turkey Instructions
Made this origami? Comment and Submit your photo using the comment box at the end of this page!
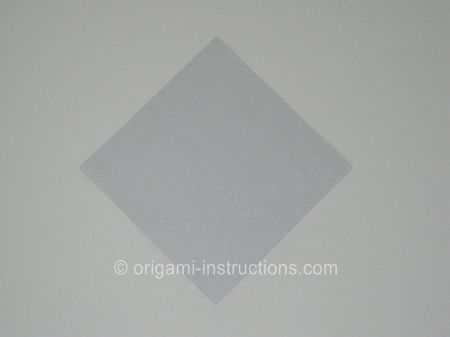
Start with a square of origami paper, colored side down:
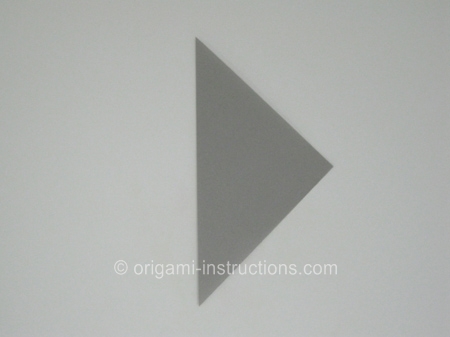
Make a valley fold along one diagonal, then unfold:
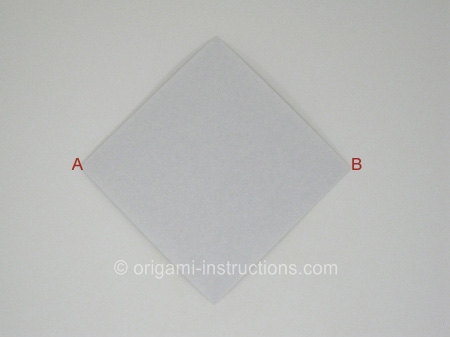
Now fold corners A and B to the centerline to form a kite:
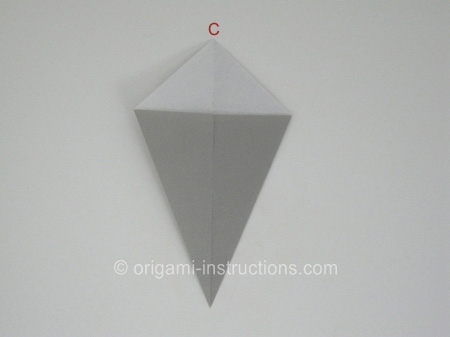
Then fold corner C downward, tucking it inside the model as shown.
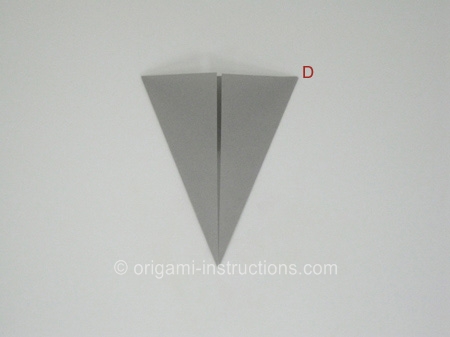
Now fold corner D backwards as shown:
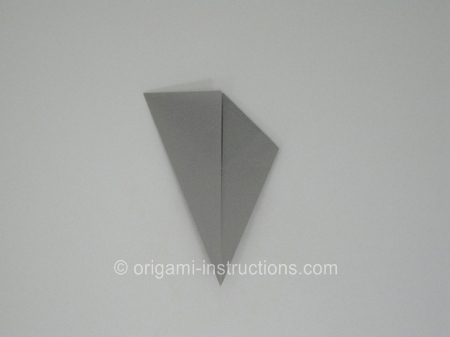
Here's what the reverse side looks like:
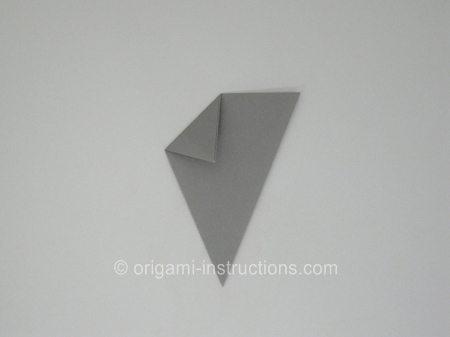
Unfold corner D, and use the crease mark to make a squash fold as shown:
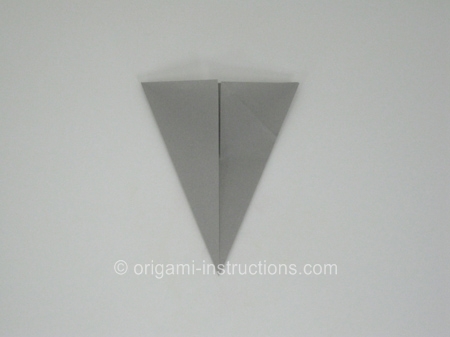
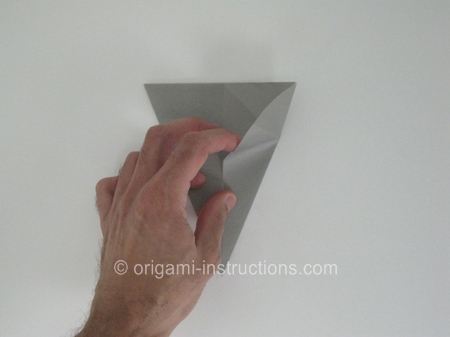
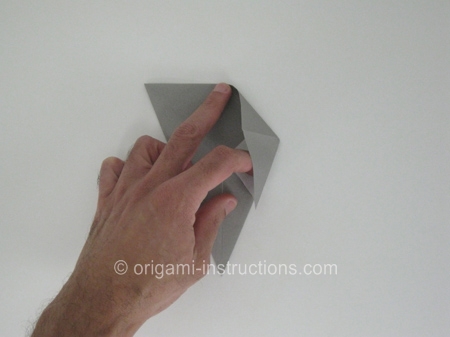
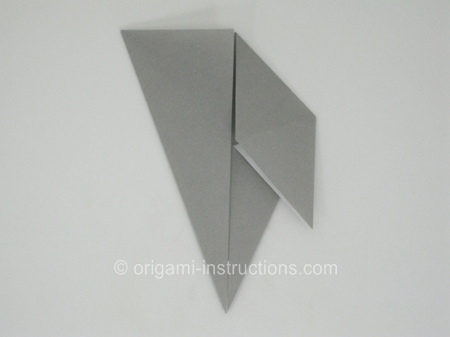
Repeat the squash fold on the left side:
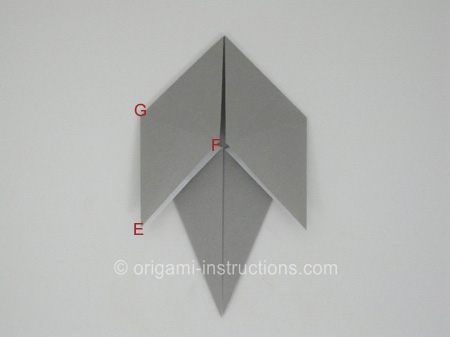
Now fold the edge EF up to GF as shown:
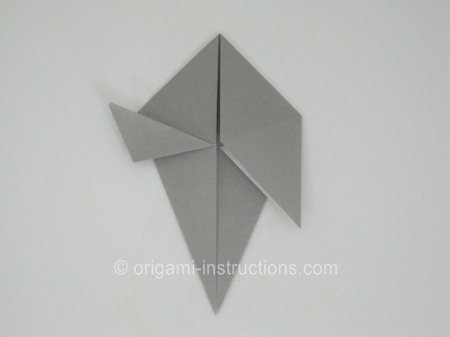
Repeat on the other side:
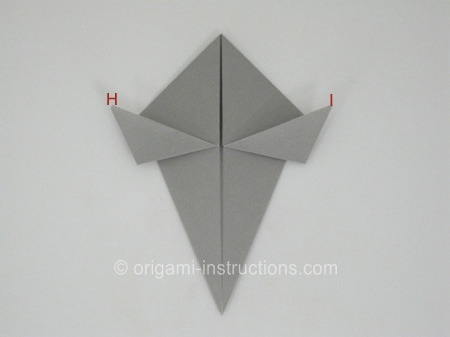
Now fold corners H and I downwards as shown:
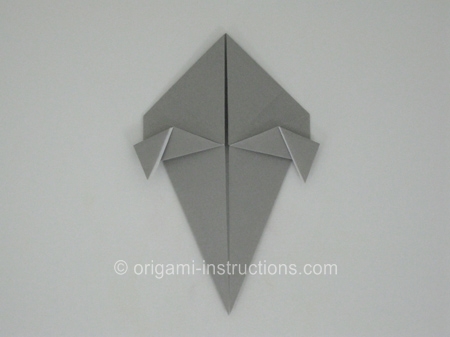
Then fold the piece in half lengthwise, and rotate it counter-clockwise 90 degrees:
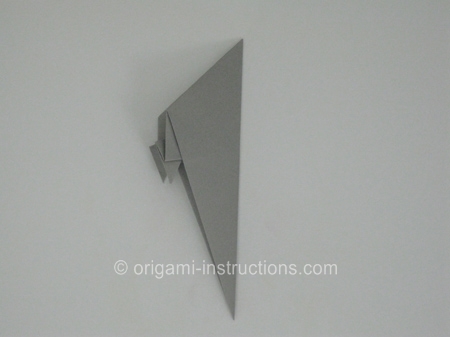
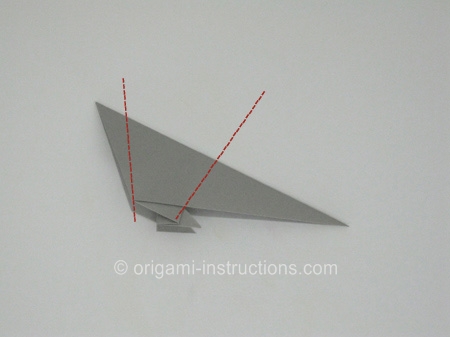
Now make two (2) outside reverse folds along the lines shown, to form the neck and tail of the turkey:
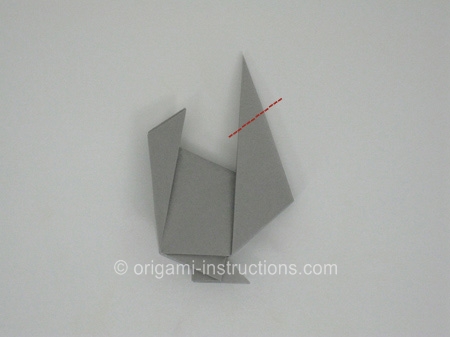
And one (1) more outside reverse fold to form the turkey's head:
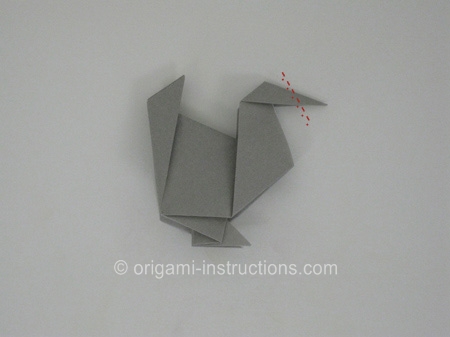
Then fold the tip of the head back, and your origami turkey is complete:
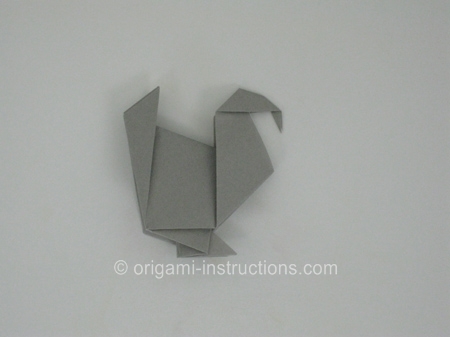
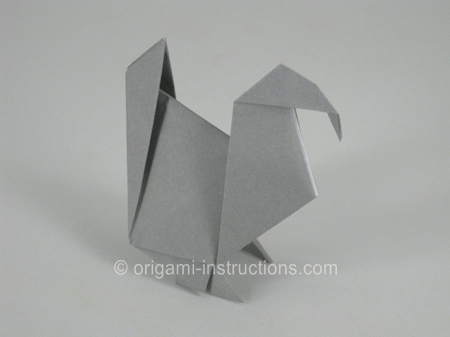
Decorate your turkey as you like. Gobble gobble!
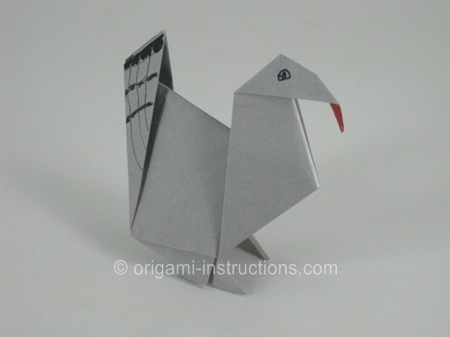
Check out the many origami turkey photos that have been submitted by our readers!
