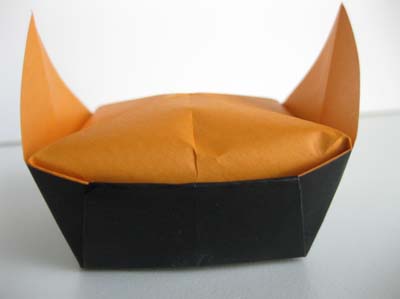
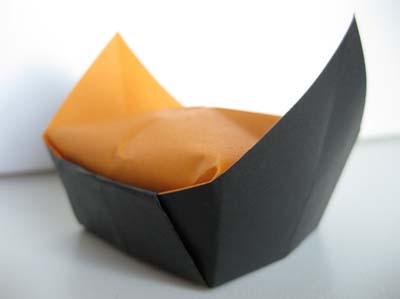
Origami Winged Hat
Made this origami? Comment and Submit your photo using the comment box at the end of this page!
For fun, we made a video of all our origami hats, modeled by animals. They include photos received from our readers...Check it out!
Origami Winged Hat Step 1: Fold an origami square base . This is a commonly used base in origami so we have created a separate page for it.
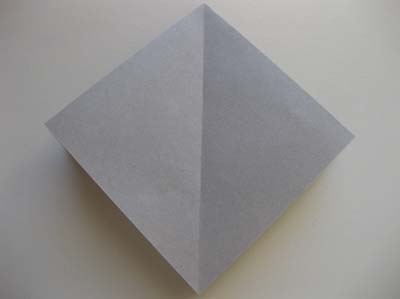
Origami Winged Hat Step 2: Fold the bottom tip up to meet the top.
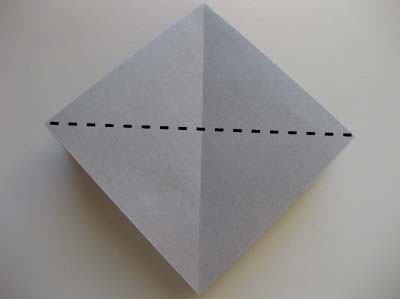
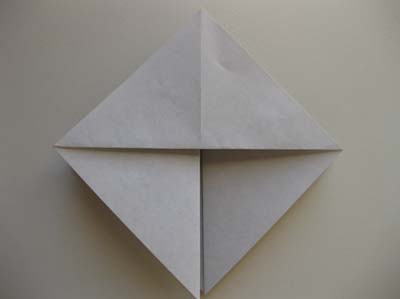
Origami Winged Hat Step 3: Flip paper over and repeat Step 2.
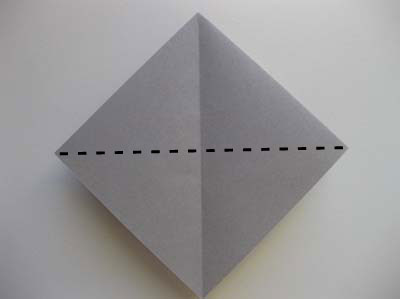
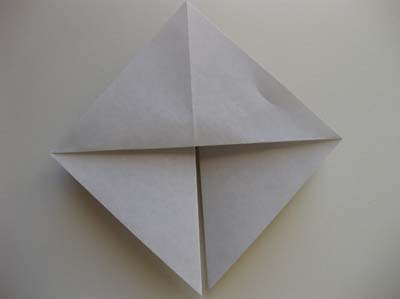
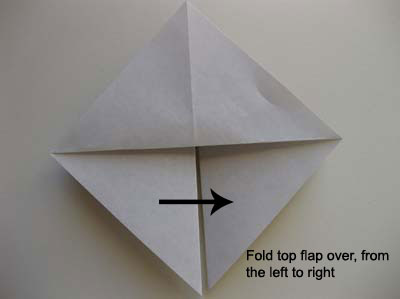
Origami Winged Hat Step 4: Now fold over the top flap of the left side of the paper over to the right side.
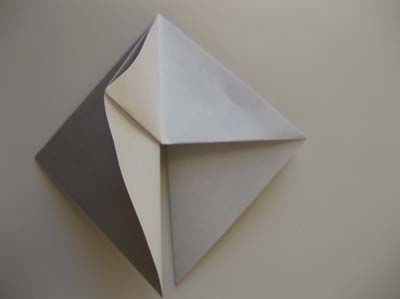
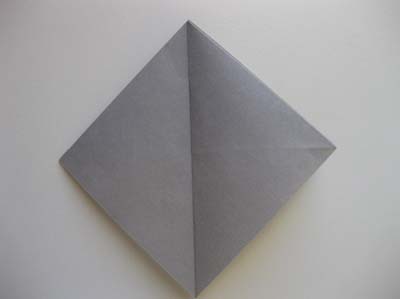
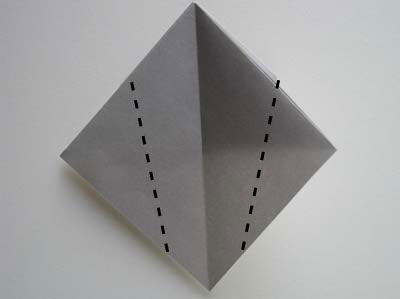
Origami Winged Hat Step 5: Now we need to make 2 folds at an angle. When folded, the tips of both sides should overlap slightly.
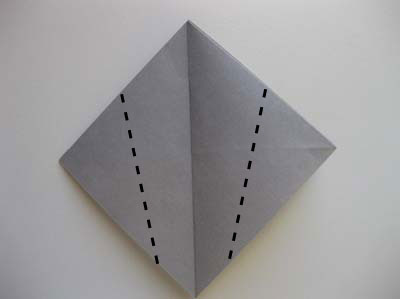
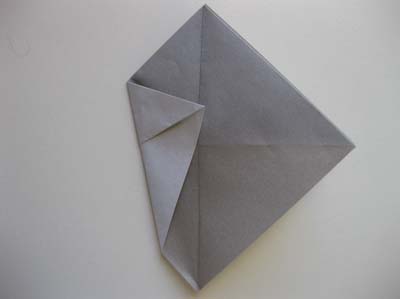
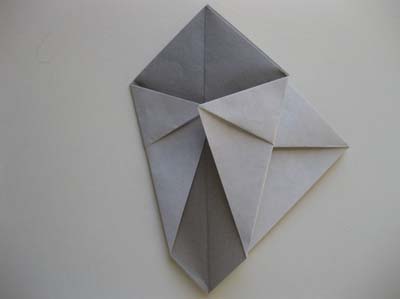
Origami Winged Hat Step 6: Now fold the bottom tip up where indicated.
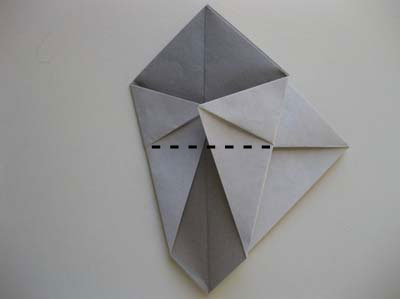
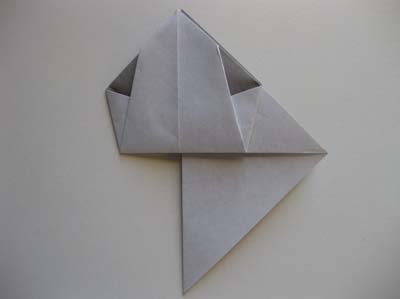
Origami Winged Hat Step 7: Now make a mountain fold as indicated below and tuck in the paper.
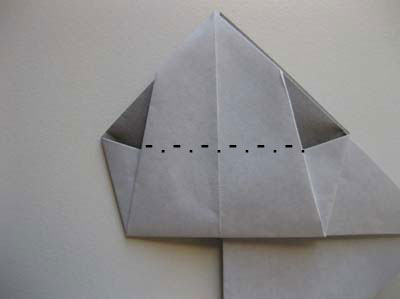
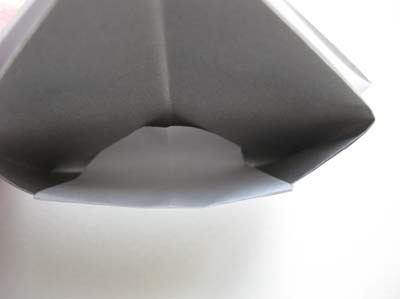
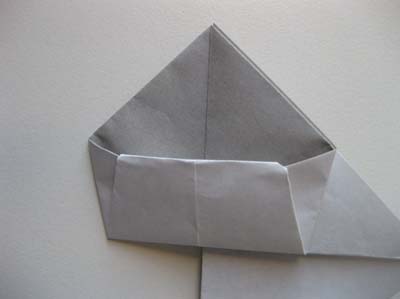
Origami Winged Hat Step 8: Flip paper over. We will repeat Steps 4 to 7 on this other side.
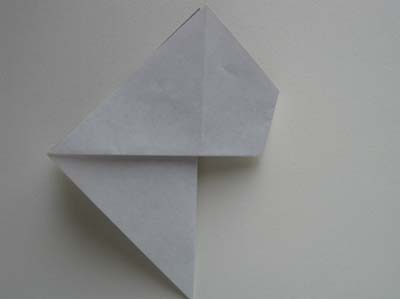
Origami Winged Hat Step 9: Fold the top flap of the paper over from the left to the right side.
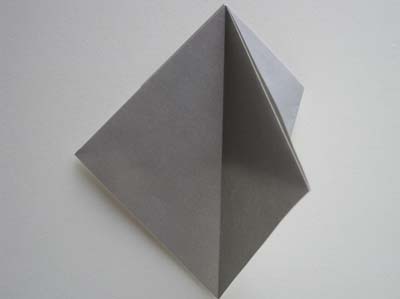
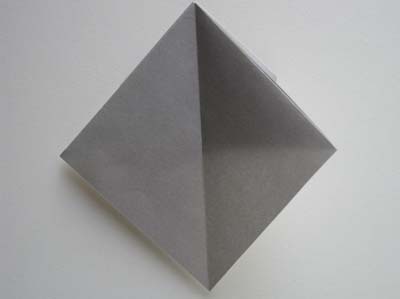
Origami Winged Hat Step 10: Make the 2 folds at an angle. The edges should line up with the other side.
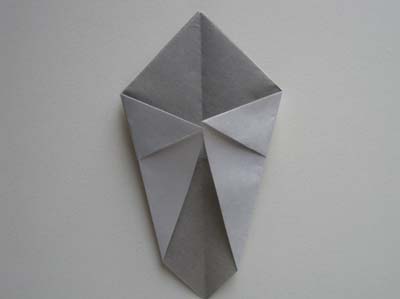
Origami Winged Hat Step 11: Fold the bottom tip up.
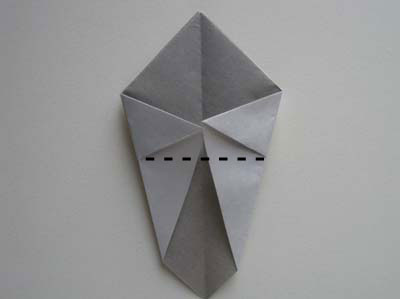
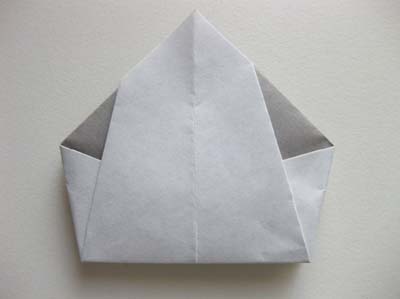
Origami Winged Hat Step 12: Make the mountain fold and tuck in the paper.
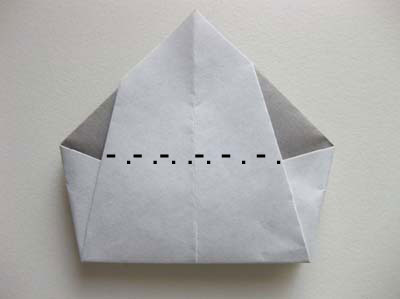
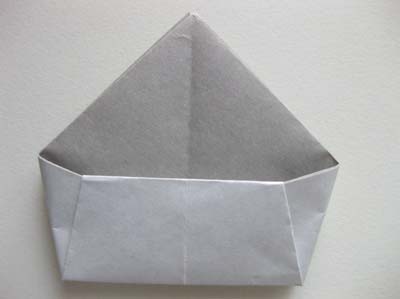
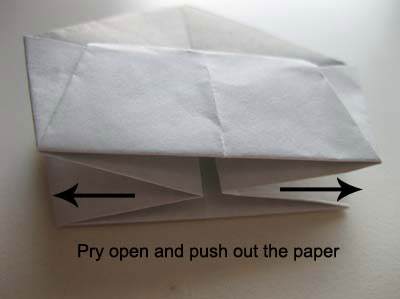
Origami Winged Hat Step 13: Here's comes the best part in an origami....the transformation!
Pry open the paper from the bottom and gently push out the sides.
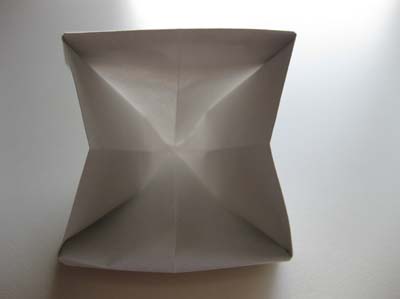
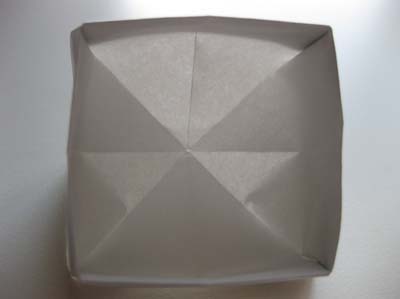
Flip it over and your origami winged hat is complete!
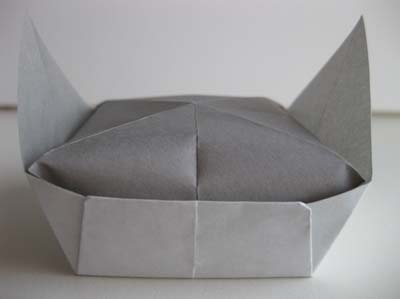
Here's the cooler version in black. Does it remind you of Batman?
