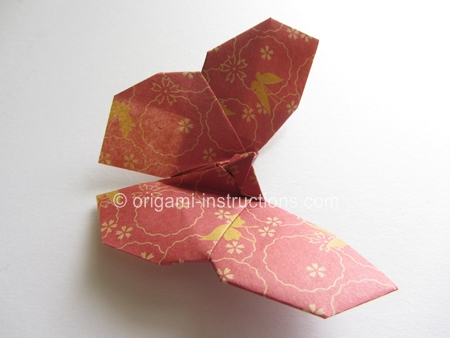
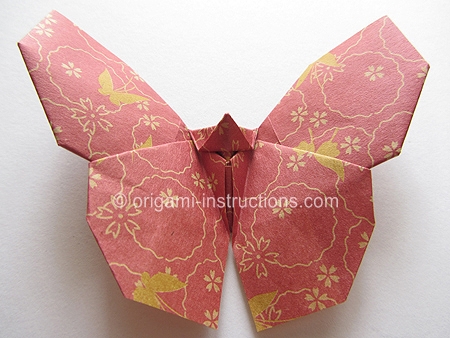
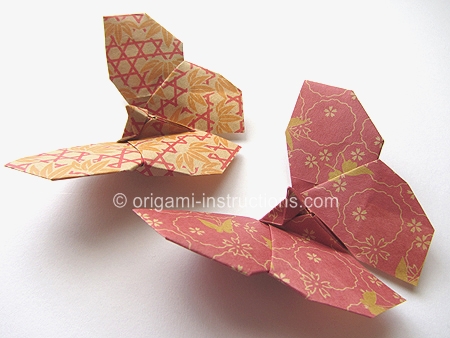
Origami Yoshizawa Butterfly
Made this origami? Comment and Submit your photo using the comment box at the end of this page!
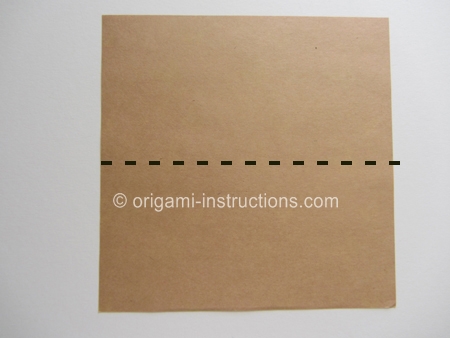
Origami Yoshizawa Butterfly Step 1: Start with a 6 inch x 6 inch (15cm x 15cm) square origami paper, color side down.
Fold paper in half on the horizontal axis. Crease well and unfold.
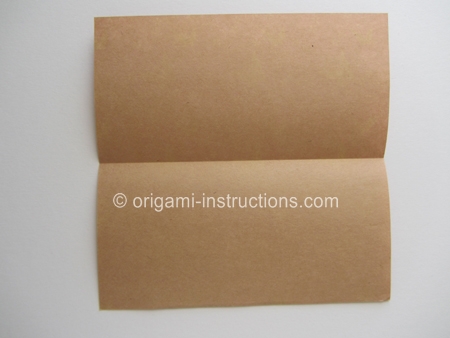
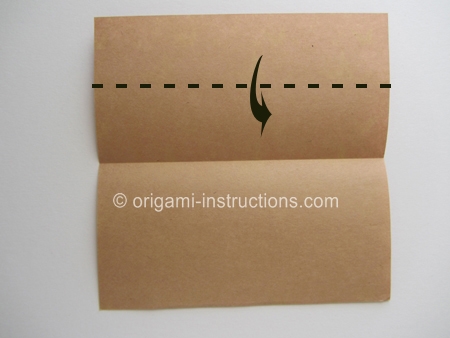
Origami Yoshizawa Butterfly Step 2: Fold the top half to meet the center line.
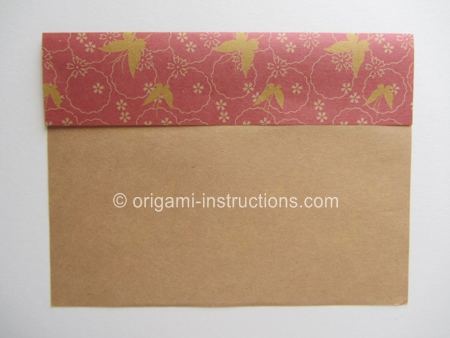
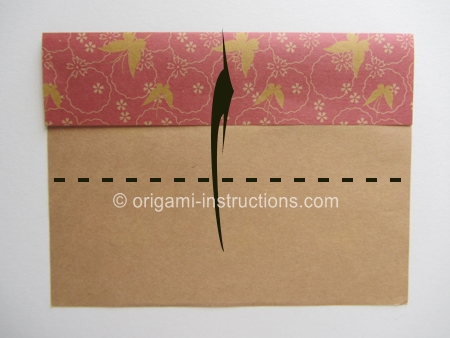
Origami Yoshizawa Butterfly Step 3: Fold the bottom edge to meet the top edge.
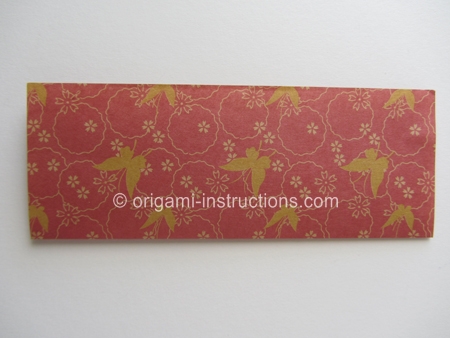
Origami Yoshizawa Butterfly Step 4: Fold paper in half on the vertical axis. Crease well and unfold.
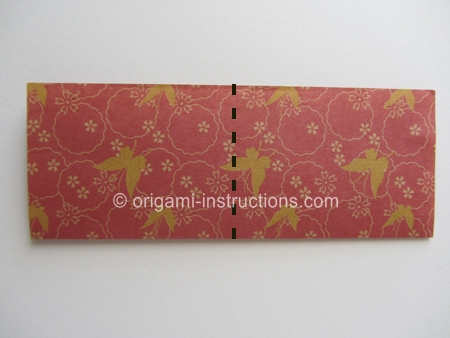
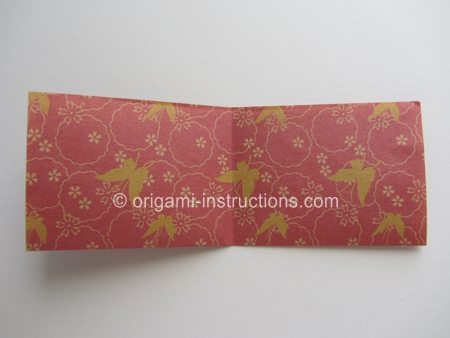
Origami Yoshizawa Butterfly Step 5; Fold both sides to meet the center crease.
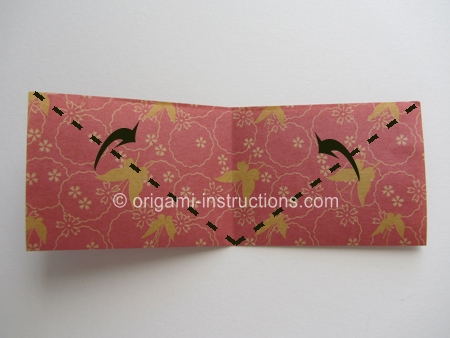
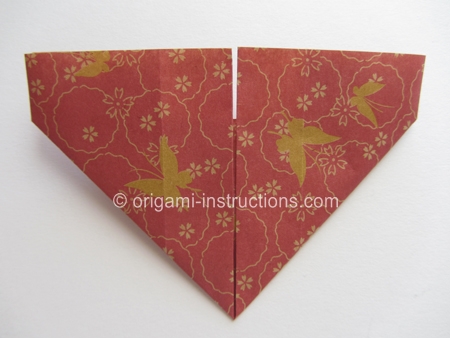
Origami Yoshizawa Butterfly Step 6: Unfold paper to Step 3.
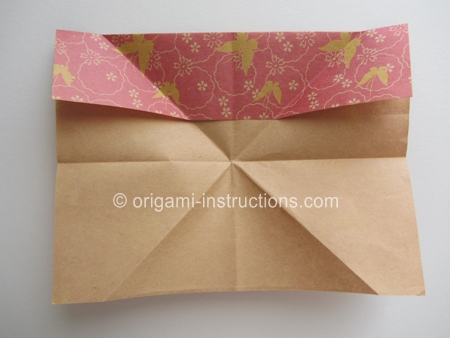
Origami Yoshizawa Butterfly Step 7: Recrease the lines as shown.
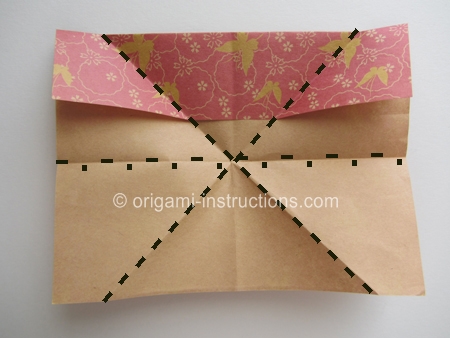
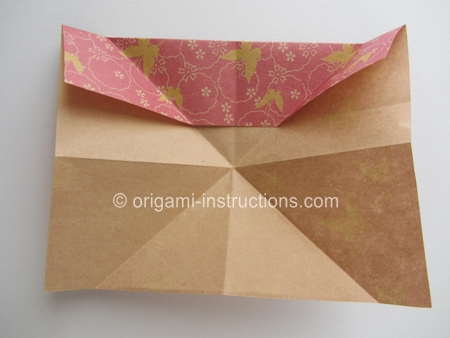
Origami Yoshizawa Butterfly Step 8: Collapse paper as in forming a waterbomb base.
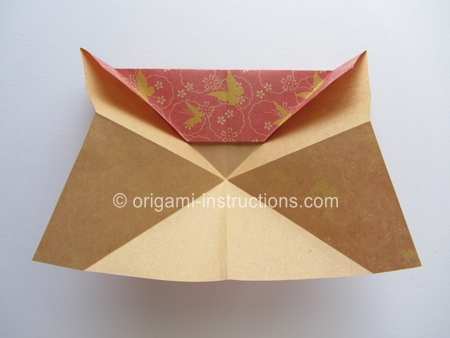
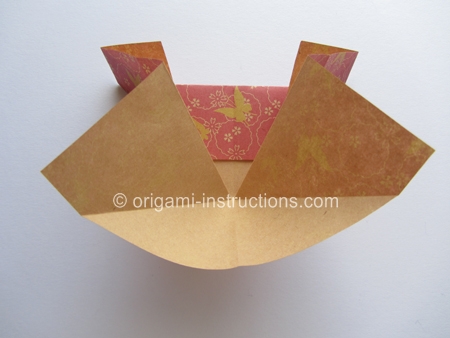
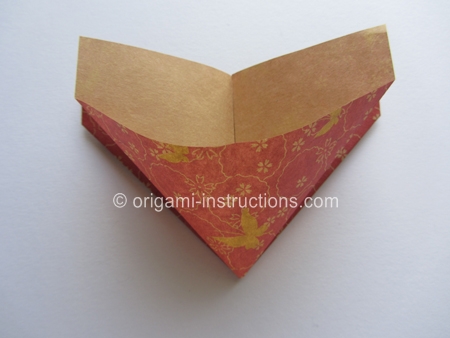
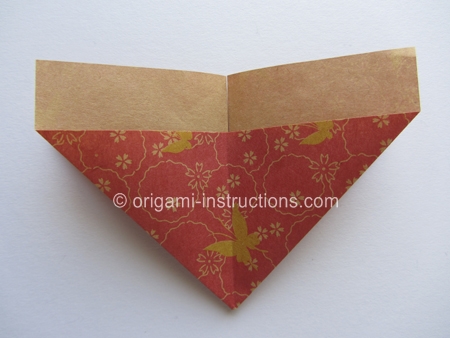
Origami Yoshizawa Butterfly Step 9: Fold both sides of the upper layer to the center.
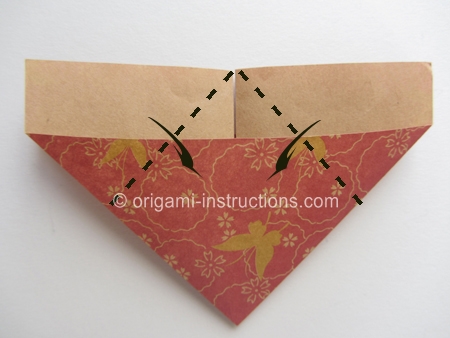
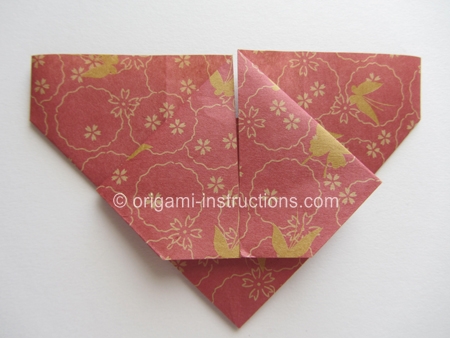
Origami Yoshizawa Butterfly Step 10: Flip paper over. Make 2 diagonal mountain folds as indicated below.
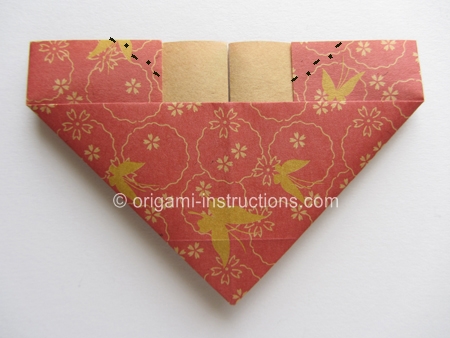
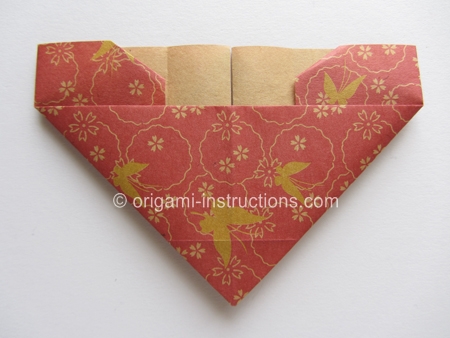
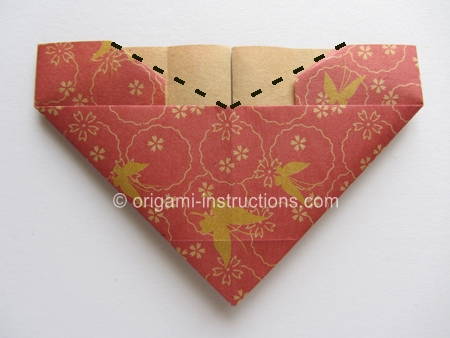
Origami Yoshizawa Butterfly Step 11: Fold the top parts down diagonally.
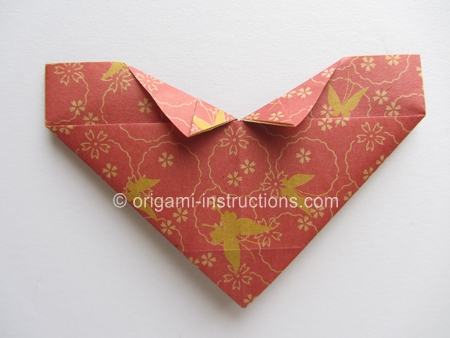
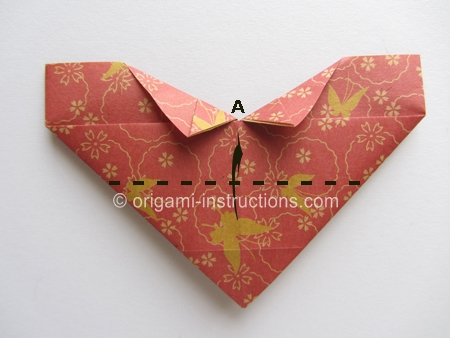
Origami Yoshizawa Butterfly Step 12: Fold the bottom tip to the top. From several trials, we found that folding it about 1 inch (25mm) beyond point Awas somewhat ideal.
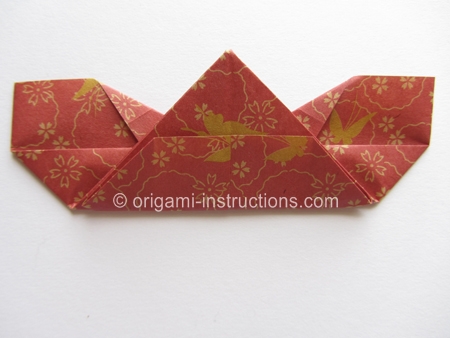
Origami Yoshizawa Butterfly Step 13: Fold down the upper layer on both sides and squash the sides flat.
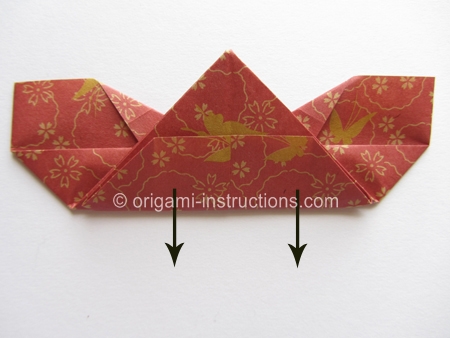
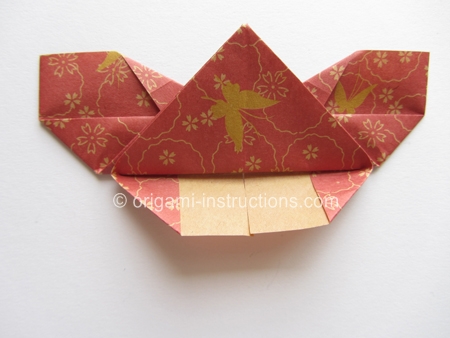
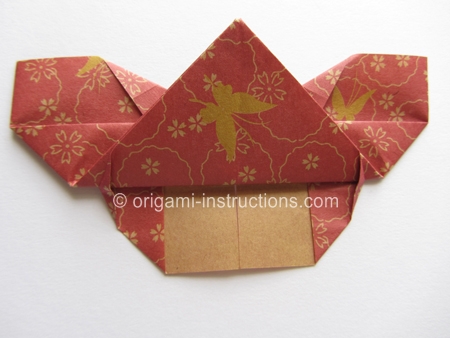
Origami Yoshizawa Butterfly Step 14: Flip paper over.
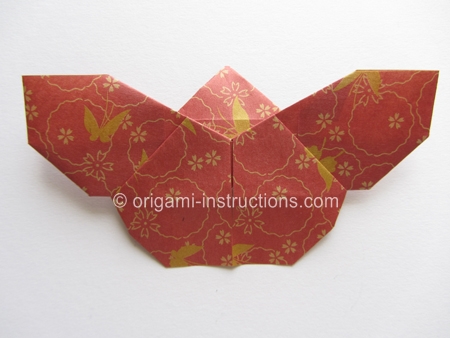
Origami Yoshizawa Butterfly Step 15: Fold down the tip.
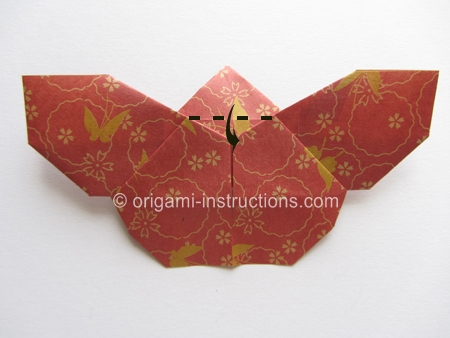
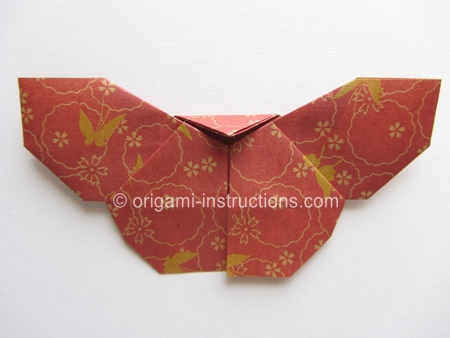
Origami Yoshizawa Butterfly Step 16: Fold the tip back up so that it slightly extends beyond the horizontal edge.
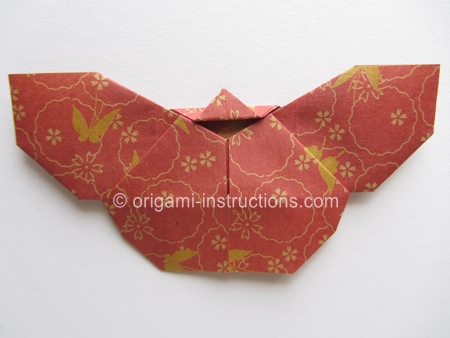
Origami Yoshizawa Butterfly Step 17: Make a mountain fold and fold paper into half.
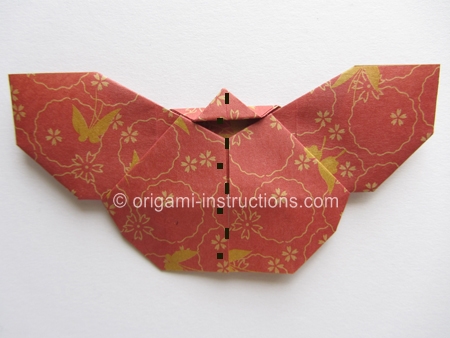
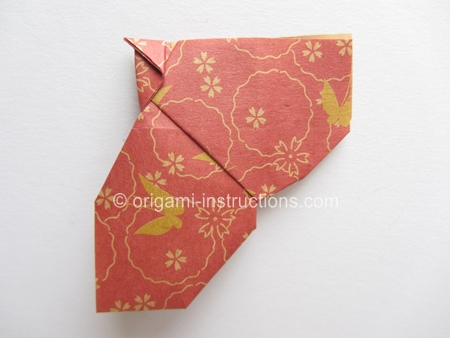
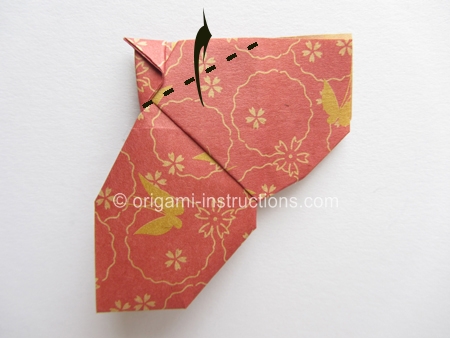
Origami Yoshizawa Butterfly Step 18: Almost done! Make a diagonal fold to form the wings.
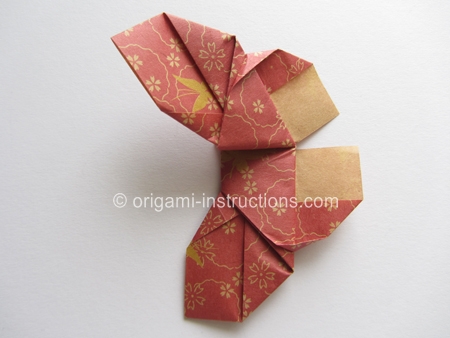
Origami Yoshizawa Butterfly Step 19: Flip paper over. Make another diagonal fold on this side to complete forming the wings.
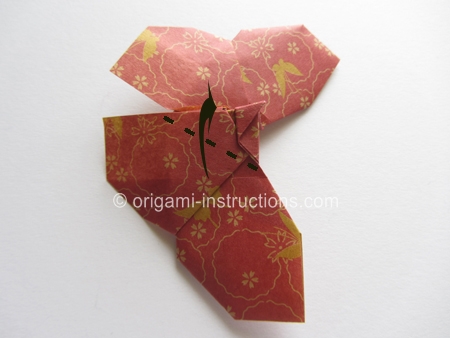
and your origami Yoshizawa Butterfly (version 2) is complete! Don't you just love it?!
