Origami Box with Divider Folding Instructions
Made this origami? Comment and Submit your photo using the comment box at the end of this page!
Below are folding instructions for the divider itself. You will need to also fold the origami box base and cover to complete this origami.
Origami Box with Divider Step 1: Start with a 6 inch (15cm) square origami paper, color side up.

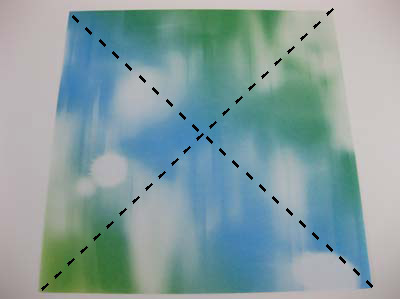
Origami Box with Divider Step 2: Make 2 folds, one on each diagonal axis. Crease well and unfold.

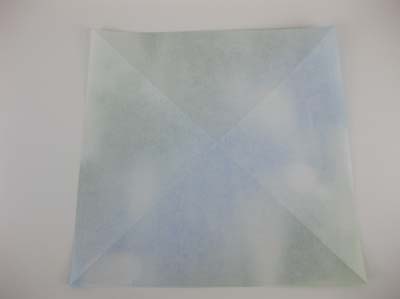
Origami Box with Divider Step 3: Flip paper over.
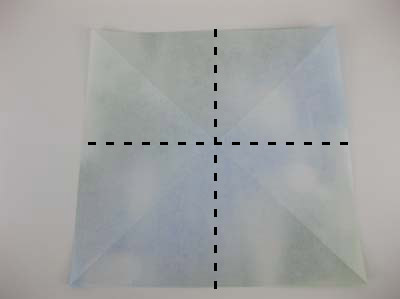
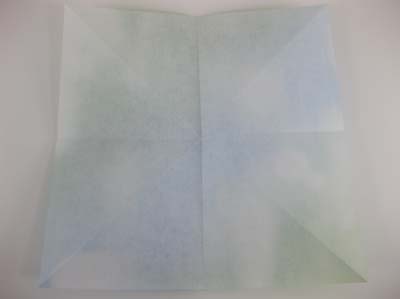
Origami Box with Divider Step 4: Fold the paper in half, along the horizontal and vertical axis. Crease well and unfold.
Origami Box with Divider Step 5: Now we need to fold the paper into thirds.Measure your paper and divide by 3.
Our paper was 15cm. Divide into 3 is 5 cm. So make a mark at the 5 cm and 10 cm point. Fold the bottom edge up and the top edge down. Crease well and unfold.
We'll be referring to these crease marks later on so make sure to crease well so that you can see them!
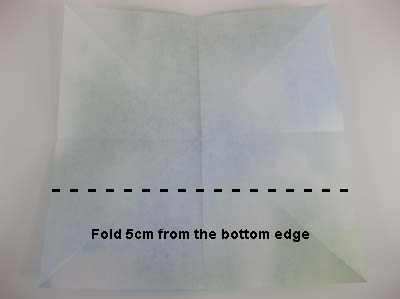
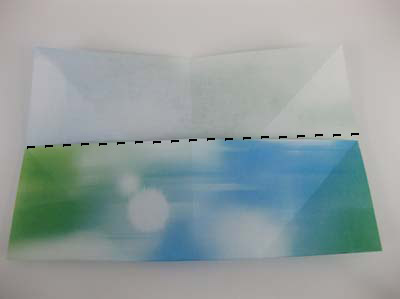
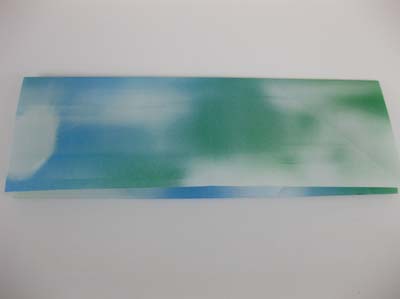
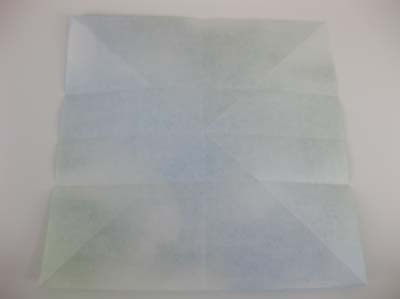
Origami Box with Divider Step 6: Now we'll repeat step 5 for the vertical sides. Measure and mark at the 5 cm and 10 cm point again. Fold the right side over first, then the left side. Crease well and unfold.
Once again, crease well because we'll be looking for them later on!
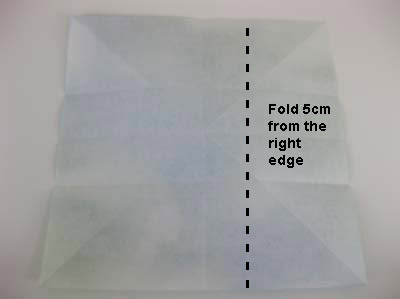
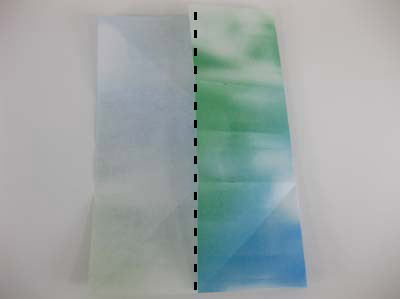

See the creases you've made in Step 5 and 6 by folding the paper into thirds? The steps from here on will refer to all the creases you've made so far.
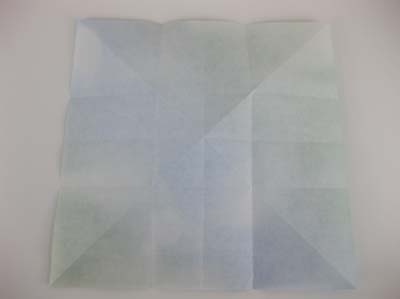
Origami Box with Divider Step 7: We've marked 4 points that we'll focus on in the picture below. Fold the top right corner to the point A.
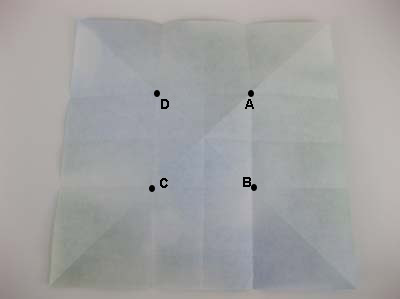
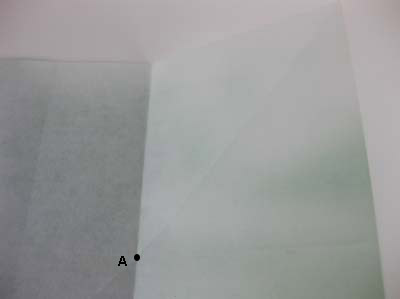
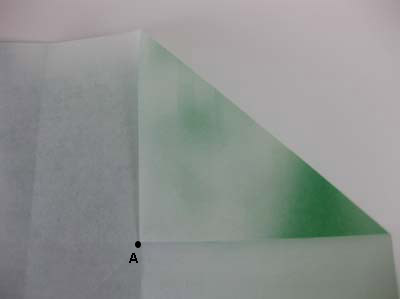
Origami Box with Divider Step 8: Now repeat Step 7 by folding the other 3 corners to points B , C and D.
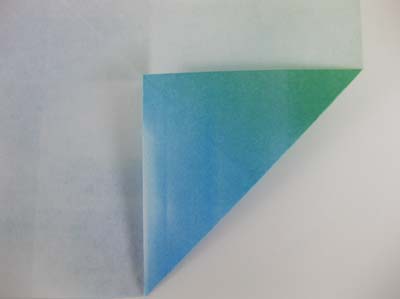
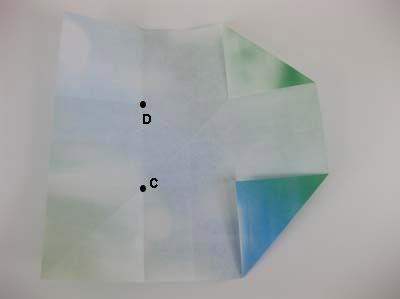
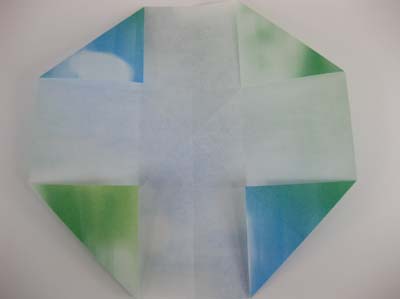
Origami Box with Divider Step 9: Fold the bottom edge up.
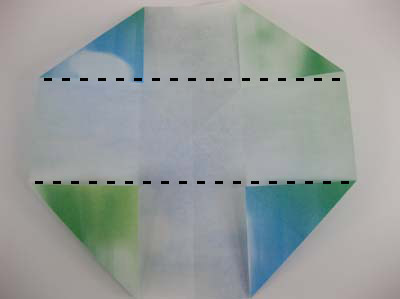
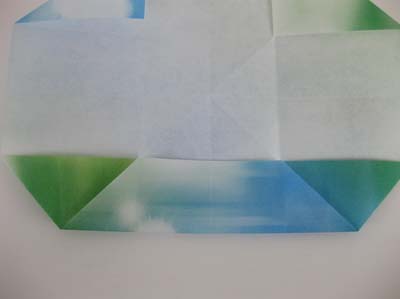
Origami Box with Divider Step 10: Fold the top edge down.
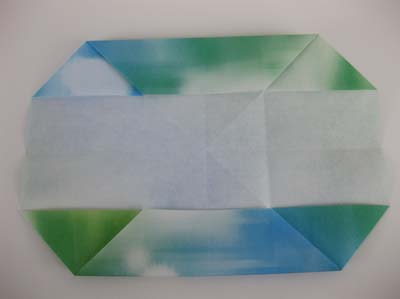
Origami Box with Divider Step 11: Fold the right and left edges inwards.
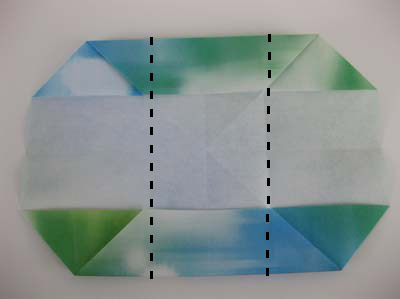
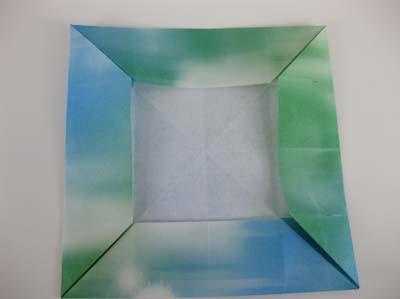
Origami Box with Divider Step 12: We will now collapse the paper like you do for the origami water balloon or origami waterbomb base . Push the right and left edges toward the center and the whole paper will collapse into a triangle as shown in the sequence of photos below.
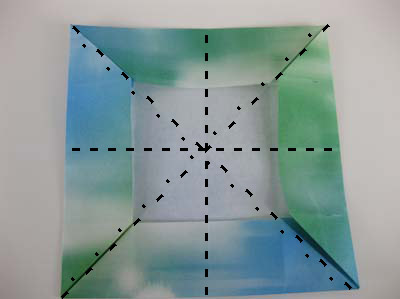
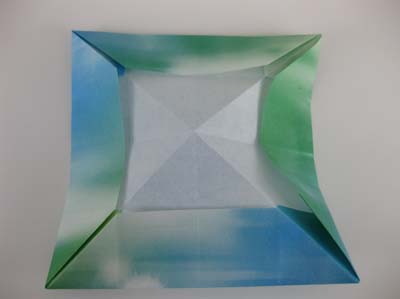

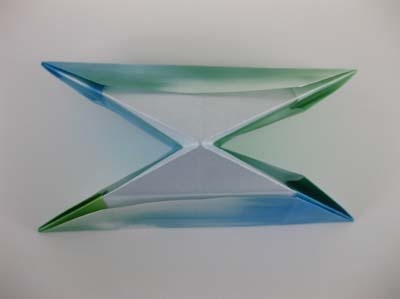
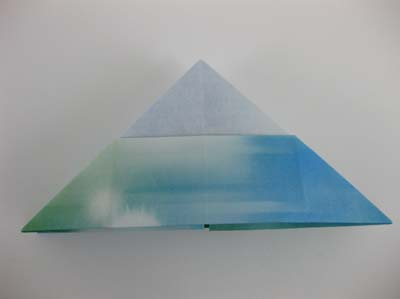
Rotate the paper 90 degrees:

Origami Box with Divider Step 13: Bring the top flap and unfold over to the right.

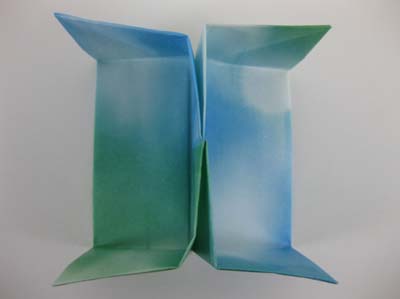
Origami Box with Divider Step 14: Make a mountain fold at the center line.
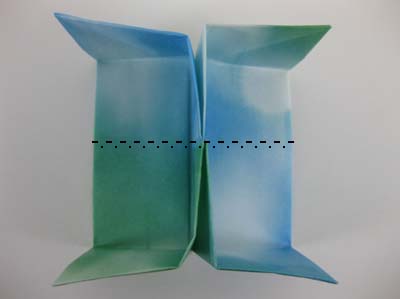
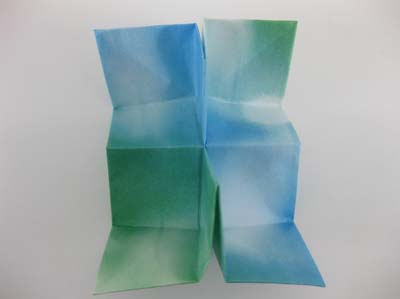
As you pinch the mountain fold upwards, the top and bottom edges should come together towards the center. And this is your divider.
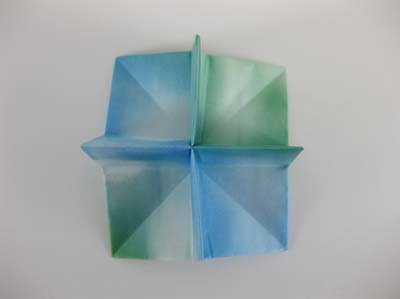

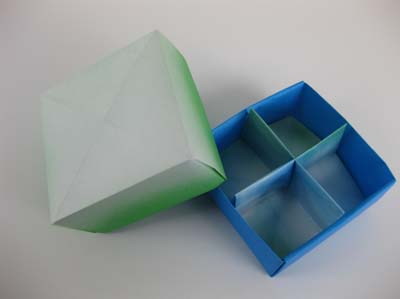
Origami Box with Divider Step 15: Place your newly folded divider into your origami box and you've an origami box with divider!
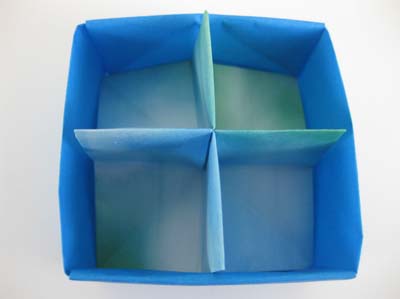
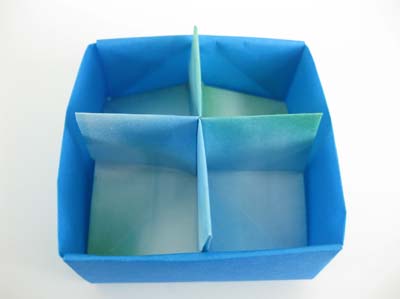
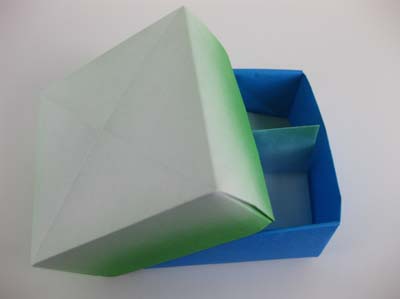
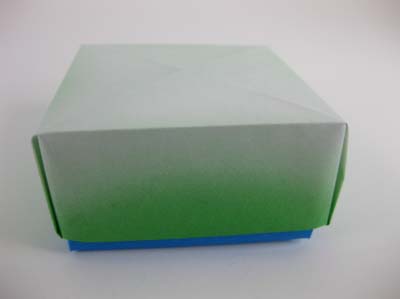
And if you've made the origami box with cover, you can end up with and origami box with cover and divider!
Check out the many origami box with divider photos that have been submitted by our readers!
