Origami Drinking Bird
Made this origami? Comment and Submit your photo using the comment box at the end of this page!
Origami Drinking Bird Step 1: Fold an origami bird base . This is a commonly used base in origami and we've created a separate page of instructions for it.
You should have the following to start with.
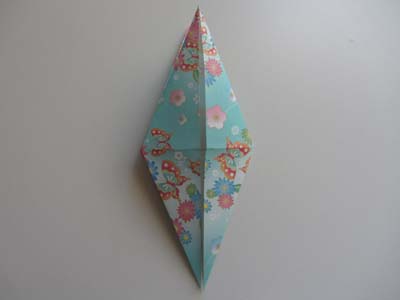
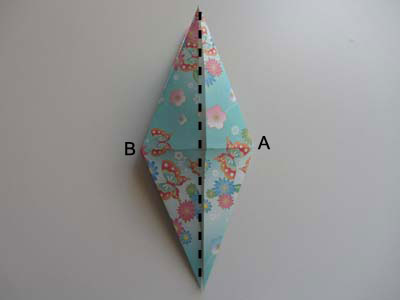
Origami Drinking Bird Step 2: Fold the top flap in half on the vertical axis, bringing point A to point B.
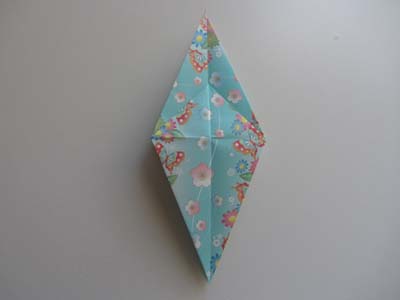
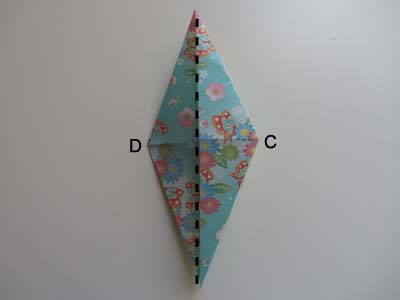
Origami Drinking Bird Step 3: Flip paper over. Now fold the top flap on this side in half, bringing point C to point D.
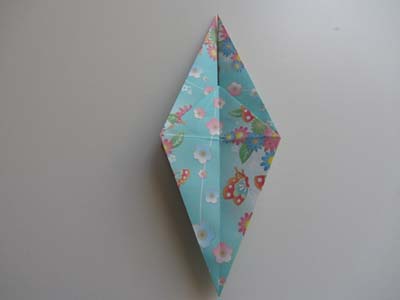
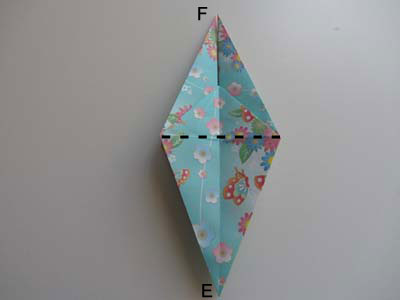
Origami Drinking Bird Step 4: Fold the paper on the dotted line shown below, bringing point E up to point F.
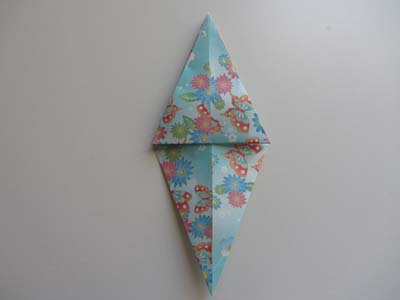
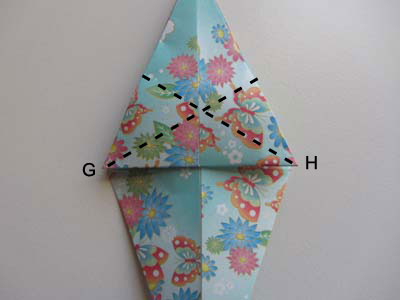
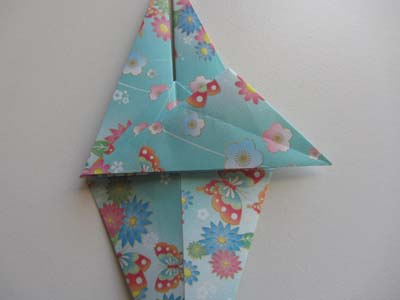
Origami Drinking Bird Step 5: Now we need make 2 folds at an angle. When you fold them at the dotted lines shown below, the paper should line up with G-H.
Crease well and unfold.
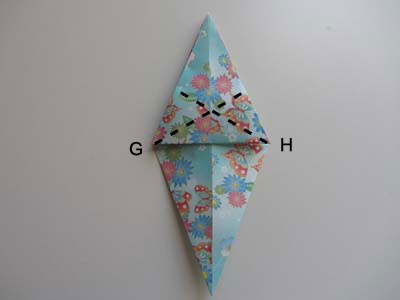
Here is a close-up view.
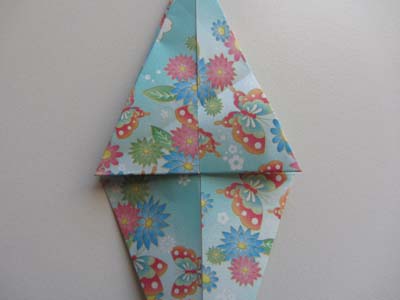
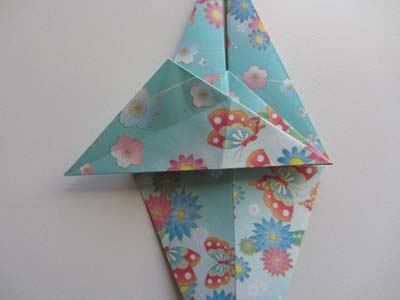
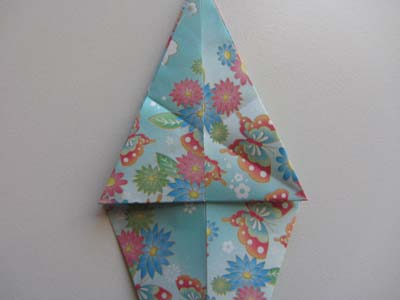
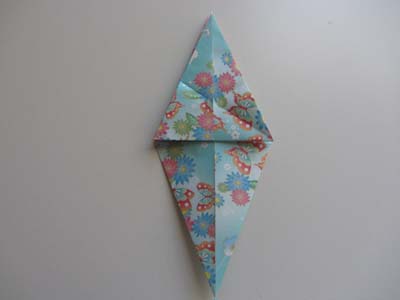
Origami Drinking Bird Step 6: Now we are going to recrease the paper on the dotted lines shown below.
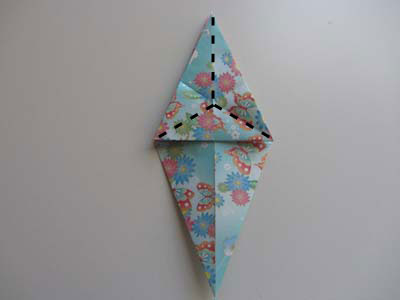
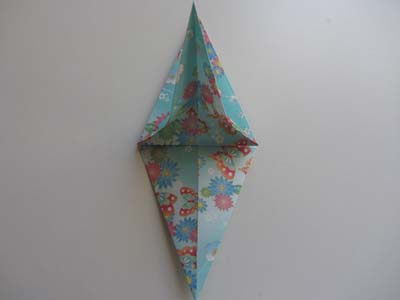
Zooming in for a closer view:
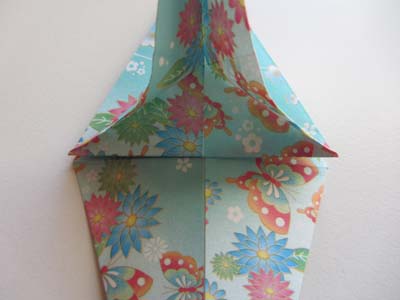
Origami Drinking Bird Step 7: Rotate the paper 90 degrees clockwise and make a mountain fold. We are folding the paper in half.
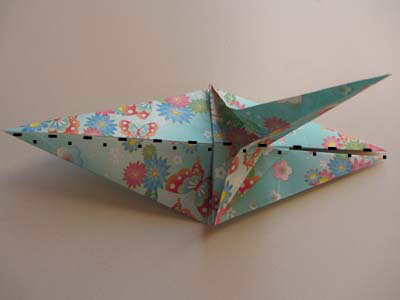
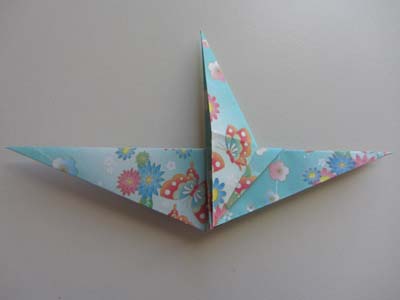
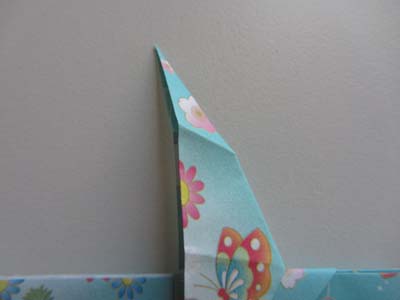
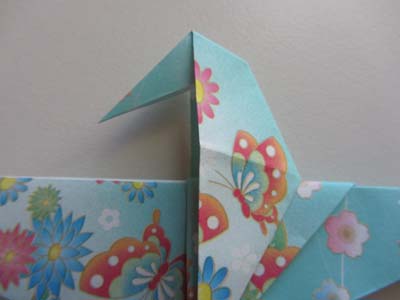
Origami Drinking Bird Step 8: Almost done! Make an inside reverse fold to form the head of the bird.
This is a commonly used fold in origami, generally used to form heads or tails of origami animals.
If you've folded the origami crane, you've made an inside reverse fold before.
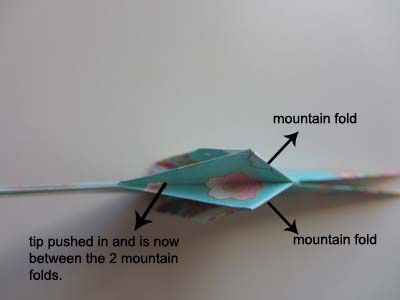
Basically, make a mountain fold at an angle on each side of the paper. Once you've made the 2 mountain folds, you can push down the tip so that the tip now resides between those 2 mountain folds.
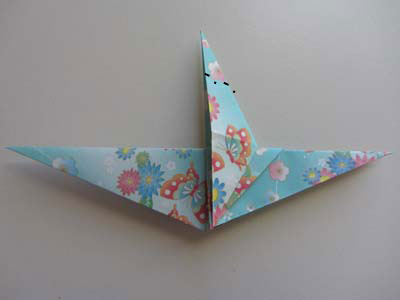
Here's a top view of the inside reverse fold:
Origami Drinking Bird Step 9: Your origami drinking bird is complete!
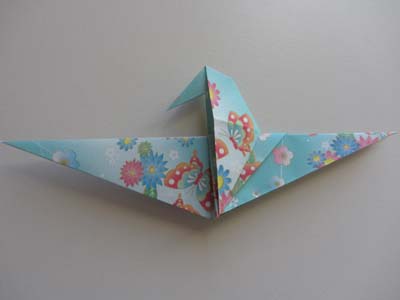
Only thing to do now is to put it in action. Here's a video showing how!
