Origami Flapping Bat
Made this origami? Comment and Submit your photo using the comment box at the end of this page!
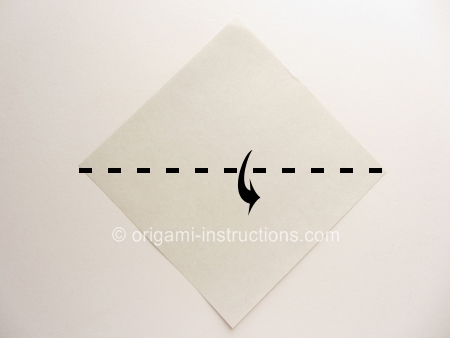
Origami Flapping Bat Step 1: Start with a square 6 inch x 6 inch (15cm x 15cm) origami paper, color side down.
Fold paper in half on the horizontal diagonal axis. Crease well.
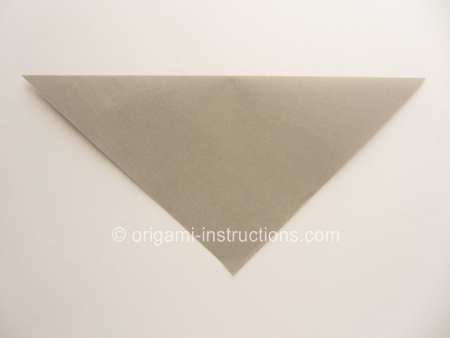
Origami Flapping Bat Step 2: Fold paper in half. Crease well and unfold.
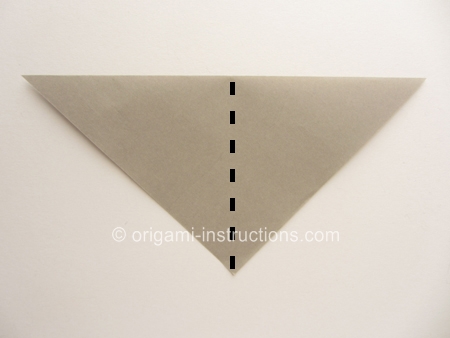
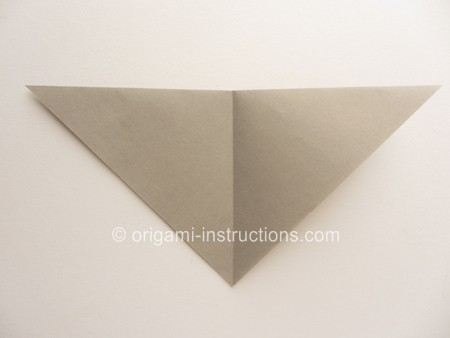
Origami Flapping Bat Step 3: Fold the bottom tip to the top. Crease well.
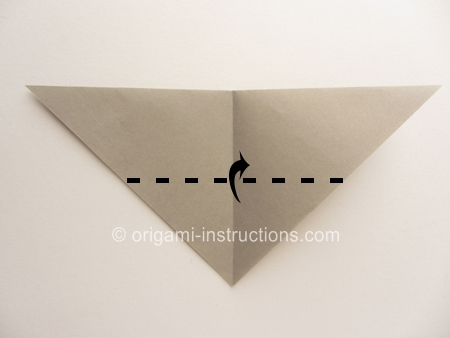
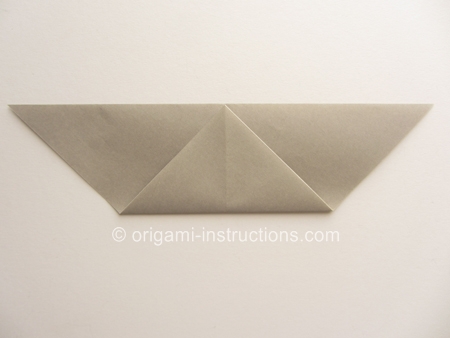
Origami Flapping Bat Step 4: Fold paper in half again. Crease well.
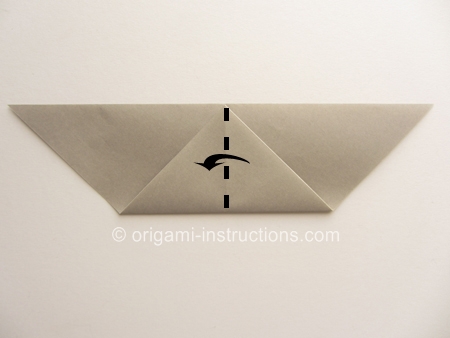
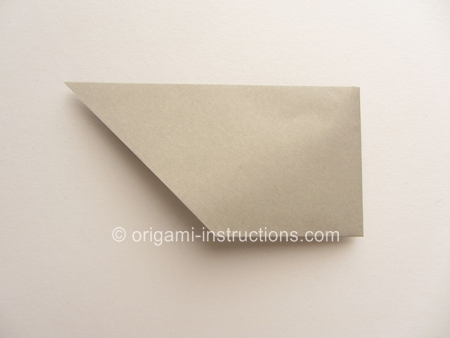
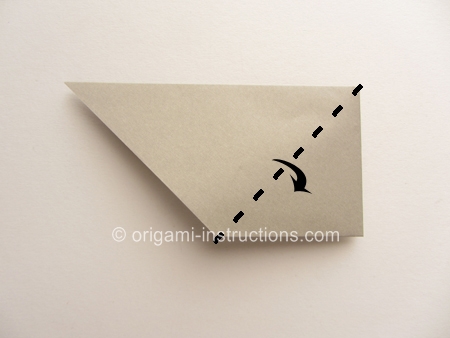
Origami Flapping Bat Step 5: Make a diagonal fold for the top layer. Crease well.
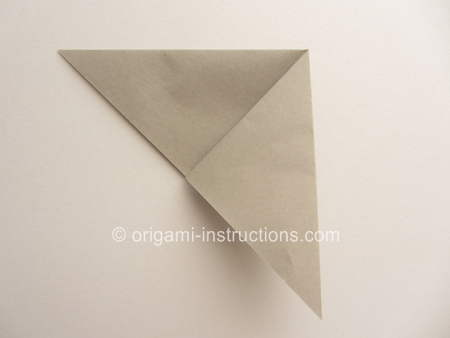
Origami Flapping Bat Step 6: Flip paper over.
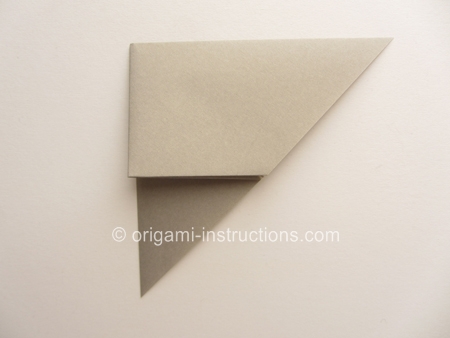
Origami Flapping Bat Step 7: Make a diagonal fold as shown. Crease well and unfold.
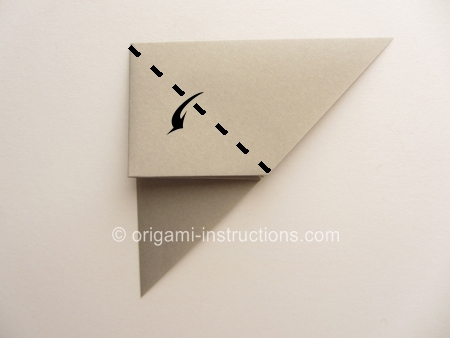
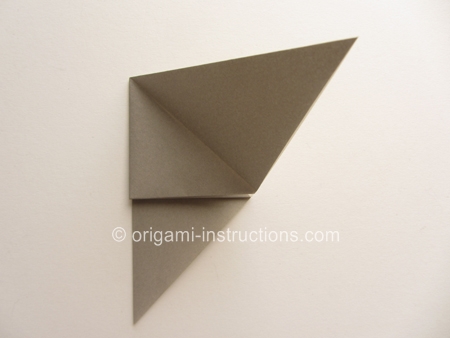
Origami Flapping Bat Step 8: Make a diagonal fold on the center layer as shown. Crease well and unfold.
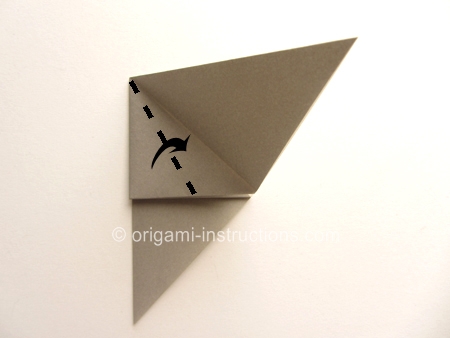
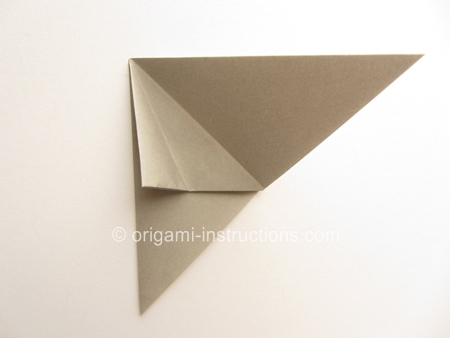
Origami Flapping Bat Step 9: Rotate paper 180 degrees.
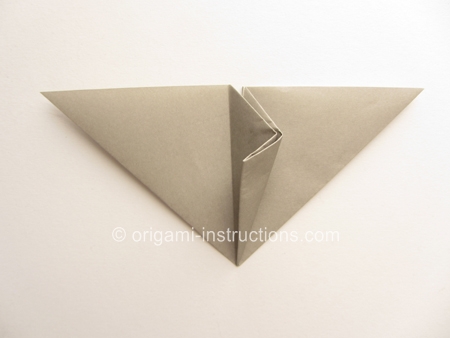
Origami Flapping Bat Step 10: Pry paper open in the center and make a squash fold by pressing the paper flat.
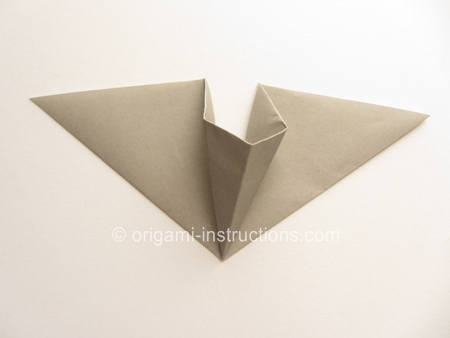
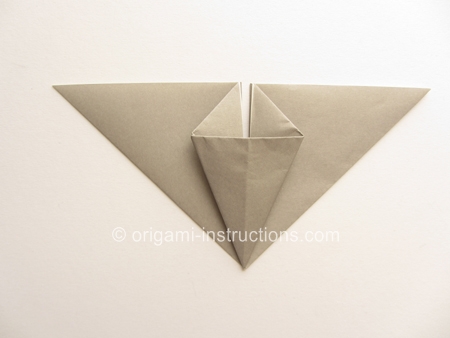
Origami Flapping Bat Step 11: We're now getting ready to make a petal fold .
Make the 2 diagonal folds to the center as shown. Crease well and unfold.
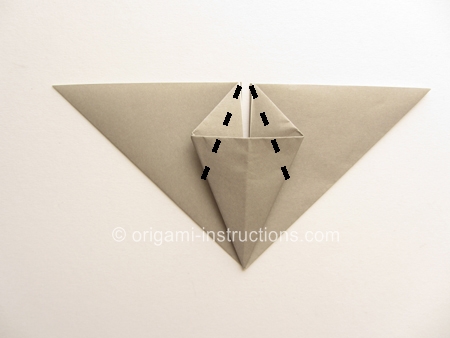
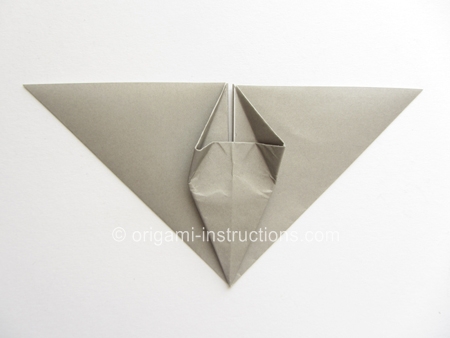
Origami Flapping Bat Step 12: Make the horizontal valley fold and complete the petal fold.
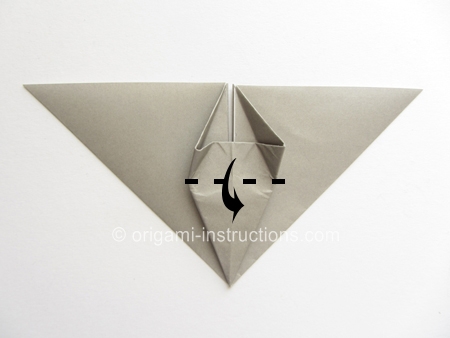
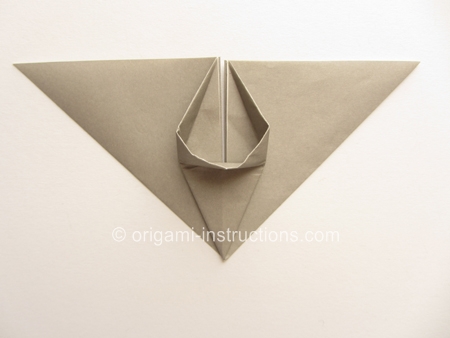
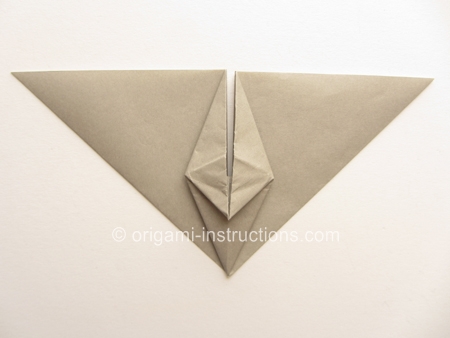
Origami Flapping Bat Step 13: Fold up the center tab slightly.
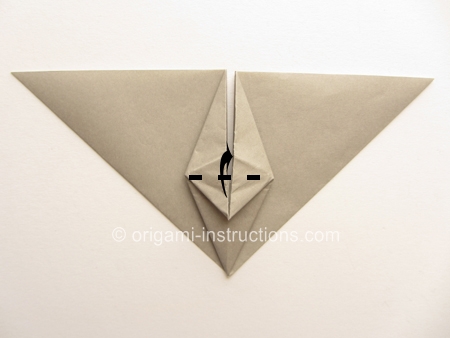
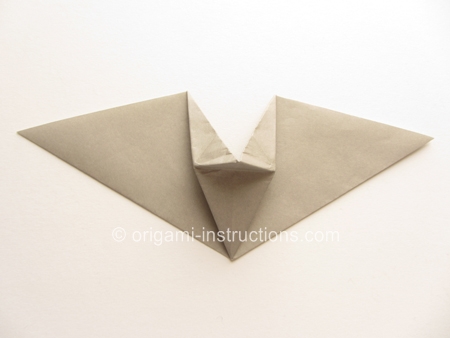
Origami Flapping Bat Step 14: Flip paper over.
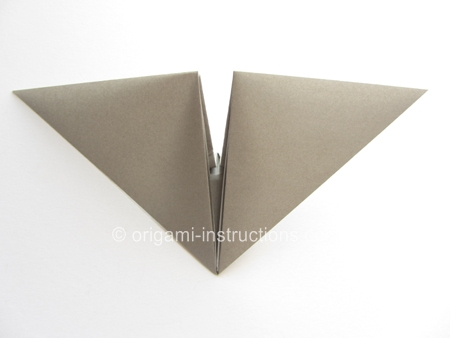
Origami Flapping Bat Step 15: Pull the left and right tips to open the paper.
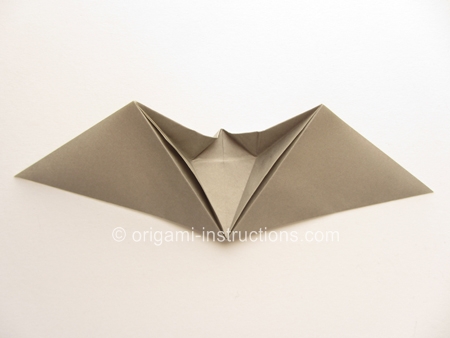
Origami Flapping Bat Step 16: Make the horizontal valley fold in the center.
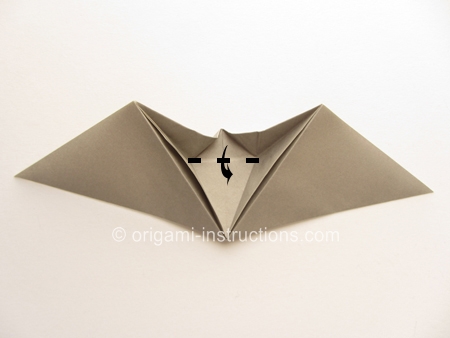
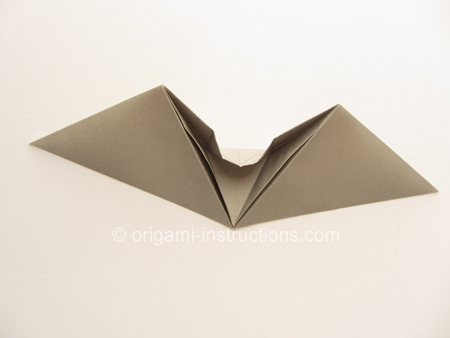
Then bring the sides back to the center to close the paper.
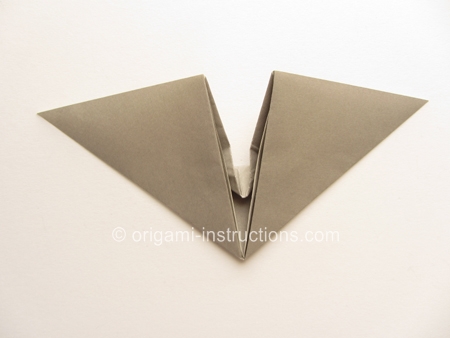
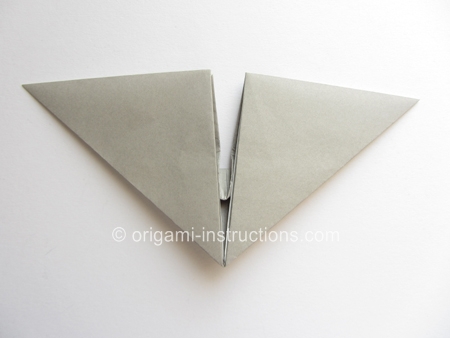
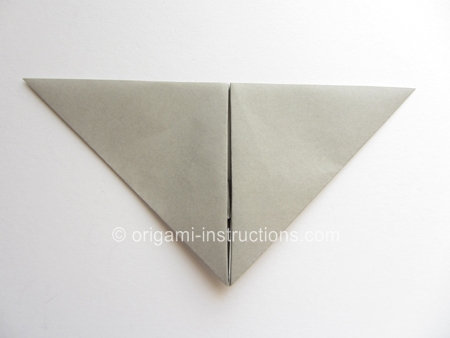
Origami Flapping Bat Step 17: Flip paper over.
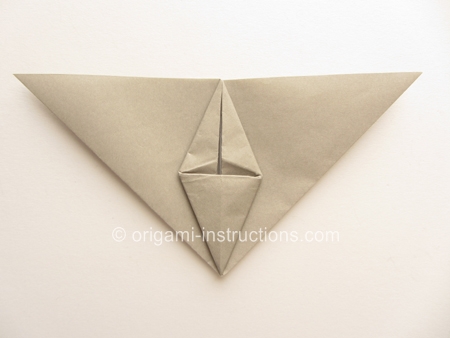
Origami Flapping Bat Step 18: Unfold paper to the start of Step 2!
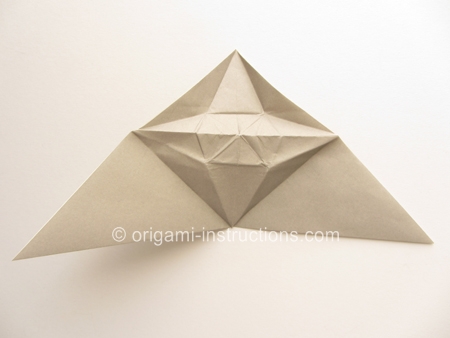
Origami Flapping Bat Step 19: Fold down the tip.
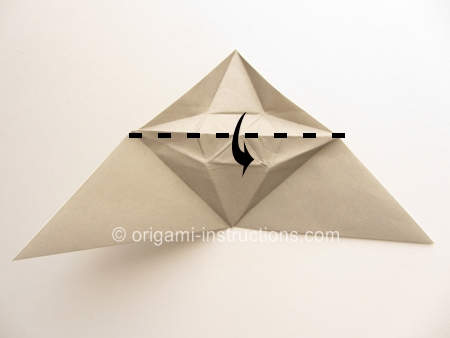
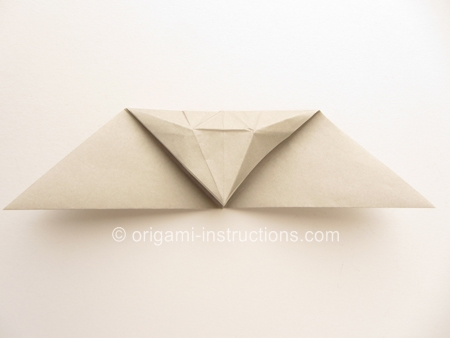
Origami Flapping Bat Step 20: Fold the bottom tip to ALMOST the top.
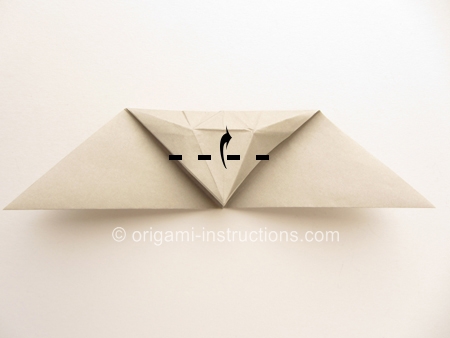
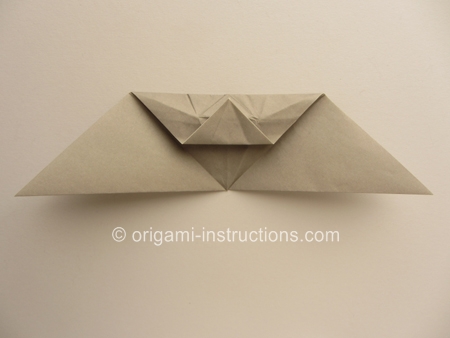
Origami Flapping Bat Step 21: Make the valley fold as shown the center, top layer only.
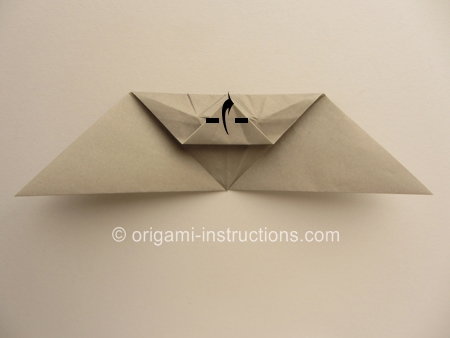
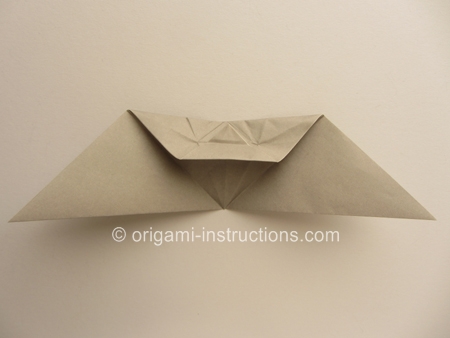
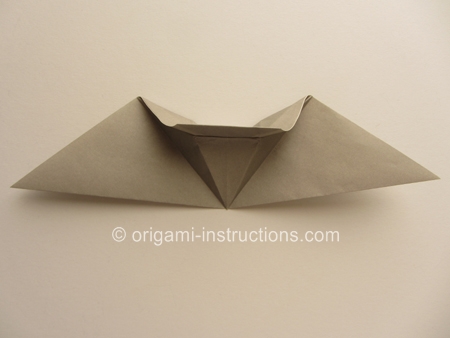
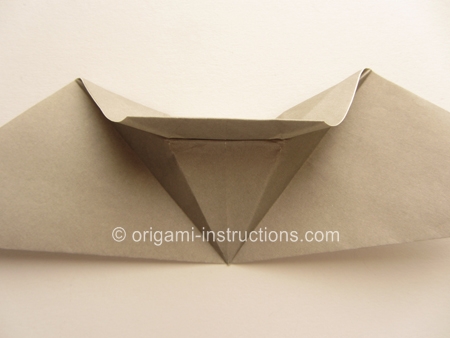
And use the existing creases to guide you and bring both sides to the center again.
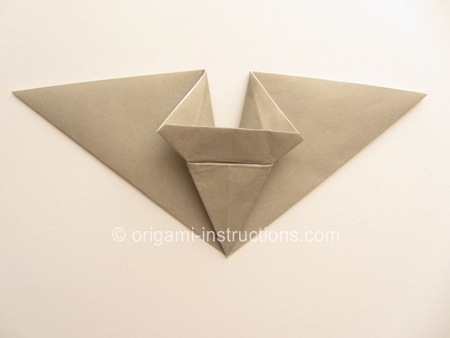
Origami Flapping Bat Step 22: Fold down the center.
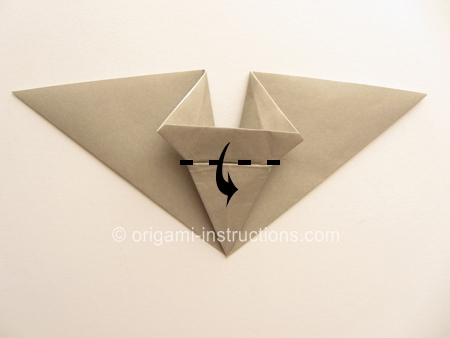
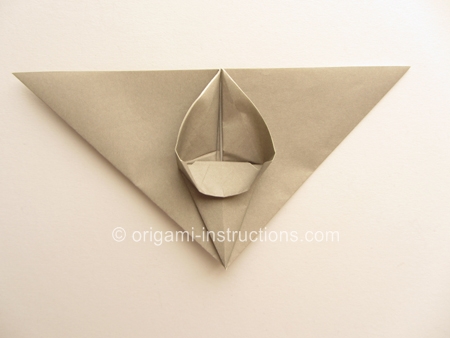
Origami Flapping Bat Step 23: One last step. We're going to make a petal fold again, but this time the paper will not flatten all the way in the center.
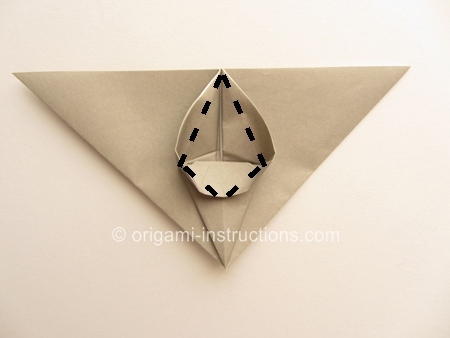
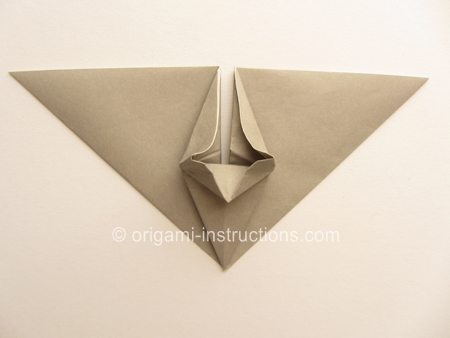
And your origami flapping bat is complete!
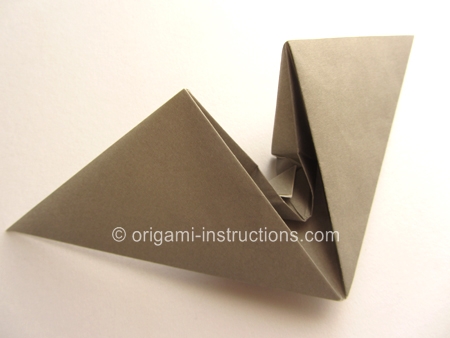
Watch the video below to see how you can make the bat flap its wings...it even makes a satisfying flapping sound!
