
Origami Frog
Made this origami? Comment and Submit your photo using the comment box at the end of this page!
If you like this, you may also like the origami hopping frog .
Origami Frog
You can view our video below, or if you prefer, our photo instructions below that:
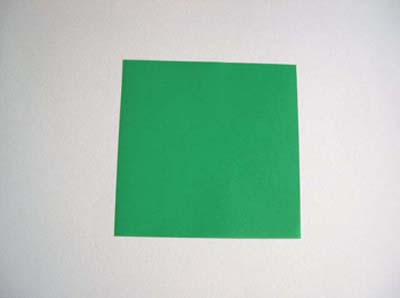
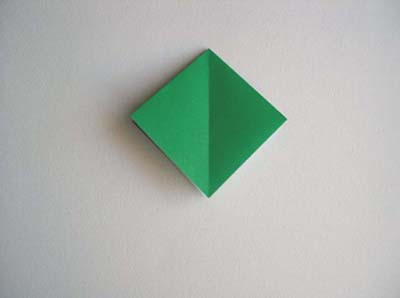
Start with a square piece of origami paper (green makes convincing frogs). Now make a square base .
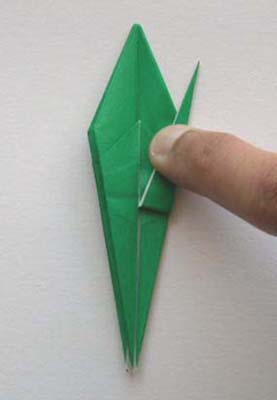
Next insert your finger in one of the pockets in the square base.
Move the pocket around to the front, then flatten and crease it.
This classic origami move is known as the squash fold .
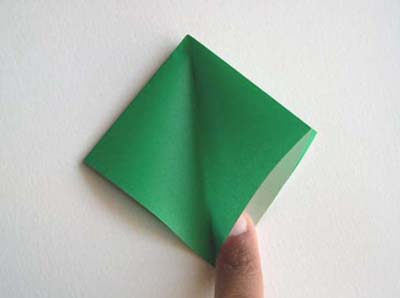

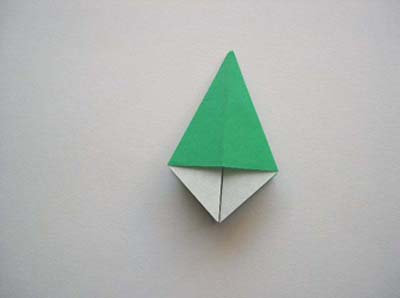
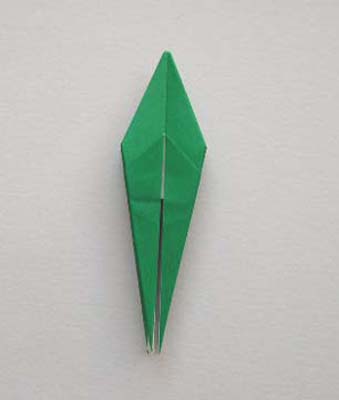
Photo below shows one of the squash folds completed. Now perform the squash fold three more times...
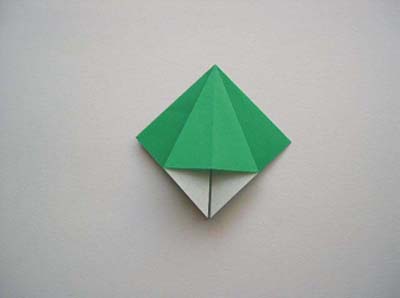
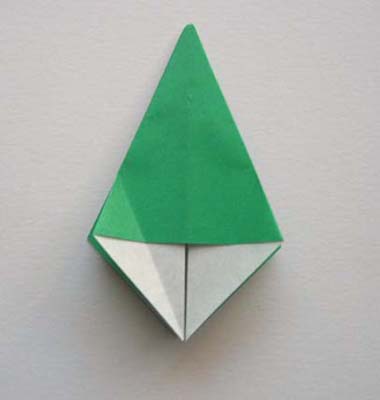
...until the piece has the diamond shape shown below.
Next fold and unfold the corners as shown, to make creasemarks.
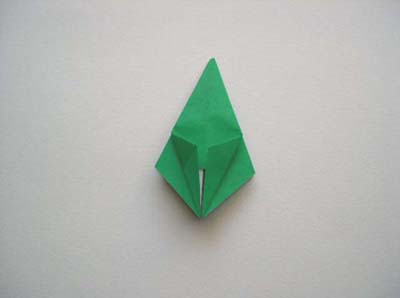
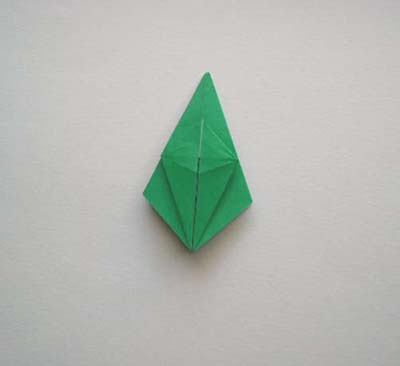
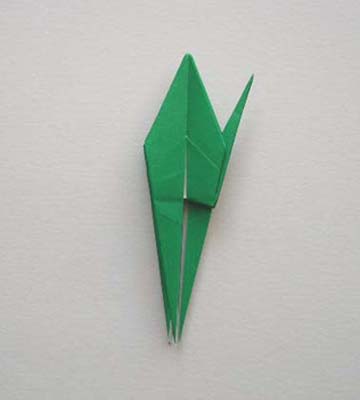
Next comes another classic origami move, the petal fold .

The next photo shows the completed petal fold.
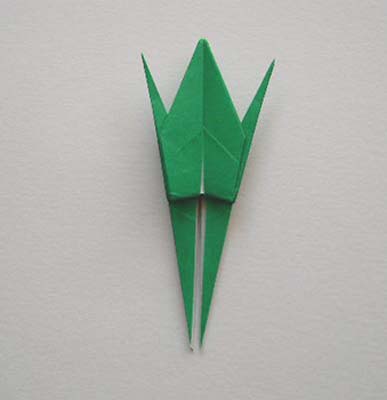
Now perform the petal fold three more times (on the other three faces of the diamond), to create the origami frog base .
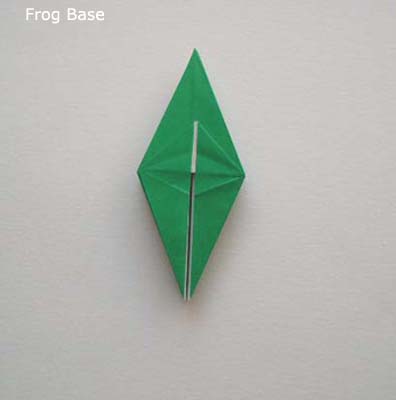
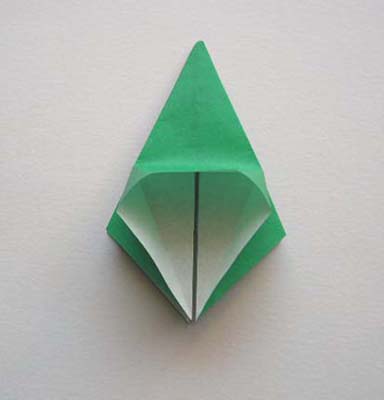
Fold the frog base down the centerline as shown. Then fold the lower edges of one layer into the centerline.

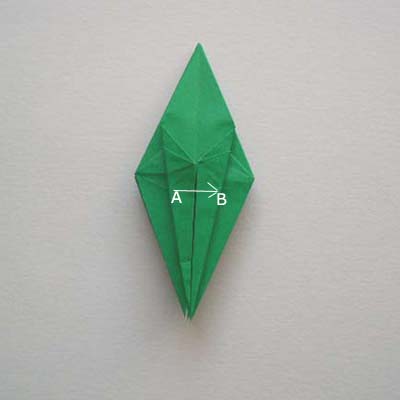
Now fold edge A to edge B as shown by the arrow.
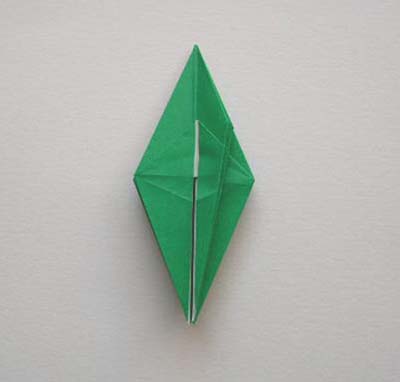
The perform the previous three steps again, 3 more times, until the piece looks like below right.
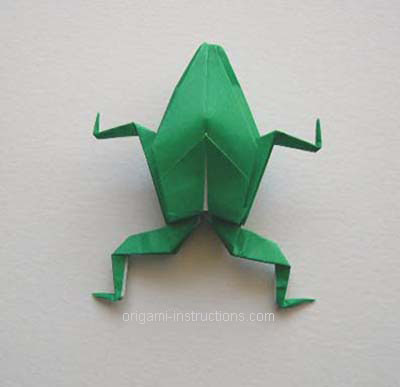
Now it's time to turn the tadpole into a frog!
I like to pre-crease the leg, then use reverse folds to create the two front legs (reverse folds are explained here ).
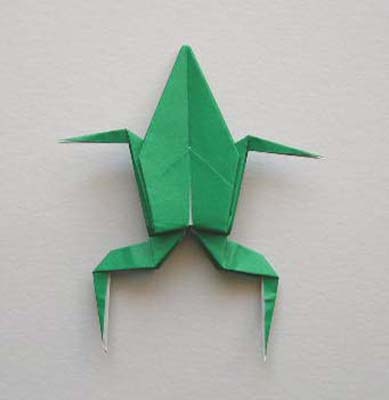
Now use reverse folds to stretch the back legs.
Apply reverse folds again, twice each on the front and back pairs of legs, as shown in the photos below.

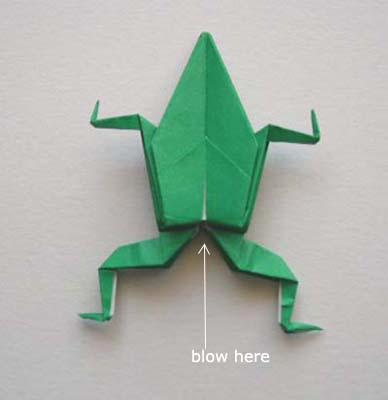
Now you'll need to blow where shown, to inflate the frog's body.
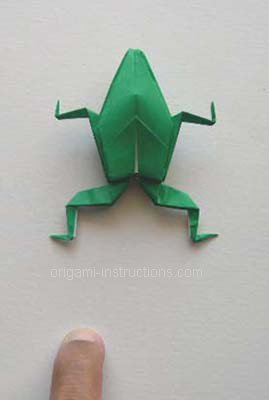
You can make the frog hop for short distances by pressing on the rear of the body, then sliding your finger off onto the table:

O-ribit-gami!
Check out the many origami frog photos that have been submitted by our readers!