Origami Heron
Made this origami? Comment and Submit your photo using the comment box at the end of this page!
Start with an origami bird base . This is a commonly used base in origami so we've created a separate page of instructions for it. Or you can watch the video embedded below.
Fold edges AB and BC to the centerline.


Repeat on the backside of the piece. Then do an inside reverse fold to form the neck of the heron.


Another inside reverse fold forms the head. Then an inside reverse fold to start forming the feet.


Another inside reverse fold completes the feet. Make a valley fold along the line shown to form the left leg.


Repeat on the backside to form the right leg. Then fold the top points down and back to form the wings.


Now your origami heron is complete! If you spread the halves of the feet, you should be able to get the bird to balance as shown.

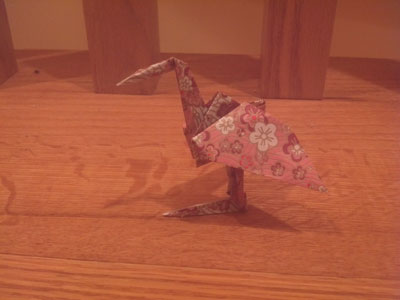
From Crystal in Maricopa " I turned my origami Heron into a Flamingo! "

From reader in Kalamazoo:
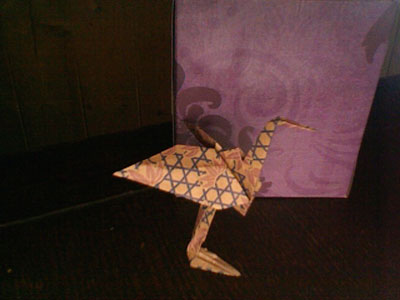
From Bree in Rutland County "Origami Heron"