Origami Star Box Folding Instructions
Made this origami? Comment and Submit your photo using the comment box at the end of this page!
As always, we used a regular 6" square origami paper so the finished box was only about 1.5 inch in length and width. But if you use a larger sheet of paper, this origami box can be used to holder larger stuff like business cards.
I also used a sturdier Rice Origami Paper and it is holding up really well!
There is another "version" for this origami star box. Scroll down to see which you prefer. Photos and instructions for both versions are on this page.
We have other boxes on this site: an easy origami box and an origami pleated box .
Origami Star Box Step 1: Start with a square origami paper and make a square base . Below is the square base and what you should have to start with.
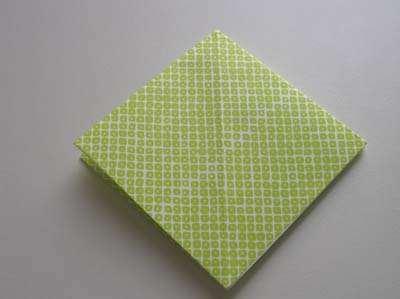 .
.
Origami Star Box Step 2: Now fold the right side to meet the center crease.
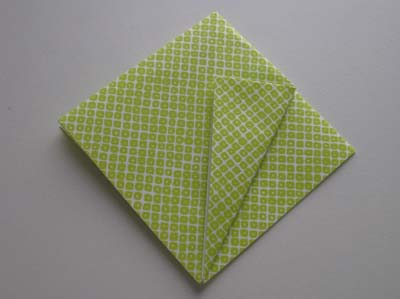
Origami Star Box Step 3: Bring that right flap away from the center, open it slightly and squash it down. This is a squash fold or also sometimes called spread squash fold.
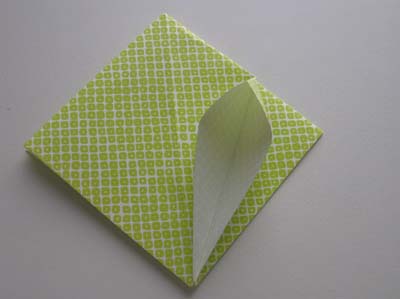
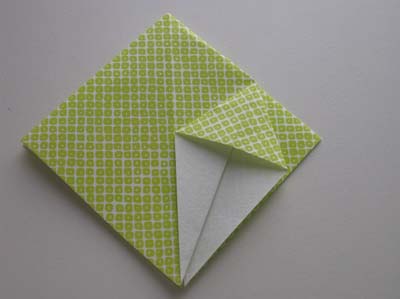
Origami Star Box Step 4: Repeat Steps 2 and 3 for the left side.
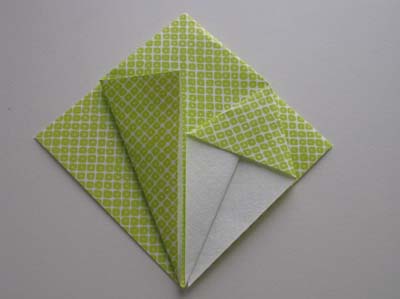
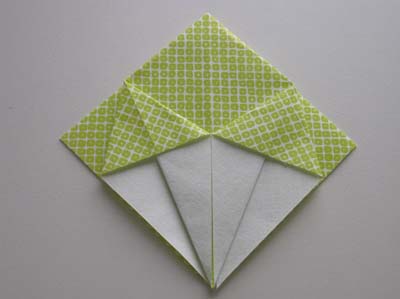
Origami Star Box Step 5: FLIP paper over.
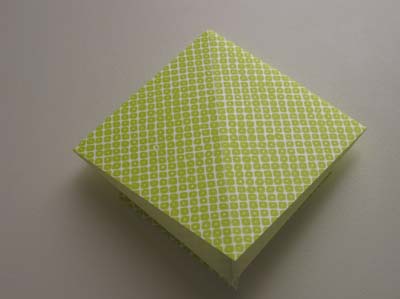
Origami Star Box Step 6: Now repeat steps 2 to 4 on this side.
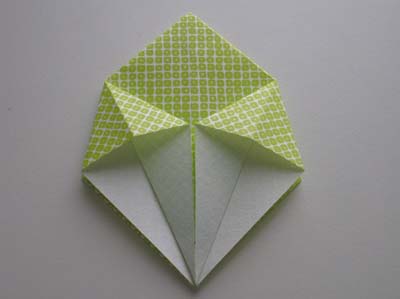
Origami Star Box Step 7: Remember that the square base has 4 sides? You can find the other 2 by bringing the top flap over.
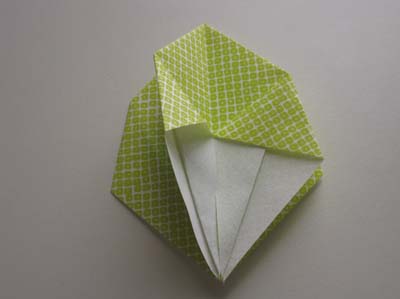
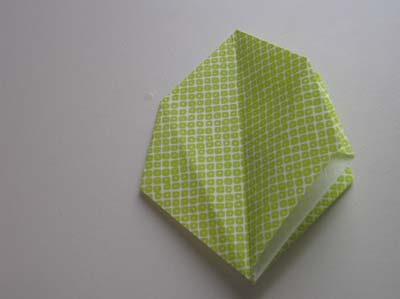
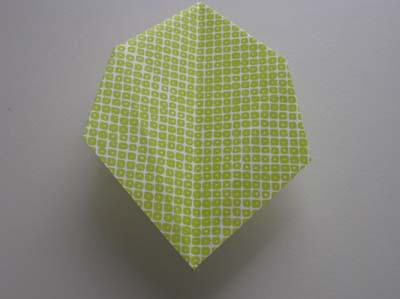
Origami Star Box Step 8: OK, fold both sides to meet the center crease.
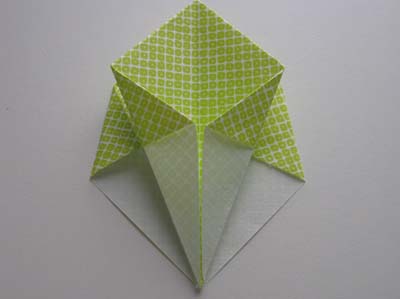
Origami Star Box Step 9: FLIP paper over and repeat step 8.
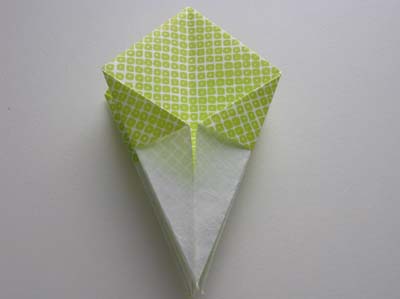
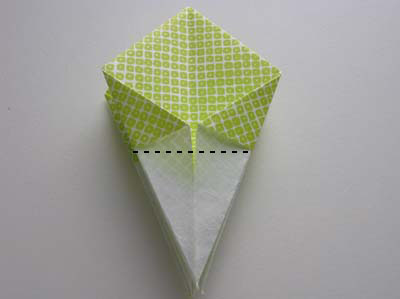
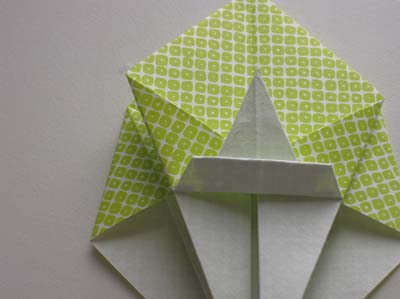
Origami Star Box Step 10: Almost there! Now, fold the bottom tip to the top. See the dash line in the photo below? That's where the crease should be.
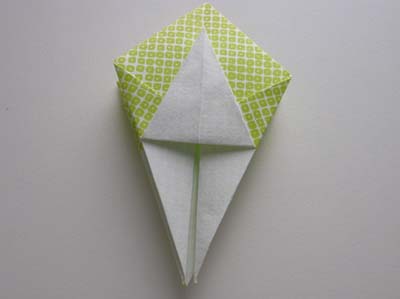
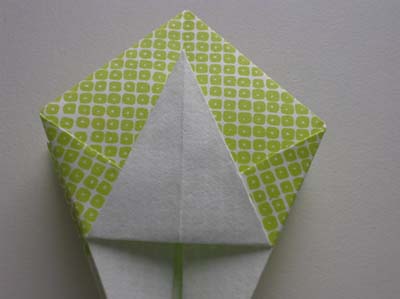
Origami Star Box Step 11: Repeat Step 10 for the other 3 sides and you should the following.
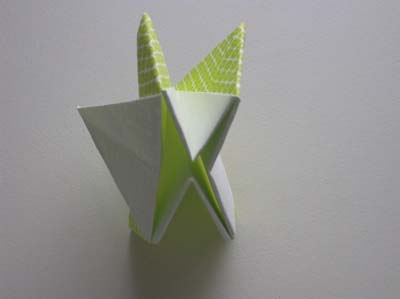
Origami Star Box Step 12: Slowly push out the sides and flatten the bottom. The box will begin to form before your very eyes like magic!!
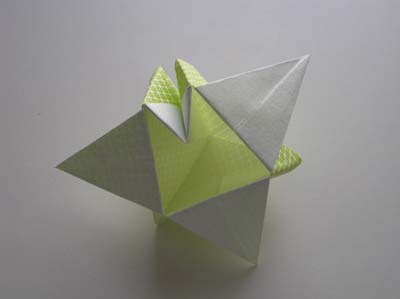
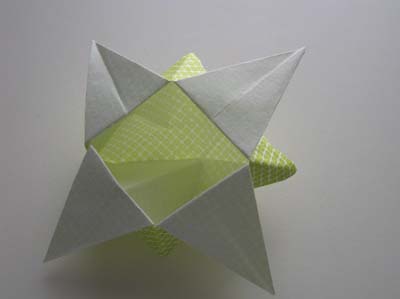
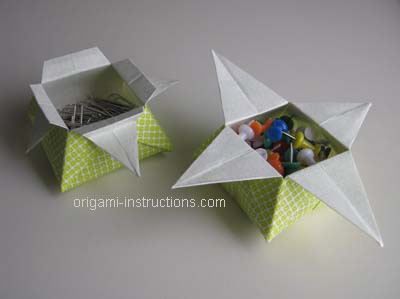
and here's your origami star box!!
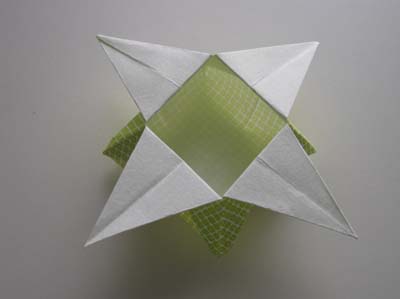
OK, now that you have version 1 down, you can also make something like this:
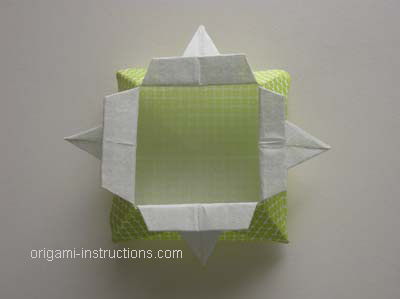
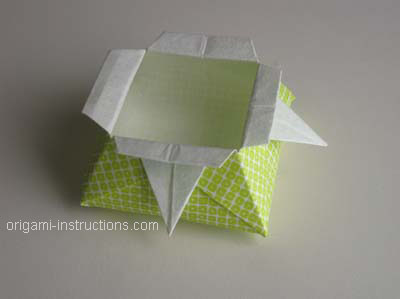
Everything is the same as the first origami star box EXCEPT for Step 10. Replace Step 10 with the following to obtain version 2.
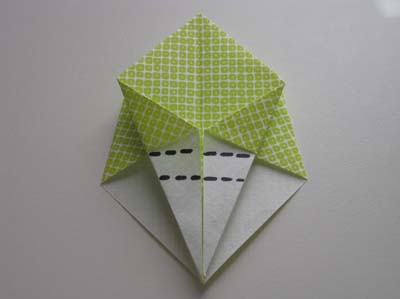
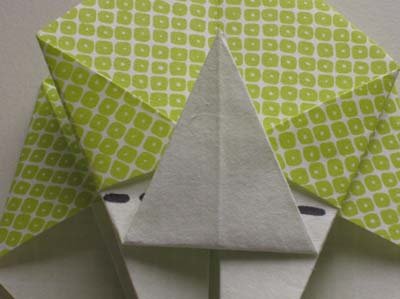
Alternate Step 10: Fold the bottom tip up and crease at the bottom dash line shown below. Then fold it over and crease at the top dash line. Follow the photos below. Repeat for all 3 other sides.
Check out the many origami star box photos that have been submitted by our readers!
