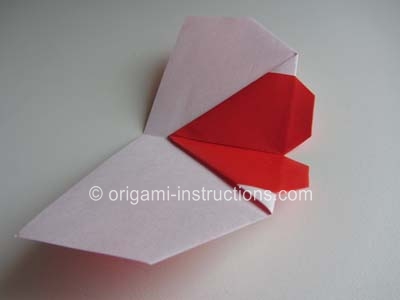
Origami Flying Heart
Made this origami? Comment and Submit your photo using the comment box at the end of this page!
Origami Flying Heart Step 1: Start with a 6 inch x 6 inch (15cm x 15cm) square origami paper, color side down.
Fold paper in half but only make a small crease in the center. We just want to mark the center point. Unfold paper.
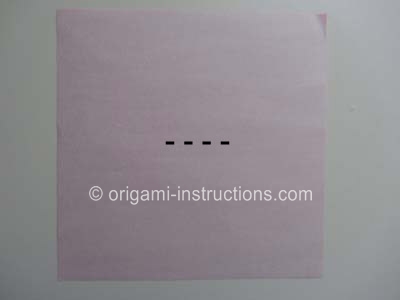

Origami Flying Heart Step 2: Fold bottom half to the center point.
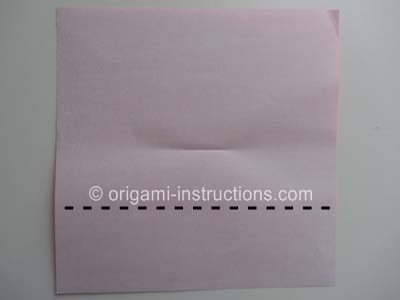

Origami Flying Heart Step 3: We now want to mark the vertical center point. Fold paper in half on the vertical axis but crease the bottom edge only to mark it.
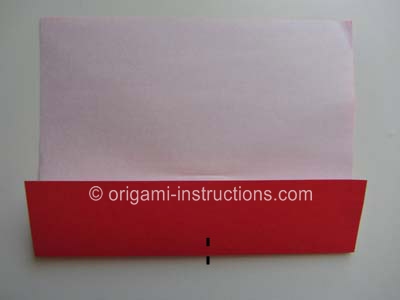

Origami Flying Heart Step 4: Flip paper over. Fold both sides to the center.
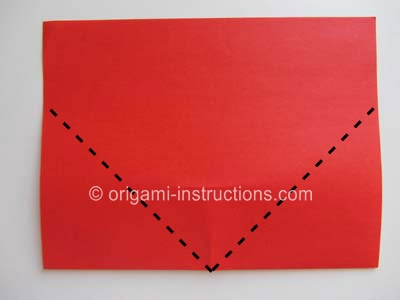
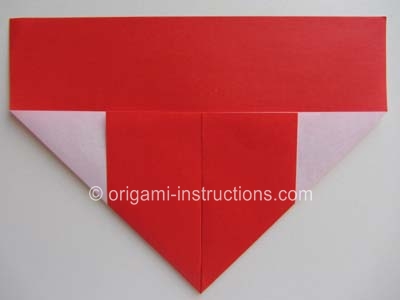
Origami Flying Heart Step 5: Flip paper over.
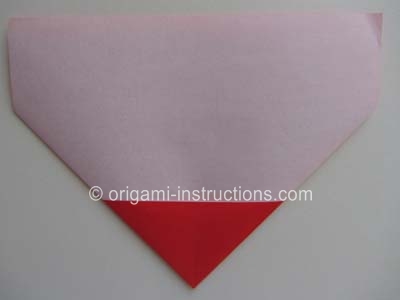
Origami Flying Heart Step 6: Now fold the bottom tip to about 1 cm or 1/2 inch from the top edge.
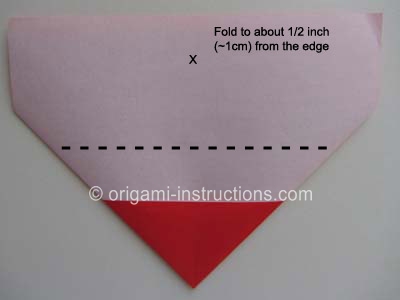
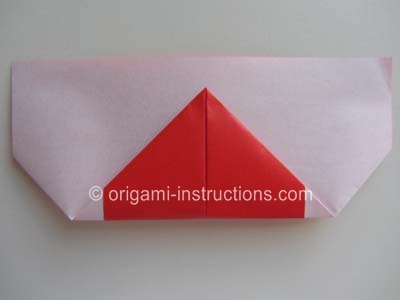
Origami Flying Heart Step 7: Flip paper over. Make 2 folds at an angle where indicated. Crease well and unfold.
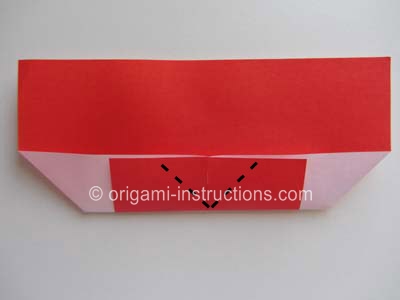
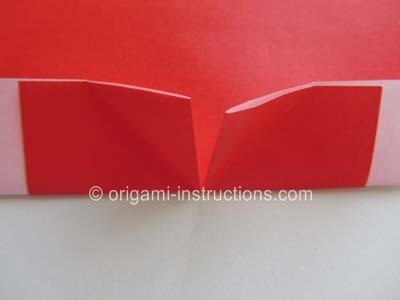
Origami Flying Heart Step 8: Now make 2 squash folds. Basically you pry the paper open then press it flat.
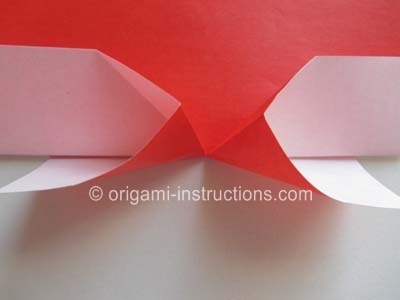

Origami Flying Heart Step 9: Make 2 more folds at an angle where indicated below.
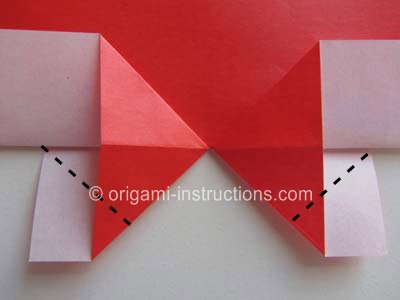
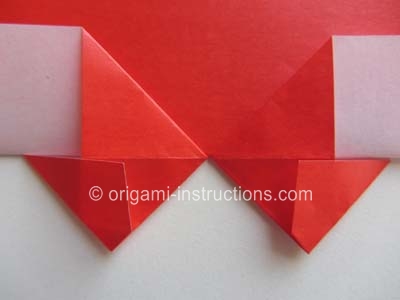
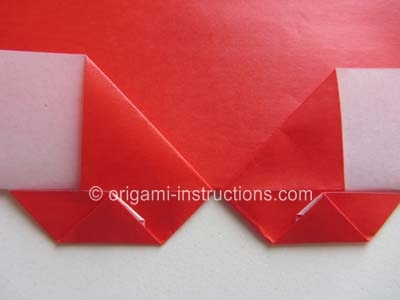
Origami Flying Heart Step 10: Fold up the tips.
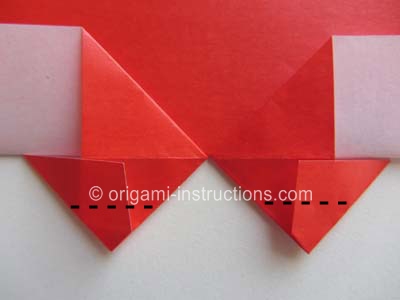
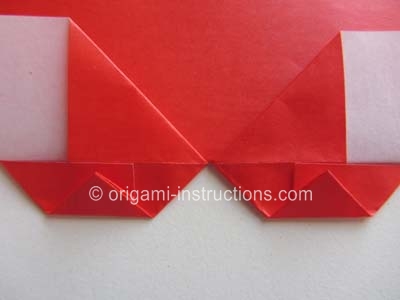
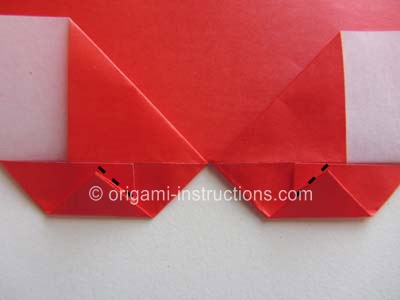
Origami Flying Heart Step 11: Now this last step can be optional. We'll show you how to do it but you can decide for yourself whether it's necessary.
We're going to crease the paper where indicated below and then tuck it into the "pocket". It's a tiny portion of paper so tucking it in can be challenging.
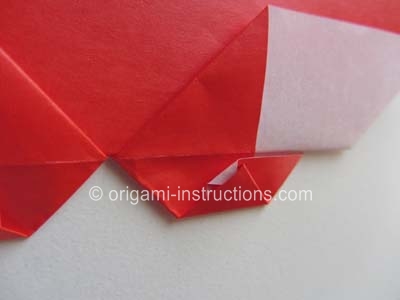
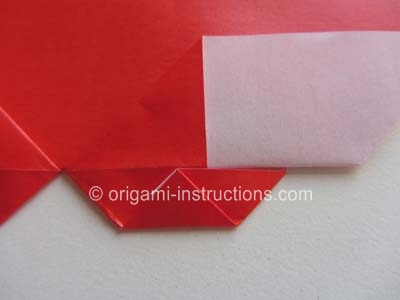
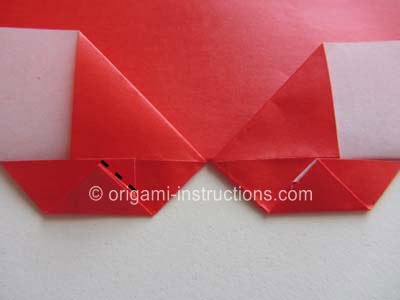
Do the same for the left side:
Origami Flying Heart Step 12: Flip paper over. Fold in half vertically.
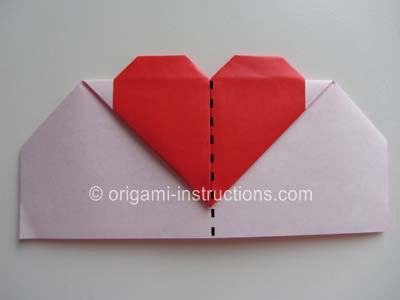
and your origami flying heart is complete!

It's ready to fly!
