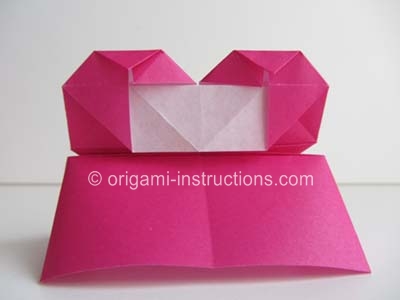
Origami Standing Heart
Made this origami? Comment and Submit your photo using the comment box at the end of this page!
Origami Standing Heart Step 1: Start by folding the waterbomb base . This is a base commonly used in origami so we've created a separate page for it.
You should have the following to start with...
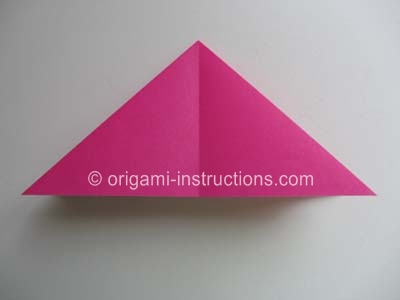
Origami Standing Heart Step 2: Make a mountain fold from the tip to the bottom edge. Crease well and unfold.
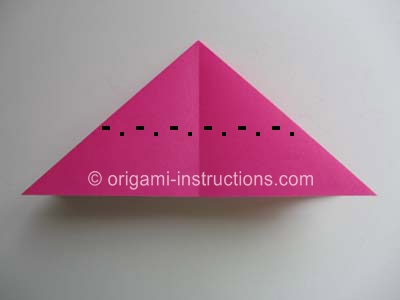

Origami Standing Heart Step 3: We're now going to make the preparations to sink the tip of the waterbomb base.
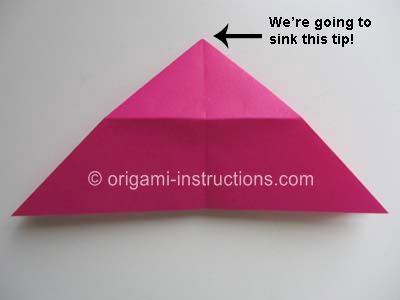
Unfold your paper.

To sink the tip, we've to recrease the folds. First, recrease the the four edges that make a square into mountain folds. Then recrease the 2 diagonal lines into valley folds.
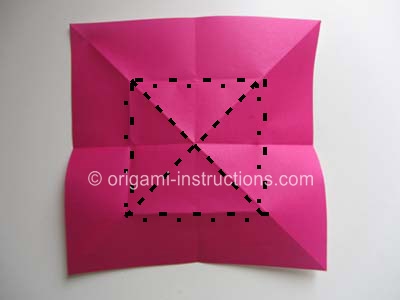
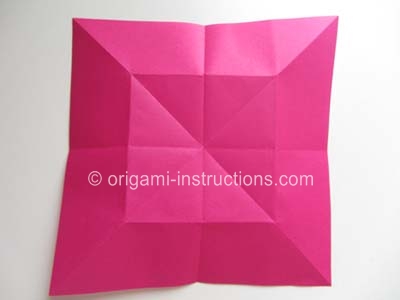
Origami Standing Heart Step 4: Now we're actually going to sink the tip. Just like when you folded the waterbomb base, start pushing both sides of the paper inwards towards the center. But this time, there won't be a tip because of the creases you've made in the previous step.

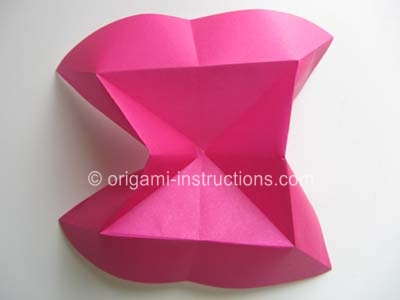
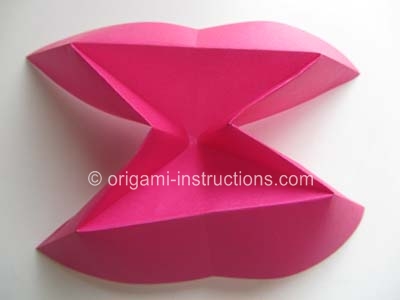

Compare this picture to the first picture. The tip of the waterbomb base has disappeared! You've just completed a technique called sinking the tip or a sink fold.

Origami Standing Heart Step 5: Fold both the right and left tips towards the center. Crease well and unfold.
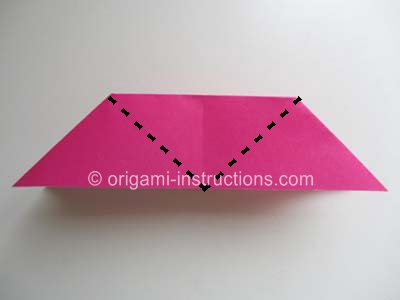

Origami Standing Heart Step 6: Now make 2 mountain folds where indicated.
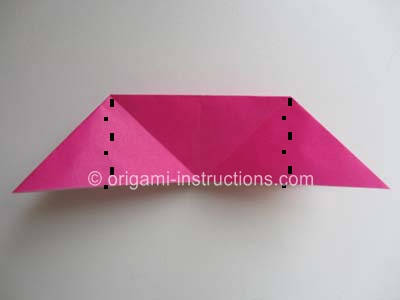

Origami Standing Heart Step 7: Pry open the paper. Bring the left and right tips to the top. They will meet in the center.
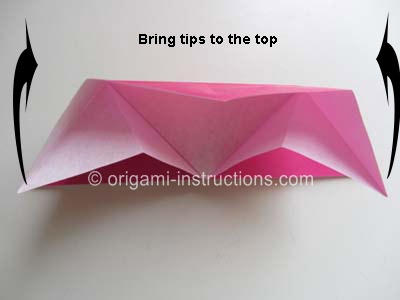


Origami Standing Heart Step 8: Fold the right and left corners down diagonally. Crease well and unfold.
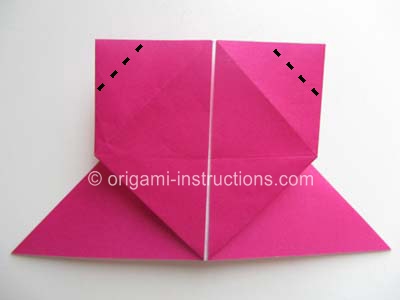
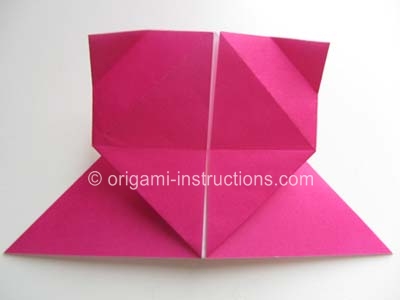
Origami Standing Heart Step 9: Now, using the creases you made in the previous step, make 2 inside reverse folds, one on each side.

Origami Standing Heart Step 10: Flip paper over. Fold the top down.
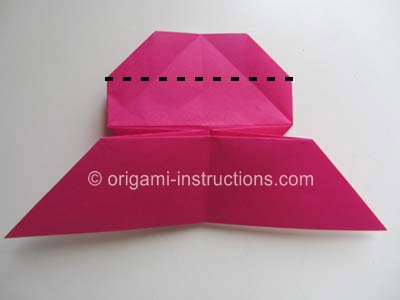

Origami Standing Heart Step 11: Make the diagonal folds as indicated.
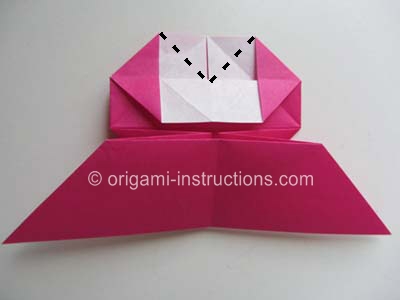

Origami Standing Heart Step 12: Fold the tips downwards.

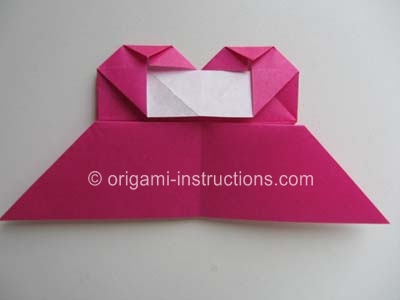
Origami Standing Heart Step 13: Fold the left and right corners inwards as indicated. Crease well and unfold.
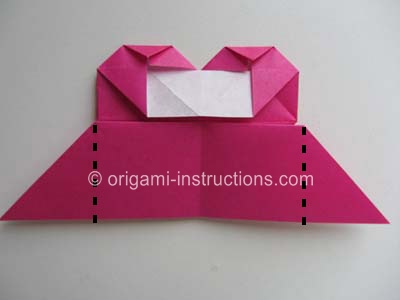

Origami Standing Heart Step 14: Make the mountain folds on the diagonal.


Origami Standing Heart Step 15: Almost done! Pry open the paper and tuck in the right and left corners inside.
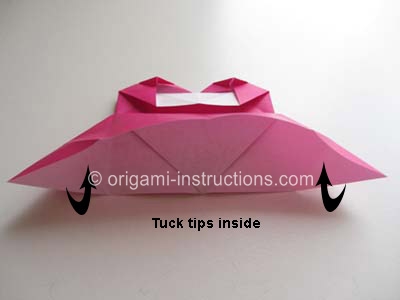

Origami Standing Heart Step 16: Flip paper over and your origami standing heart is complete!
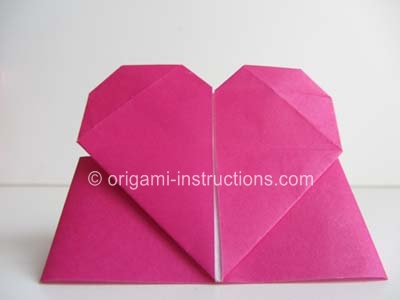
Side view (the origami standing heart is very stable because of its large base):

Back view:
