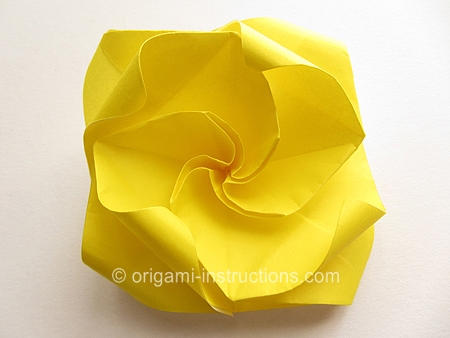
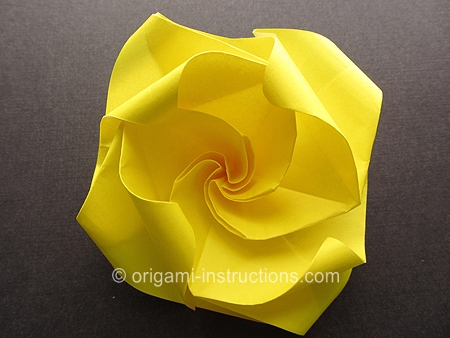
Origami Sunken Omuta Rose
We modified the Omuta Rose (easy twisty rose) to create this sunken Omuta Rose. Try and see if you like it!
Made this origami? Comment and Submit your photo using the comment box at the end of this page!
Origami Sunken Omuta Rose Step 1: Follow instructions for the Omuta Rose (easy origami twisty rose)
from Steps 1 to 8.
You should have the following to start with.
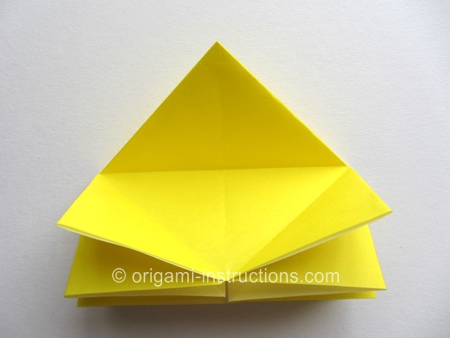
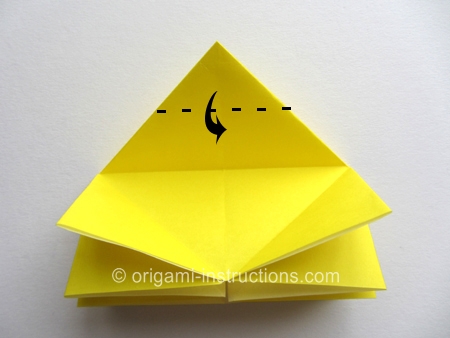
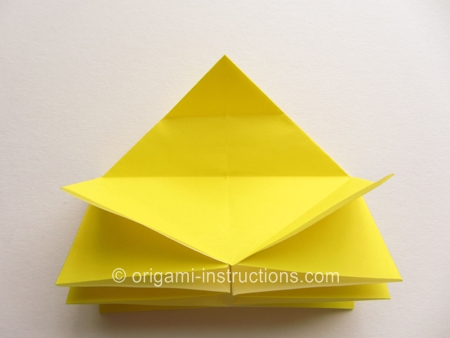
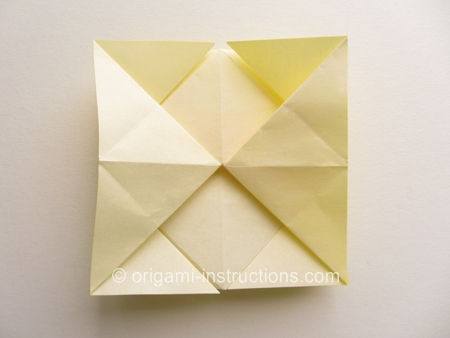
Here's looking at the paper from the top. See the square in the center?
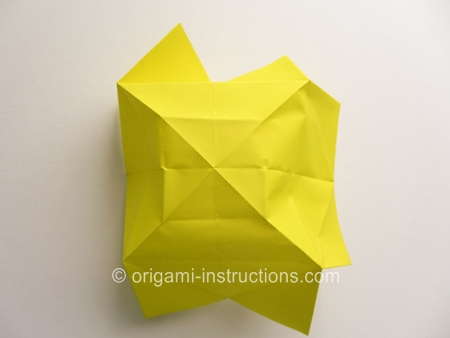
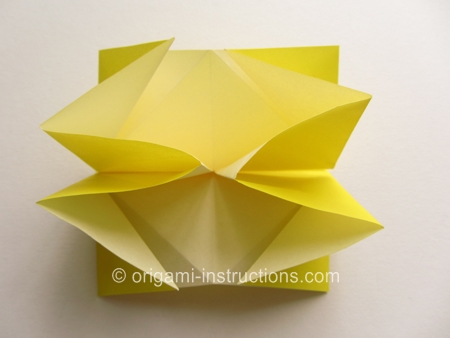
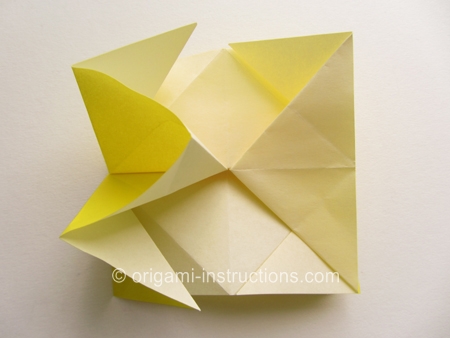
To make the sink fold, we first have to recrease some of the folds as shown below.
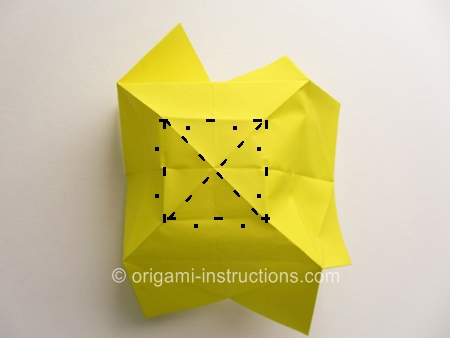
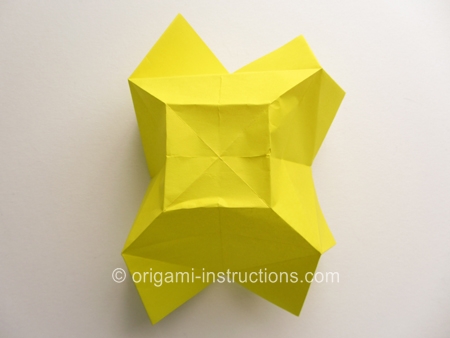
As we do so, we're also going to collapse the paper. When we've completed this step, the paper should look like what it did in Step 2 minus the tip.
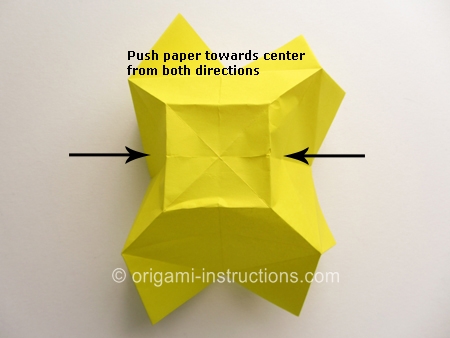
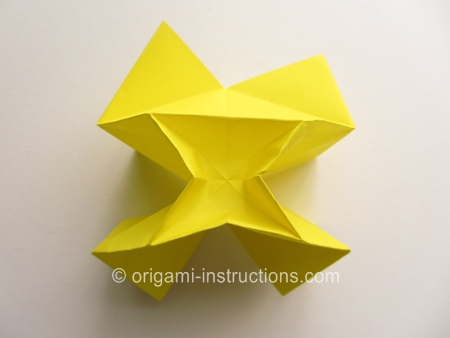
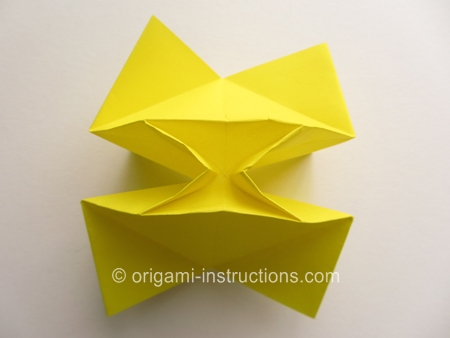
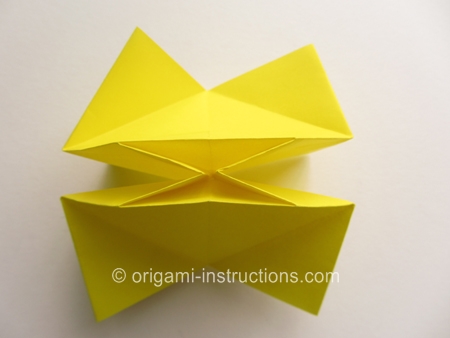
Compare the paper below to Step 2. See how it's the same except the tip at the top is now sunken into the paper?
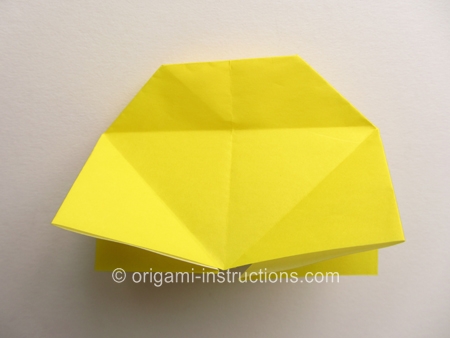
Fold back the bottom layers.
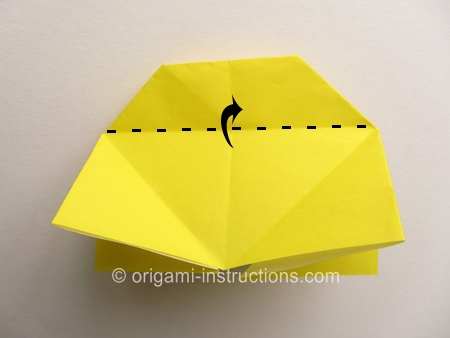
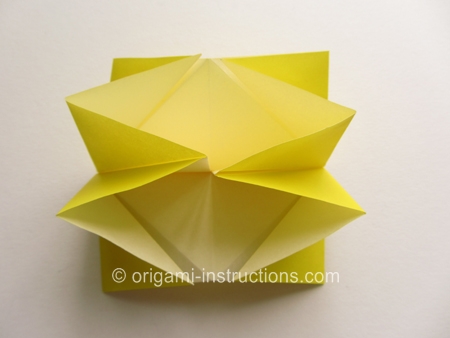
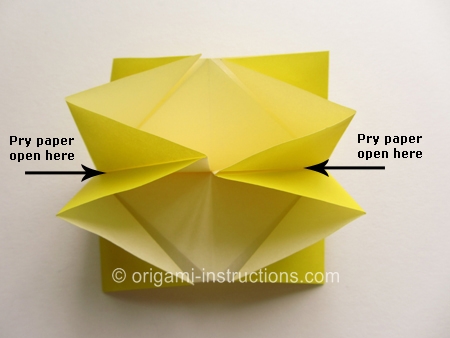
Origami Sunken Omuta Rose Step 7: Pry paper open in the center where indicated below. Then press paper flat to form a squash fold.
Lift up the center portion.
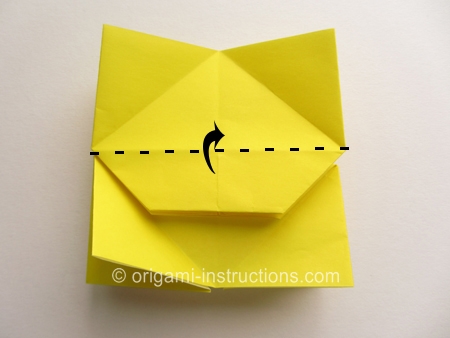
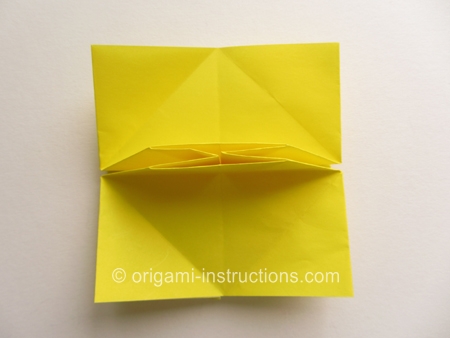
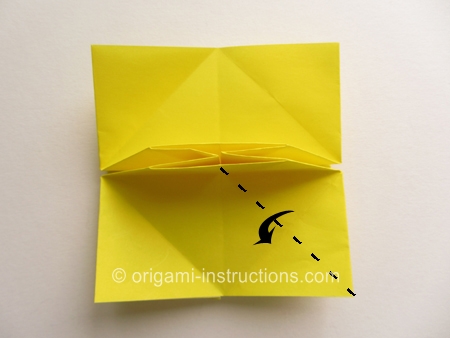
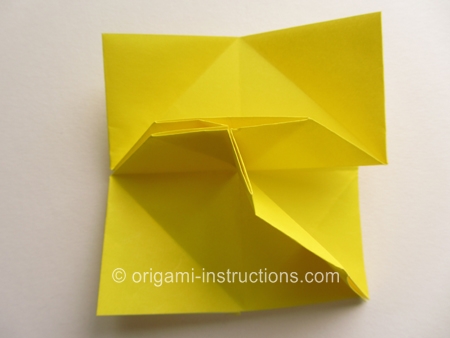
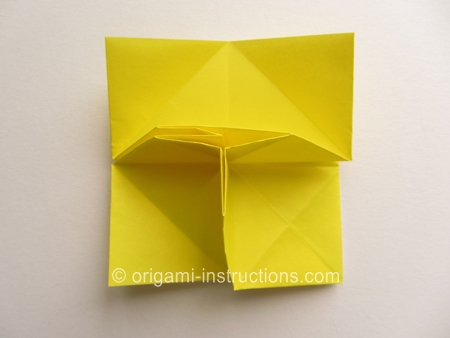
Once again, make a diagonal fold on the upper layer at the bottom right.
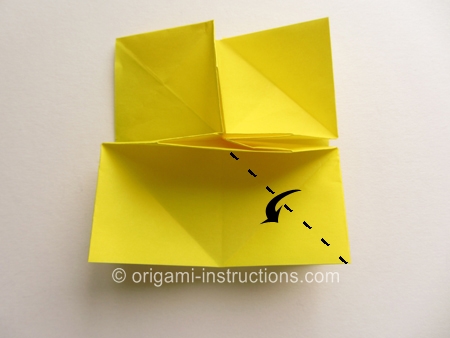
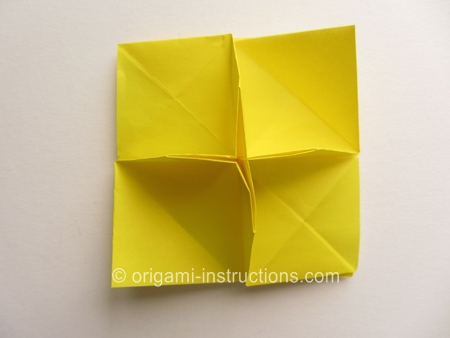
If you've already folded the easy twisty rose then you know what to do. The technique is the same.
If not watch the video below to see how you can twist, shape and curl the paper.
Easy Origami Twisty Rose Video
Here's the completed origami sunken Omuta rose!
