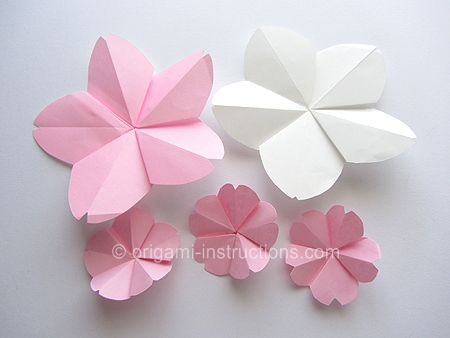
Origami Cherry Blossom
Cherry blossoms are beautiful but fleeting. Fold these origami cherry blossoms while you wait for next spring!
Made this origami? Comment and Submit your photo using the comment box at the end of this page!
Origami Cherry Blossom Step 1: Start with a 6 inch x 6 inch (15cm x 15cm) square origami paper, color side up. The cherry blossoms are actually cuter with smaller paper (3 inch or 75mm).
Fold paper in half on the horizontal axis.
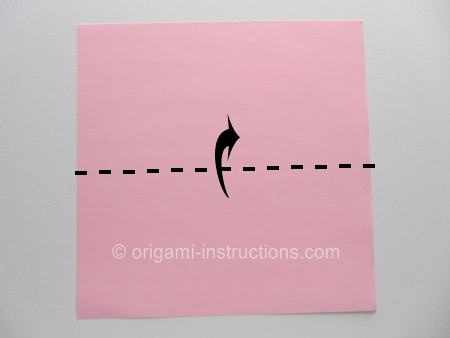
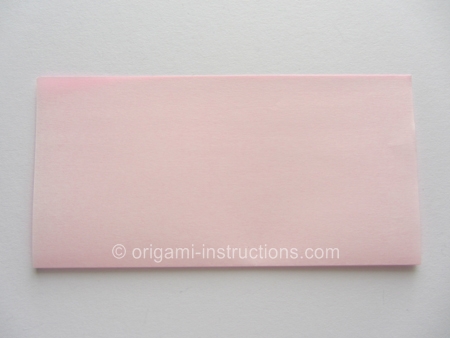
Origami Cherry Blossom Step 2: Fold point B to C-D and point D to A-B. Crease well and unfold.
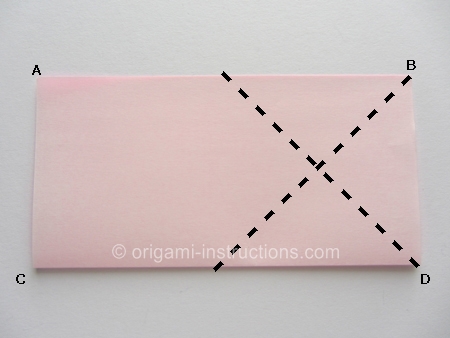
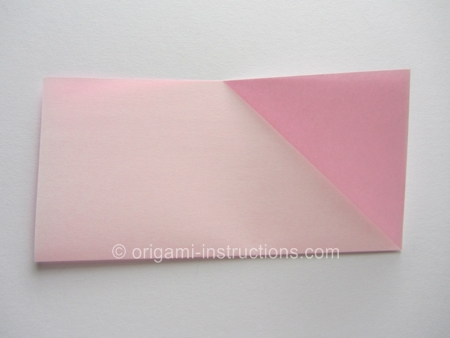
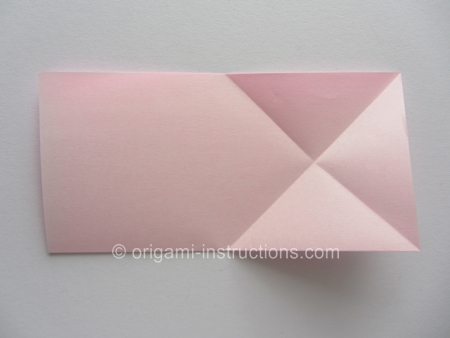
Origami Cherry Blossom Step 3: Fold point C over to meet point E.
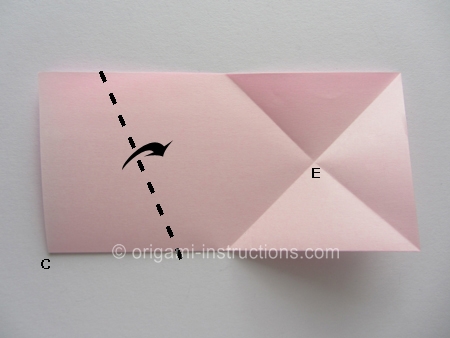
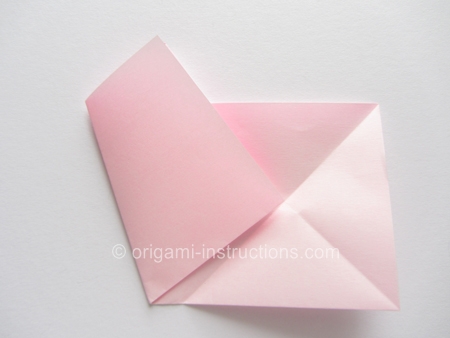
Origami Cherry Blossom Step 4: Now fold point F over to G-H, top layer only.
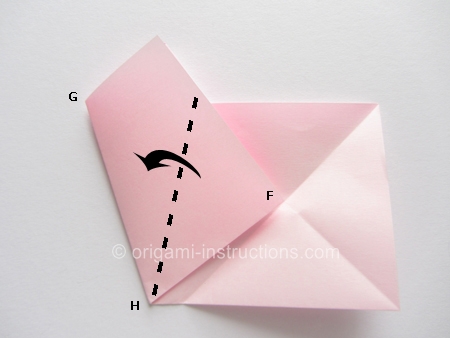
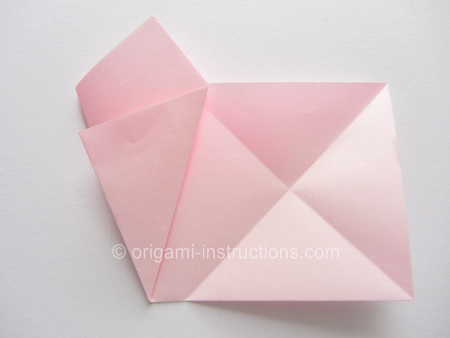
Origami Cherry Blossom Step 5: Fold point J over to K-L.
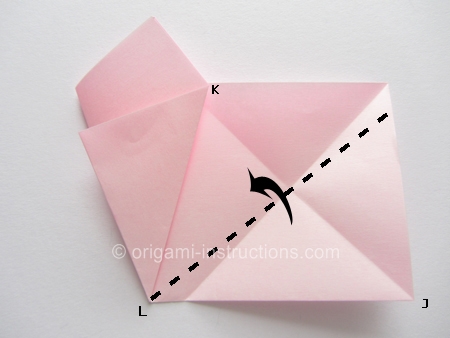
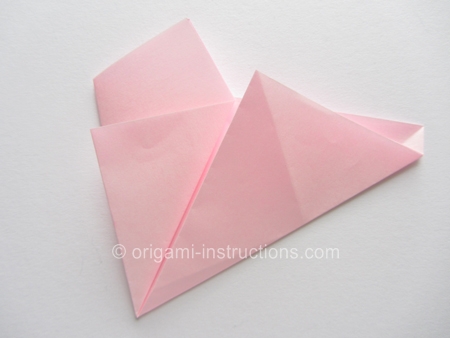
Origami Cherry Blossom Step 6: Now make a mountain fold as shown below.
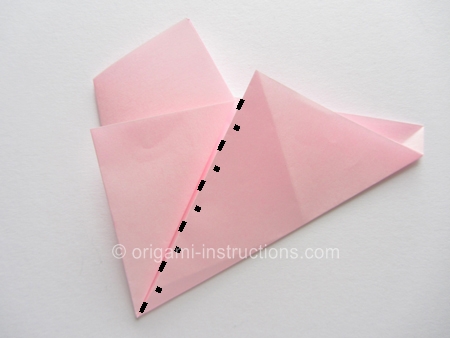
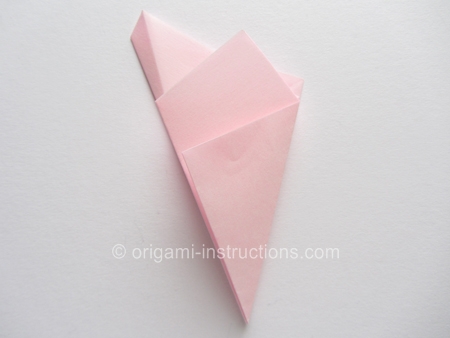
Origami Cherry Blossom Step 7: We're now going to cut the paper on the black line shown below.
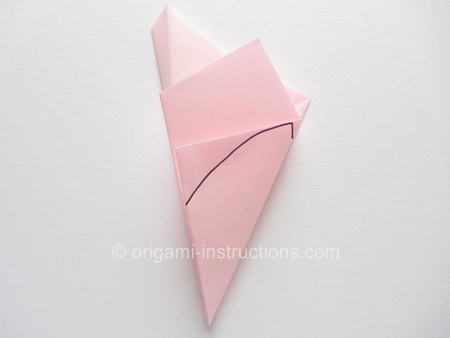
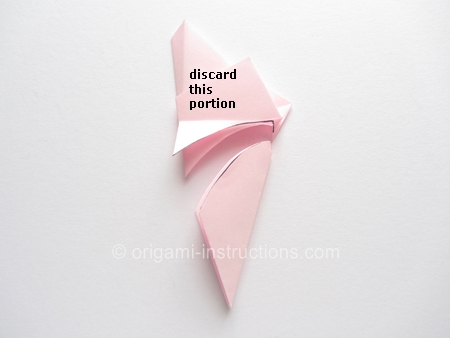
Origami Cherry Blossom Step 8: Unfold paper.
We have video instructions from this point forward so you can follow the video instructions if you like.
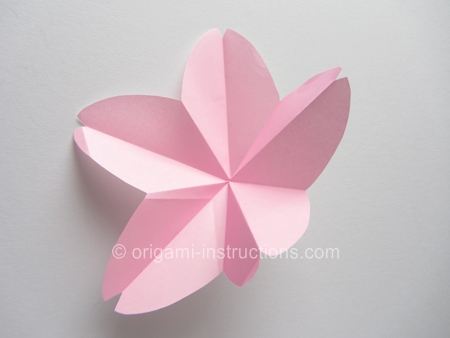
Origami Cherry Blossom Step 9: You've probably noticed that the paper won't stay flat as is. We have to recrease some existing folds as shown below.
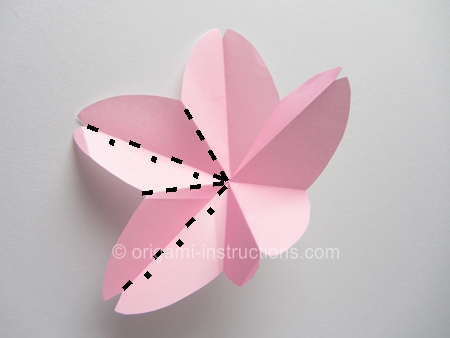
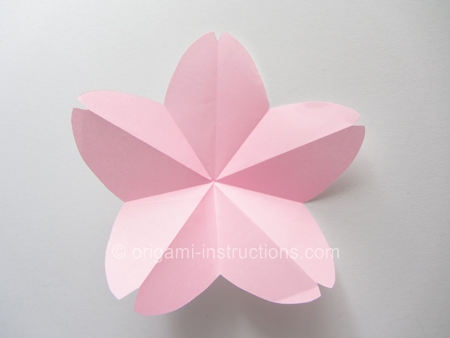
Origami Cherry Blossom Step 10: We're now going to collapse the paper.
Starting with the petal at the top, fold the 2 adjoining petals to the center.
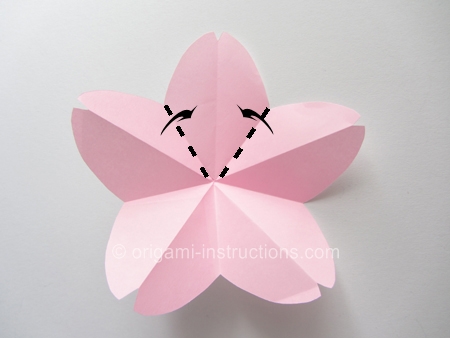
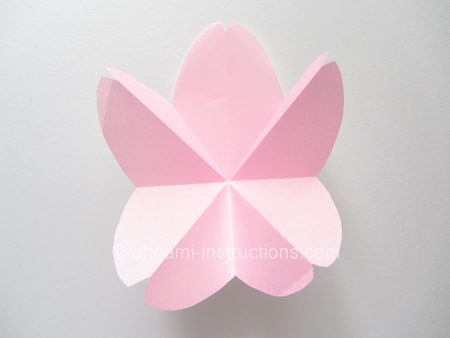
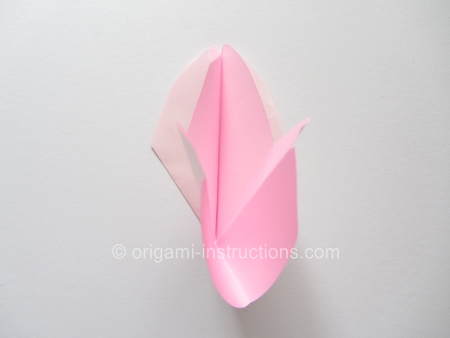
And proceed to collapse the rest of the petals.
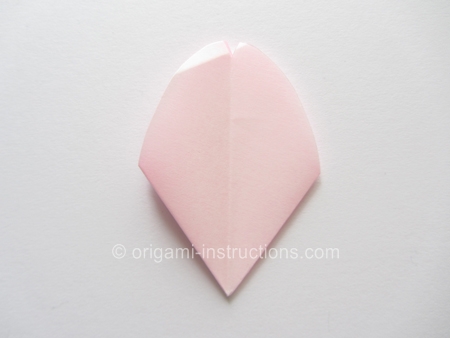
Origami Cherry Blossom Step 11: Now make a small diagonal mountain fold.
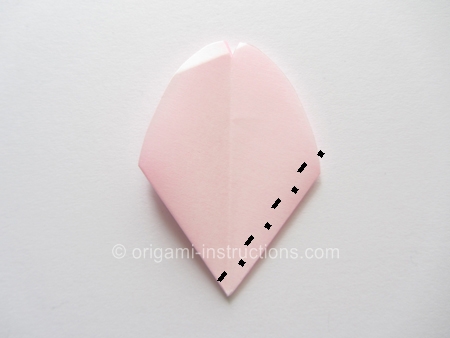
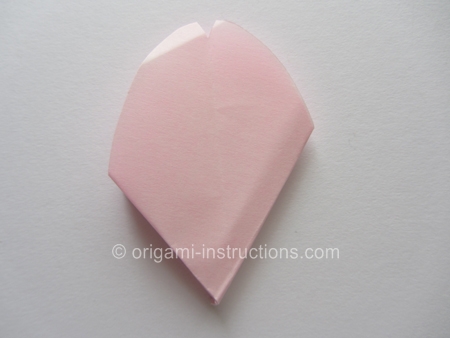
Origami Cherry Blossom Step 12: Now make a small diagonal valley fold on the other side.
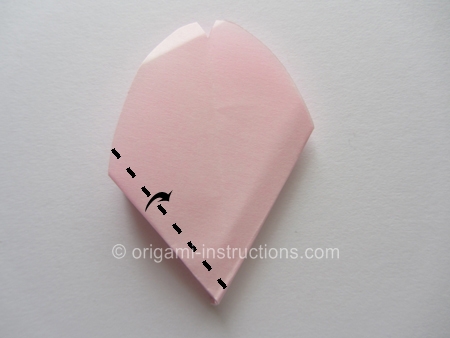
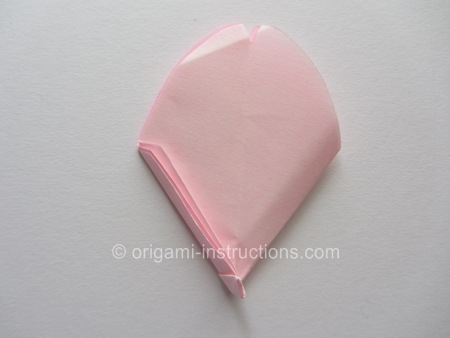
Origami Cherry Blossom Step 13: Now open the paper gently. The 2 diagonal folds we made in Step 11 and 12 have caused the petals to overlap. Gently open, coax and press the paper flat where it overlaps.
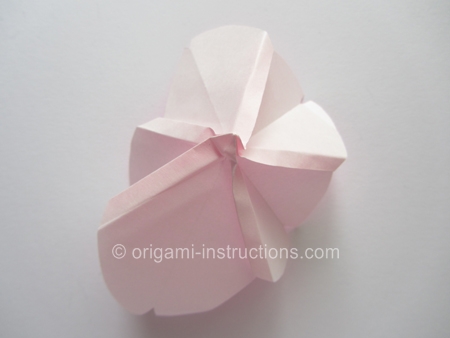
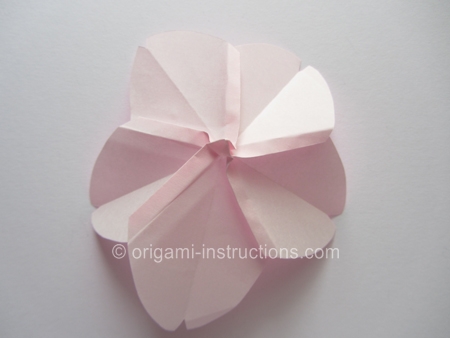
Press the center flat.
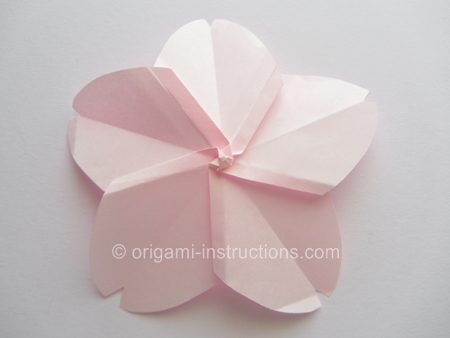
Flip paper over and your easy origami cherry blossom is complete!
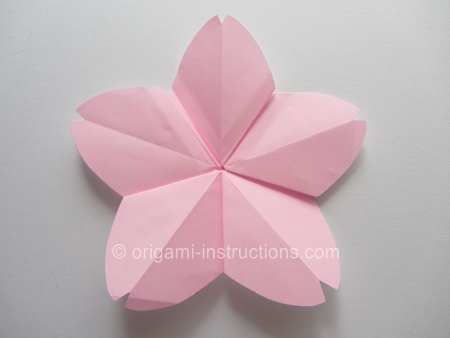
Here are some large cherry blossoms with smaller ones...
