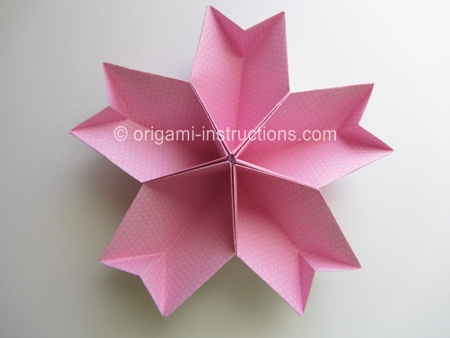
Easy Origami Kusudama Cherry Blossom
This is an origami kusudama that requires 5 units of the same design to be glued together to form a pretty cherry blossom flower. It can also be used as a serving dish. If you like, you can form 12 units of this flower and glue them together to form a kusudama ball. We modified this model to make a kusudama 5-pointed star as well.
Made this origami? Comment and Submit your photo using the comment box at the end of this page!
Origami Kusudama Cherry Blossom Step 1: Start with a 6 inch x 6inch (15 cm x 15cm) square paper, color side down. We used cardstock paper for this origami.
Fold paper in half on the vertical diagonal axis. Crease well and unfold.
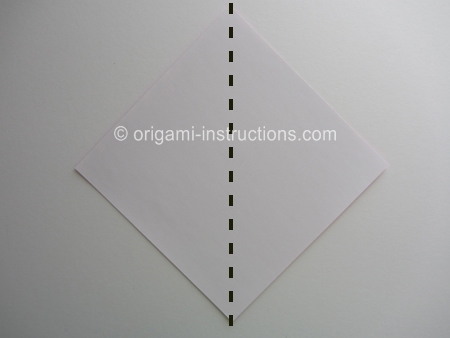
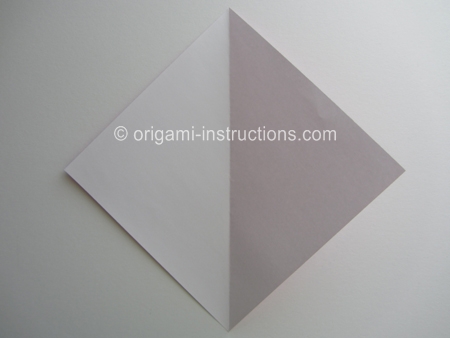
Origami Kusudama Cherry Blossom Step 2: Starting from the bottom, fold both sides of the paper to meet in the center. Crease well and unfold.
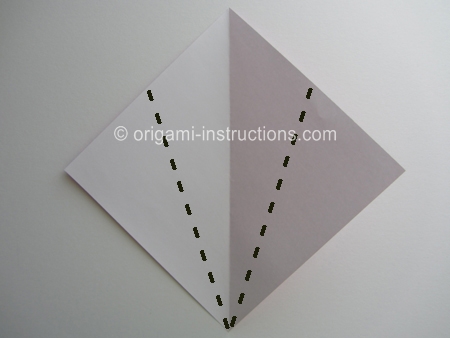
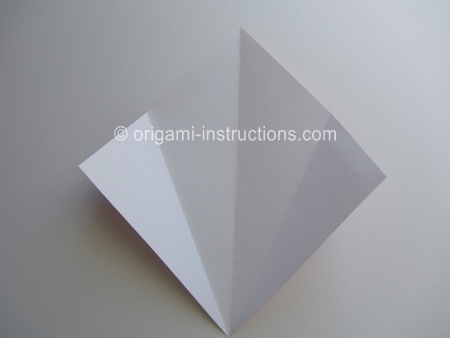
Origami Kusudama Cherry Blossom Step 3: Fold down the top tip.
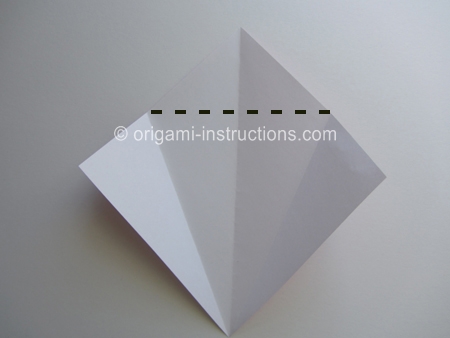
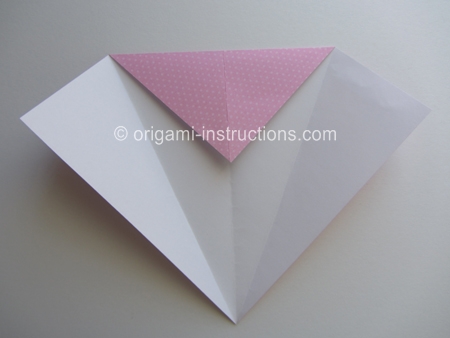
Origami Kusudama Cherry Blossom Step 4: Make 2 diagonal folds as shown below.
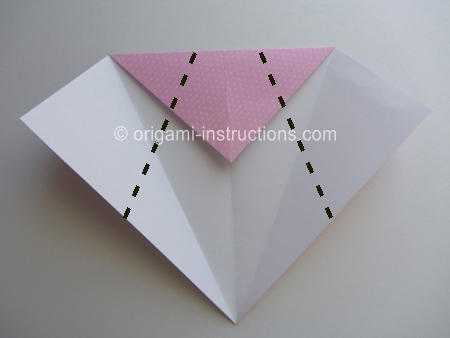
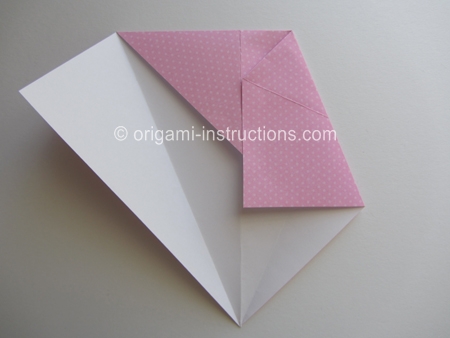
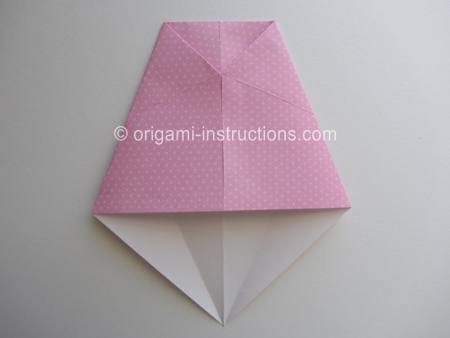
Origami Kusudama Cherry Blossom Step 5: Fold paper in half by making a mountain fold.
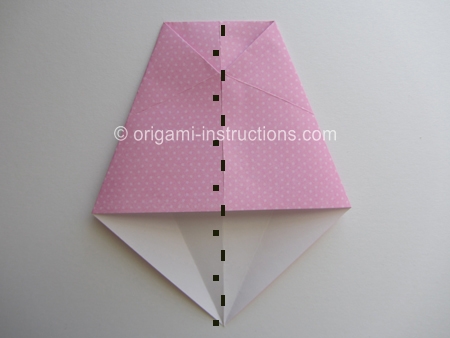
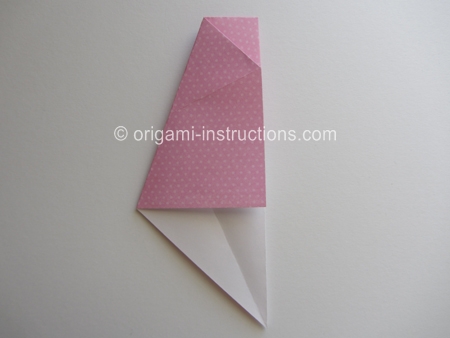
Origami Kusudama Cherry Blossom Step 6: Open the upper layer to the left.
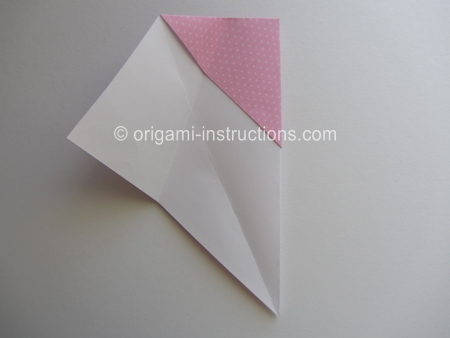
Origami Kusudama Cherry Blossom Step 7: Make a horizontal valley fold and fold up the bottom tip.
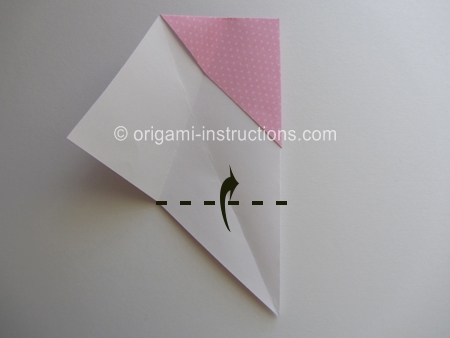
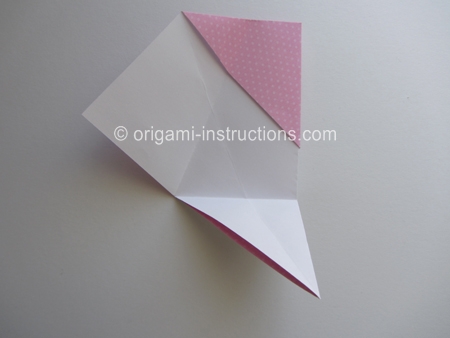
And tuck it under the color portion as shown below.
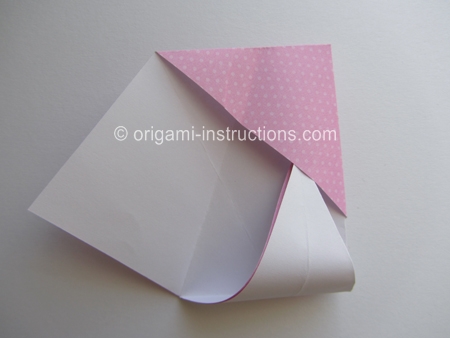
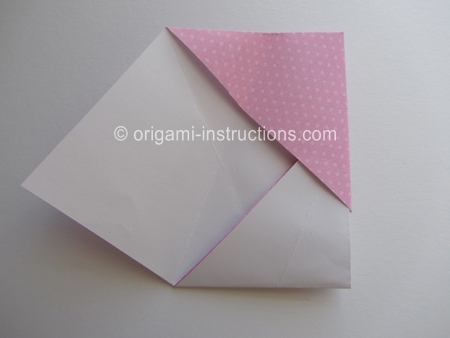
Origami Kusudama Cherry Blossom Step 8: Fold the left upper layer back over to the center.
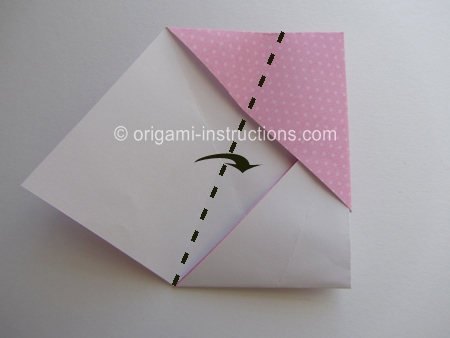
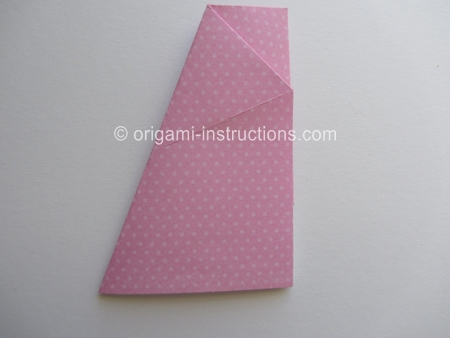
Origami Kusudama Cherry Blossom Step 9: Make the diagonal mountain fold. Crease well on both sides of the paper and unfold.
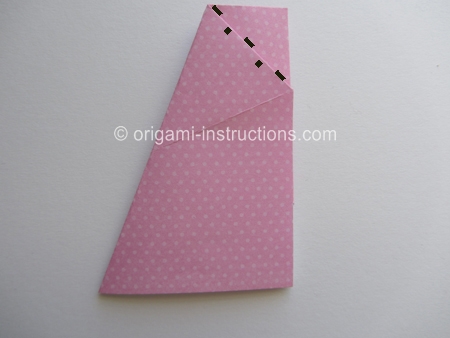
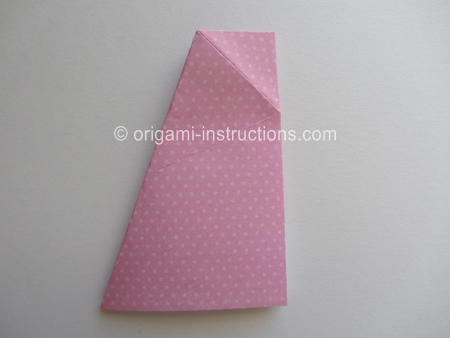
Origami Kusudama Cherry Blossom Step 10: Now open up your paper.
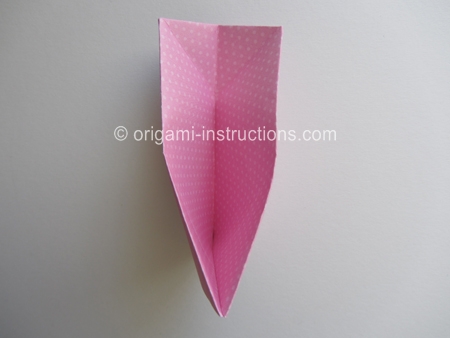
Origami Kusudama Cherry Blossom Step 11: Bring the bottom tip up to the center and press it flat.
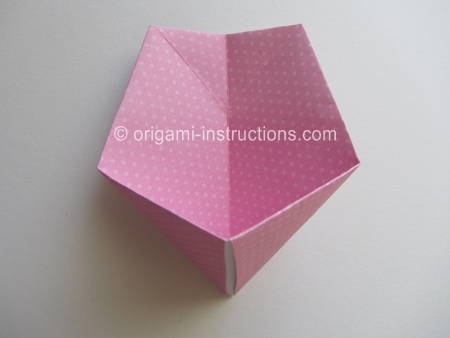
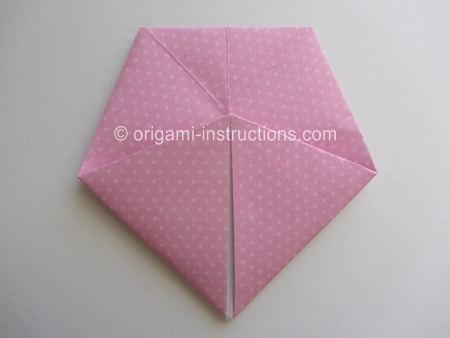
Origami Kusudama Cherry Blossom Step 12: Unfold Step 11 and at the top, push the paper towards the center. This completes your kusudama unit.
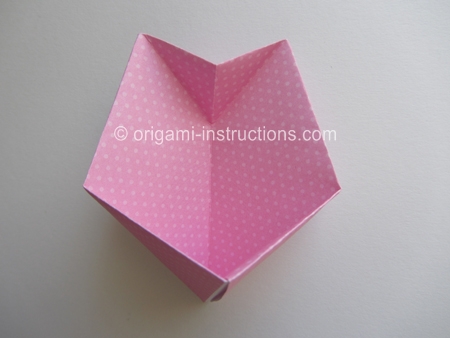
Origami Kusudama Cherry Blossom Step 13: Repeat Steps 1 to 12 and make a total of 5 units.
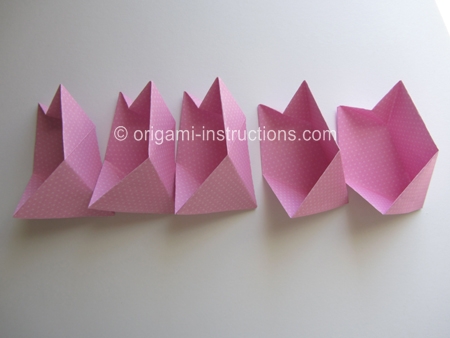
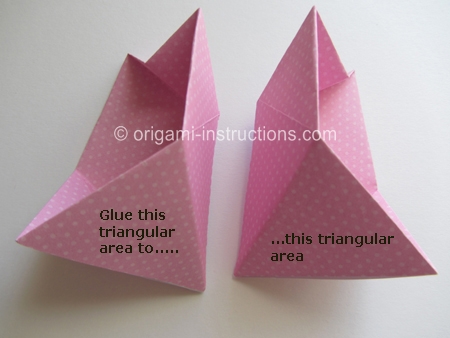
Origami Kusudama Cherry Blossom Step 14: We now have to glue the units together.
Put some adhesive on the triangular areas shown below and glue the 2 units together.
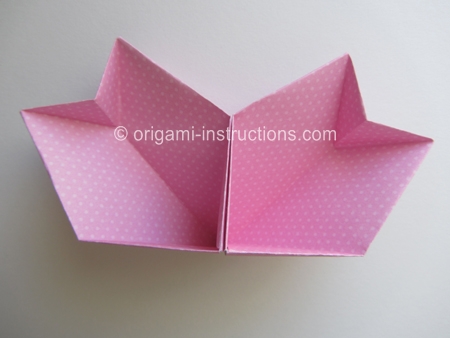
Origami Kusudama Cherry Blossom Step 15: Repeat Step 14 for the other 3 units.
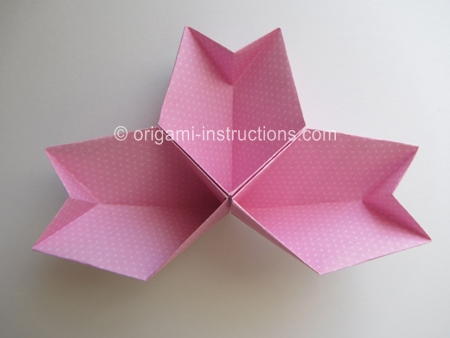
and your origami kusudama cherry blossom flower is complete! When made with 6 inch paper, it is deep enough to be used as a serving dish for candy, chips or peanut.
You can make 12 of these flowers and glue them together to form a kusudama ball if you like.
We used this model as inspiration to create a kusudama 5-pointed star for a reader who requested. Do check it out!
