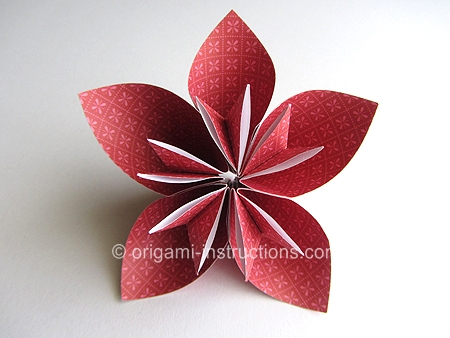
Easy Origami Kusudama Flower
Made this origami? Comment and Submit your photo using the comment box at the end of this page!
You can watch our Easy Origami Kusudama Flower video , or check out the step-by-step folding instructions below.
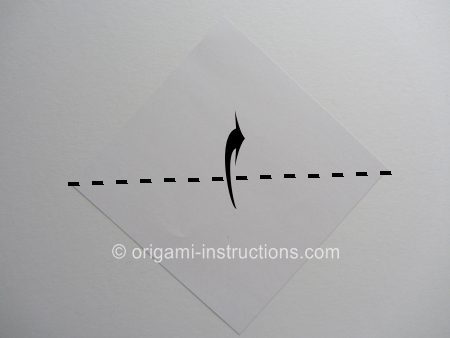
Easy Origami Kusudama Flower Step 1: Start with a 6 inch x 6 inch (15cm x 15cm) square origami paper, color side down.
Fold paper in half on the horizontal diagonal axis. Crease well.
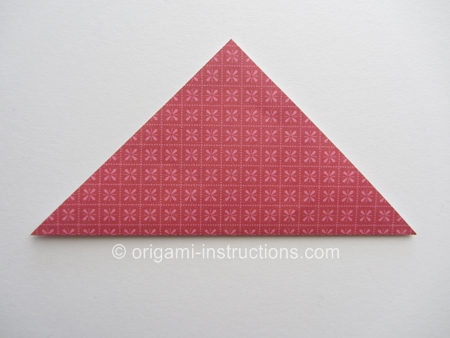
Easy Origami Kusudama Flower Step 2: Fold both the right and left corners to the top. Crease well and unfold.
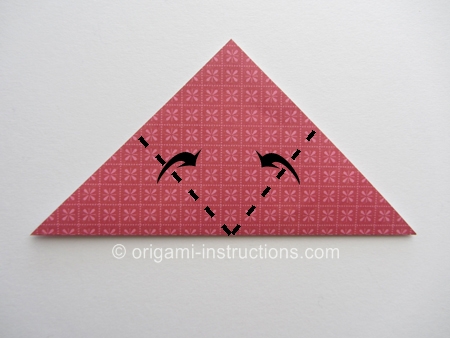
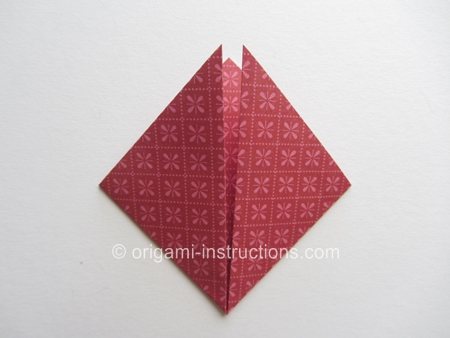
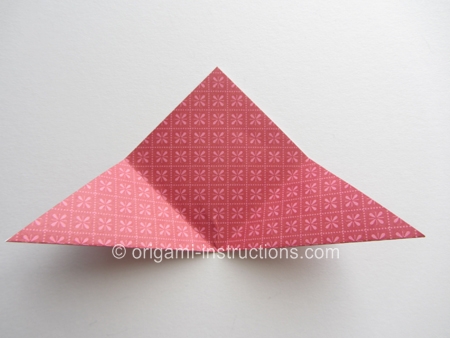
Easy Origami Kusudama Flower Step 3: Make 2 diagonal folds as shown, folding the left and right corners to meet the diagonal creases you made in Step 2.
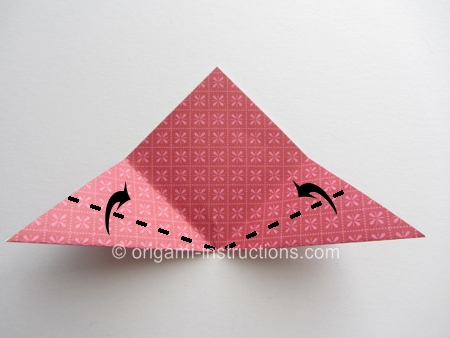
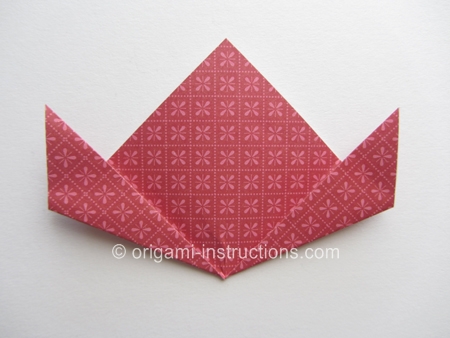
Easy Origami Kusudama Flower Step 4: Flip paper over.
Make the 2 small folds as shown. Crease well and unfold.
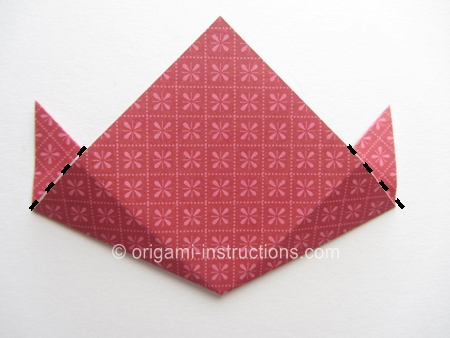
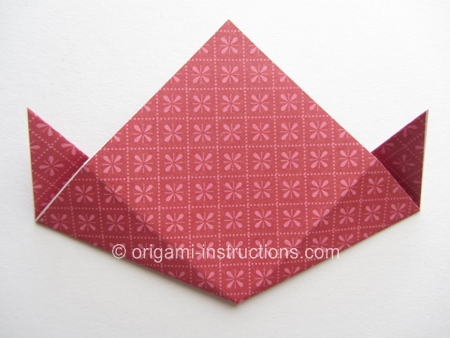
Easy Origami Kusudama Flower Step 5: Flip paper over again. Glue the 2 areas shown.
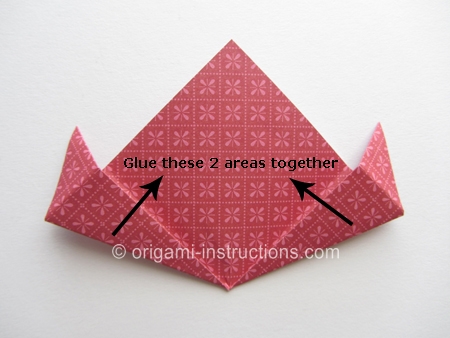
And this completes one unit.
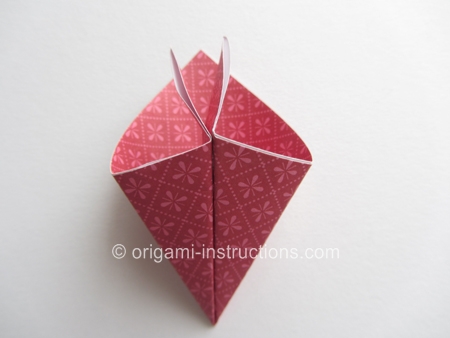
Easy Origami Kusudama Flower Step 6: Repeat Steps 1 to 5 and make a total of 4 or 5 units.
Easy Origami Kusudama Flower Step 7: Then join one unit to another by gluing them in the areas shown below.
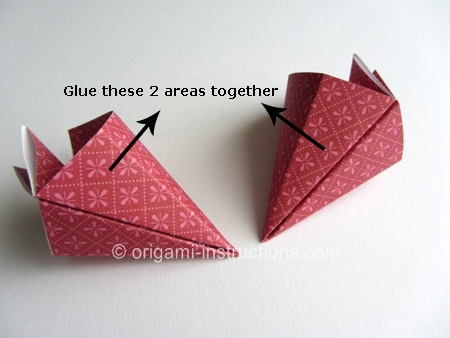
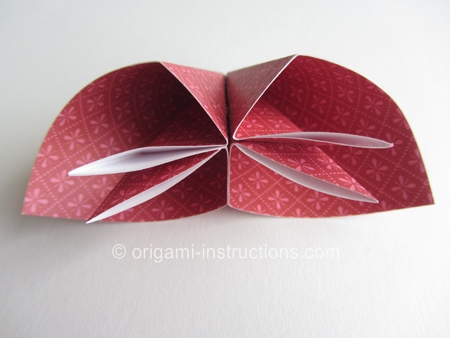
Easy Origami Kusudama Flower Step 8: Continue to glue the units together by repeating Step 7.
Here's the completed easy origami kusudama flower with 4 units....
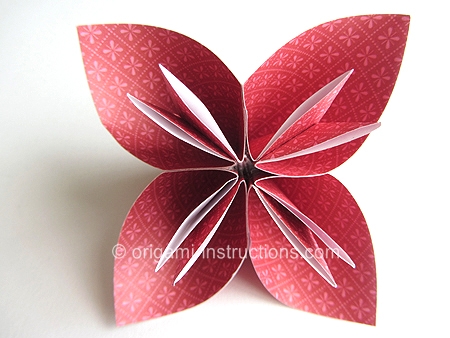
And here's the completed easy origami kusudama flower with 5 units. You can form a kusudama ball if you make 6 of these flowers and glue them together.
