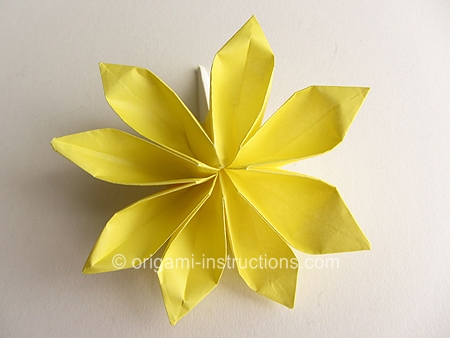
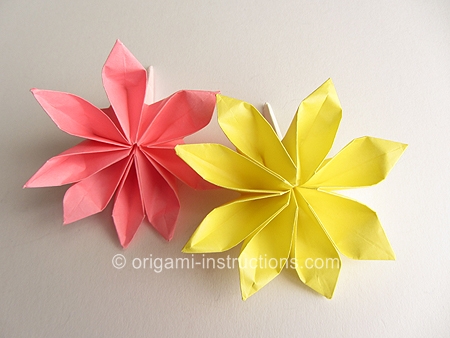
Origami 8-Petal Flower
This is a second and more difficult version of the origami 8-petal flower. It does produce a nicer flower though.
Made this origami? Comment and Submit your photo using the comment box at the end of this page!
Origami 8-Petal Flower Step 1: Start by folding the origami waterbomb base. This is a commonly used base in origami and we've created a separate page of instructions for it.
Or you can follow the video instructions below.
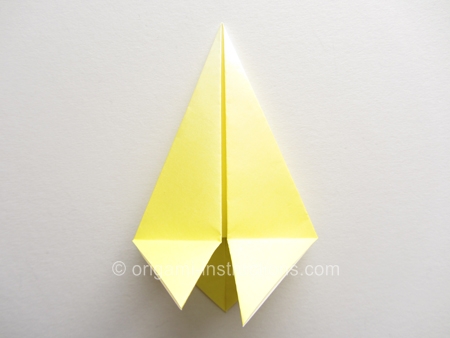
Origami Waterbomb BaseYou should then have the following to start with.
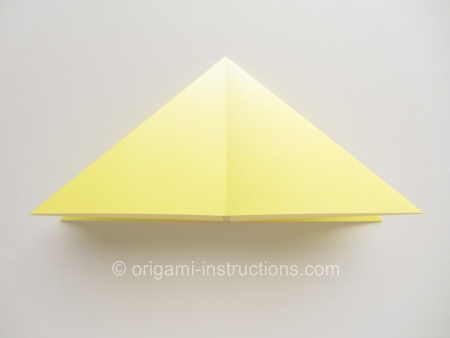
Origami 8-Petal Flower Step 2: Fold both the left and right sides to the center, upper layer only.
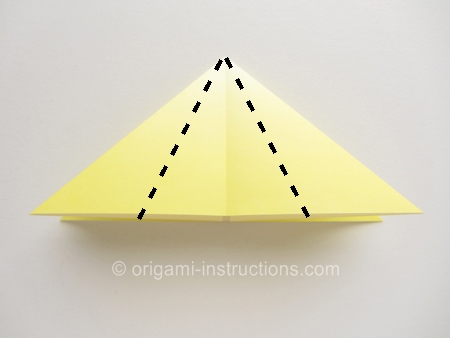
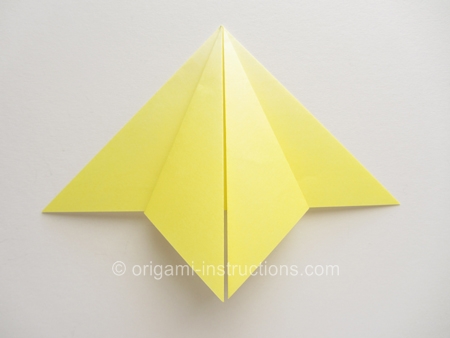
Origami 8-Petal Flower Step 3: Make 2 small valley folds as shown below. Crease well and unfold.
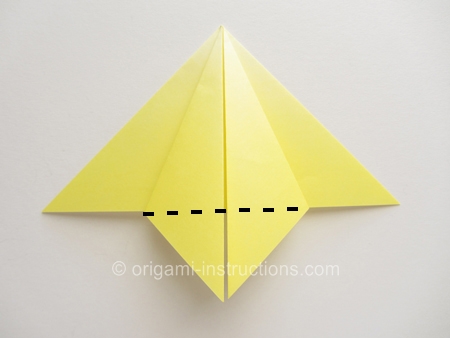
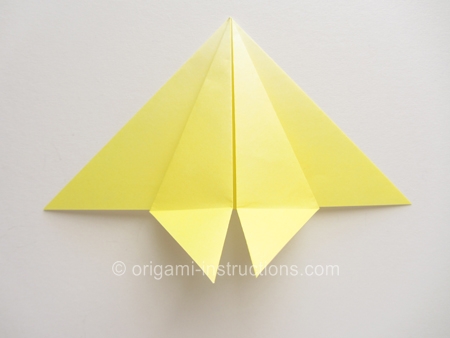
Origami 8-Petal Flower Step 4: Flip paper over.
Repeat Steps 2 and 3 on this side.
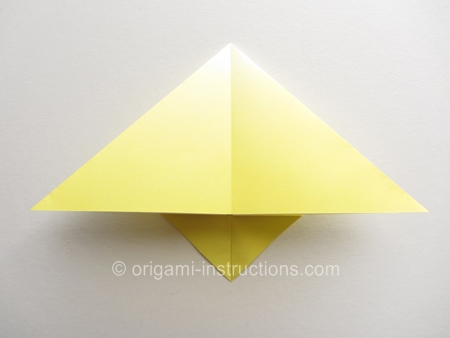
Origami 8-Petal Flower Step 5: Open up the paper, color side down.
Fold all 4 corners in as shown below.
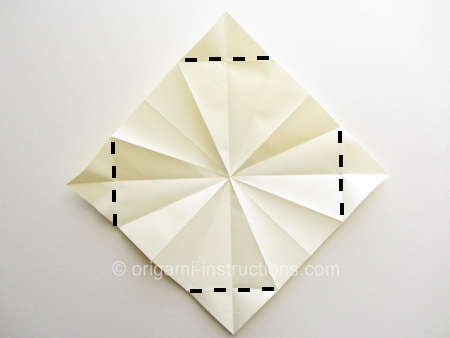
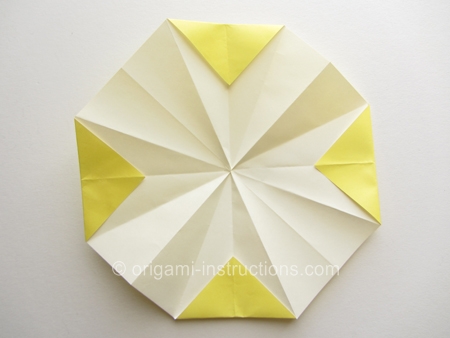
Origami 8-Petal Flower Step 6: Recrease all the folds into mountain and valley folds as shown below. Go over each crease a few times. Good creases will make the following step easier.
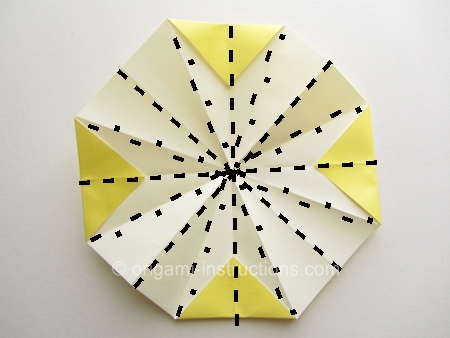
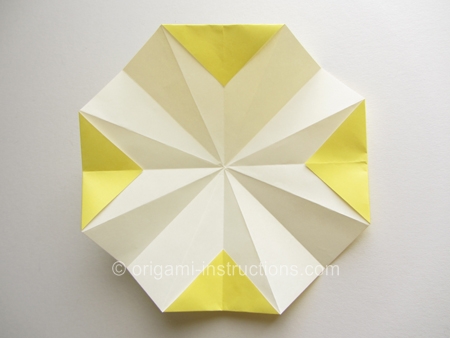
Origami 8-Petal Flower Step 7: Collapse the paper. If you've creased well in Step 6, then the paper should co-operate and collapse very easily.
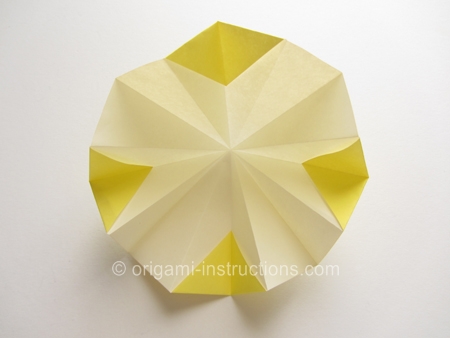
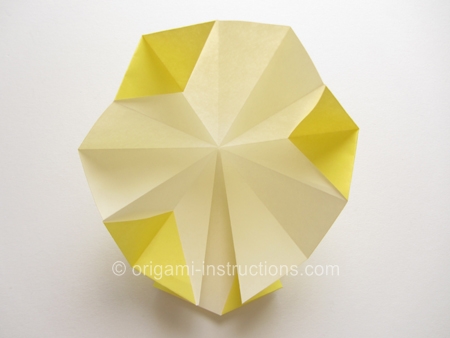
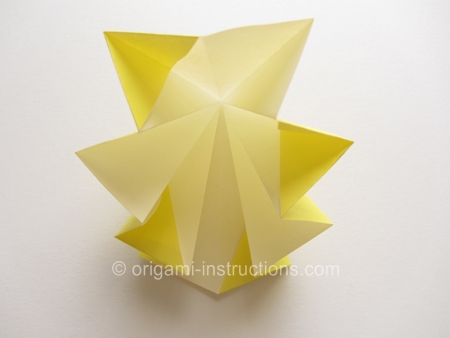
Notice that with the above steps, your sheet of paper now has 8 sides...
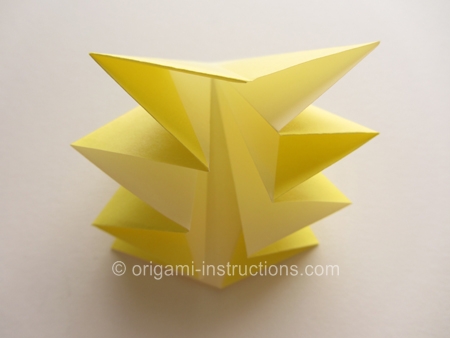
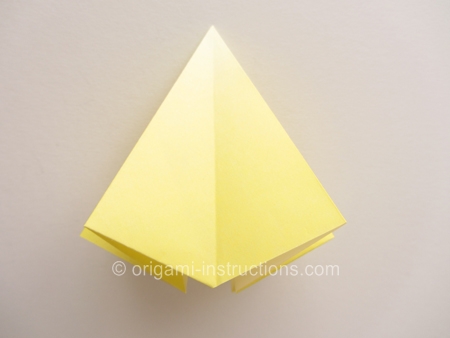
Origami 8-Petal Flower Step 8: Fold both sides to the center. Crease well and unfold.
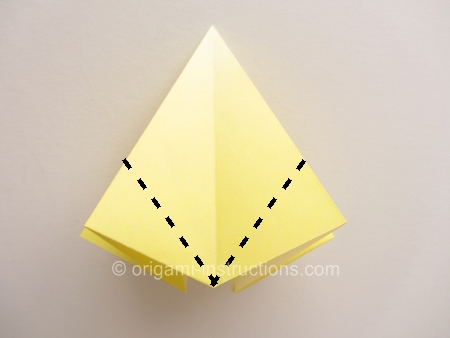
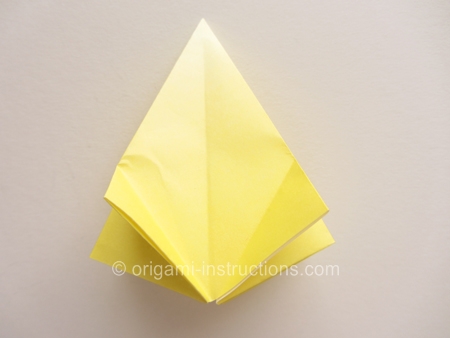
Origami 8-Petal Flower Step 9: Use the creases you've just made to make inside reverse folds. This is a common technique in origami. Check our inside reverse folds page for more info or check out the video below.
Origami Inside and Outside Reverse Fold Video
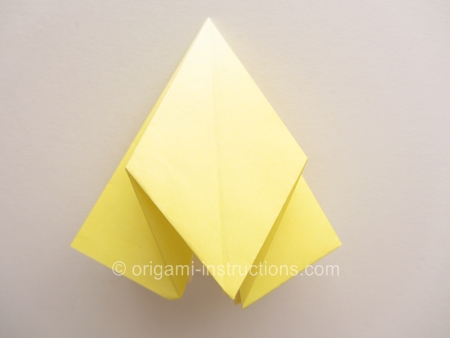
Origami 8-Petal Flower Step 10: Repeat Steps 8 and 9 on the other 6 sides. Remember how your paper now has 8 sides?
Your paper should look like a diamond shape when you've completed all the inside reverse folds.
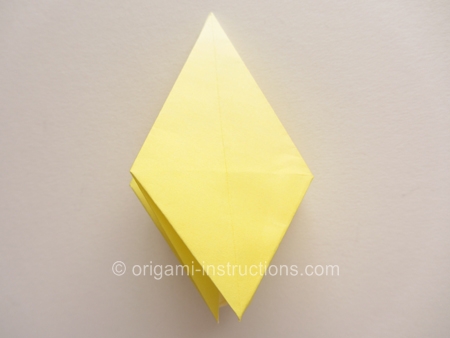
Origami 8-Petal Flower Step 11: Rotate paper 180 degrees.
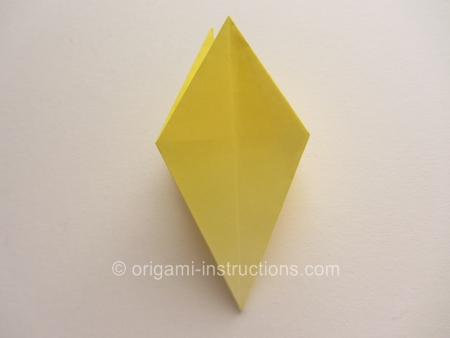
Fold paper in half.
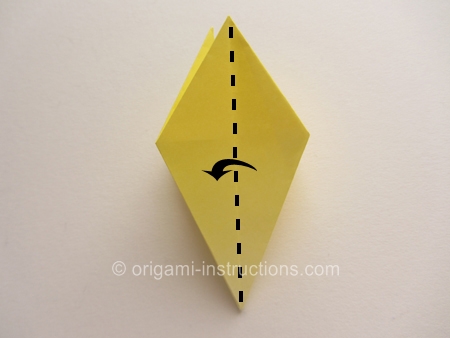
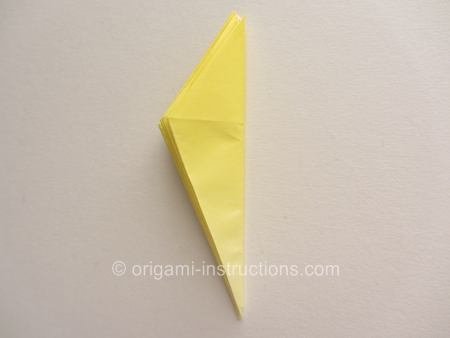
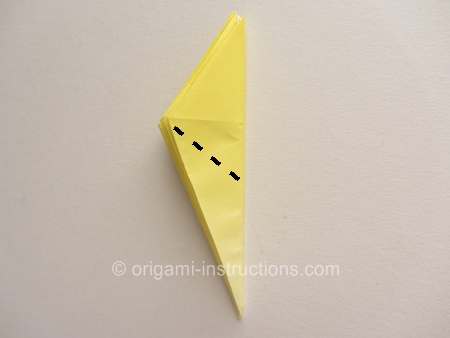
Origami 8-Petal Flower Step 12: Make a small diagonal fold as shown. Crease well and unfold. The paper is thick at this point but try your best.
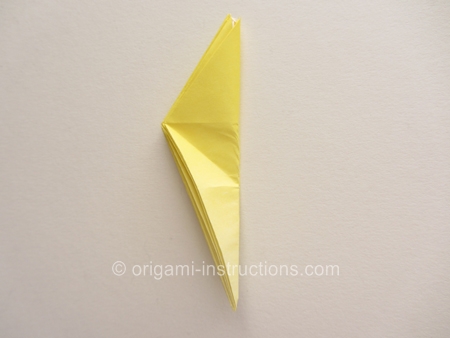
Origami 8-Petal Flower Step 13: Now after 12 steps and all your effort, please unfold the paper, color side up!!!
Press the paper in the center. The paper should then "overturn".
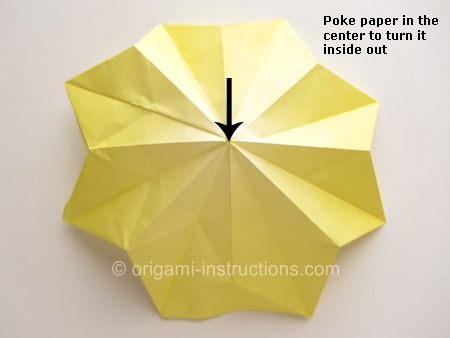
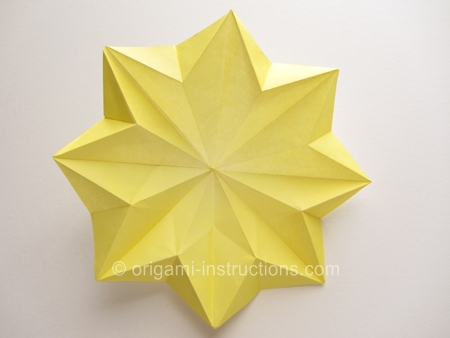
Origami 8-Petal Flower Step 14: Collapse the paper. Once again, if you've been diligent with your creases, then the paper should co-operate and collapse really easily.
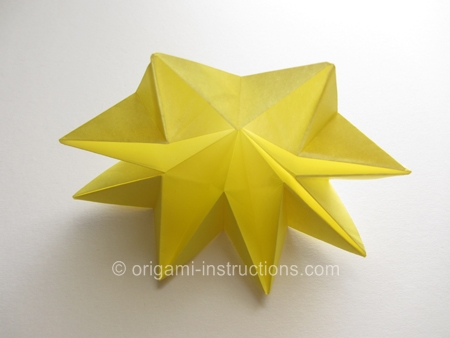
It will be a somewhat akward shape.
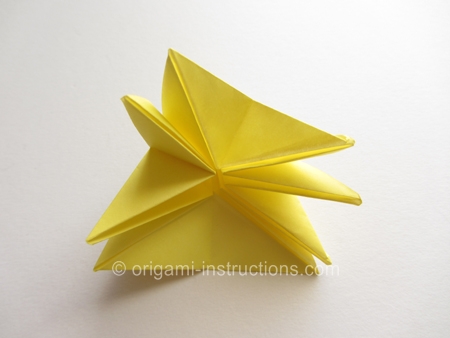
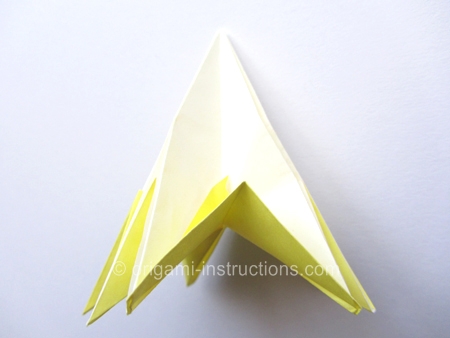
Rotating 180 degrees....
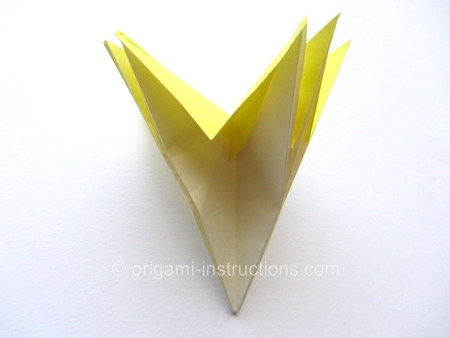
Origami 8-Petal Flower Step 15: You are now ready to shape the flower. Watch the video below for the remaining part of the instructions.
Here's the origami 8-petal flower when completed! It took a bit of effort but it looks pretty, doesn't it?
