Origami Daisy
These origami daisy instructions can be used to make many varieties of this colorful and popular flower of the daisy or sunflower family. While this is a more challenging origami, once you've seen the beautiful folded origami daisies , you'll realize that your efforts were definitely worth it!
Made this origami? Comment and Submit your photo using the comment box at the end of this page!
We also have video instructions for the origami daisy:
Start with the origami square base . The open portion of the square should point up, as shown in the fourth photo below.
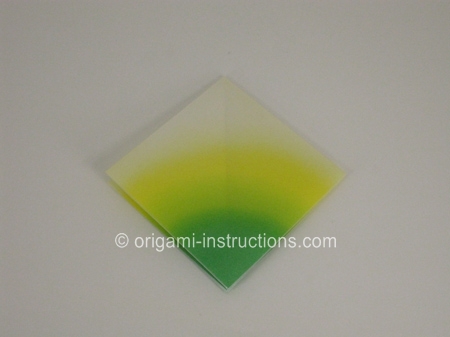
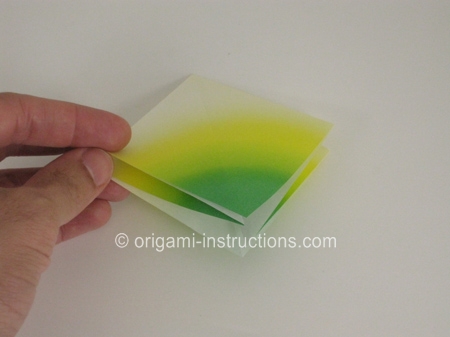
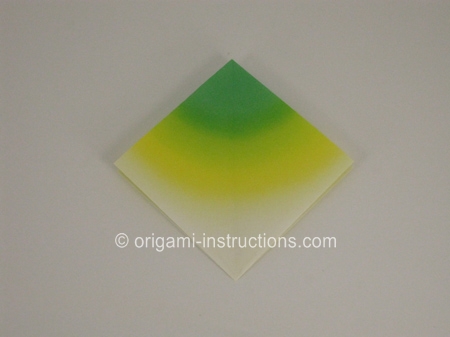
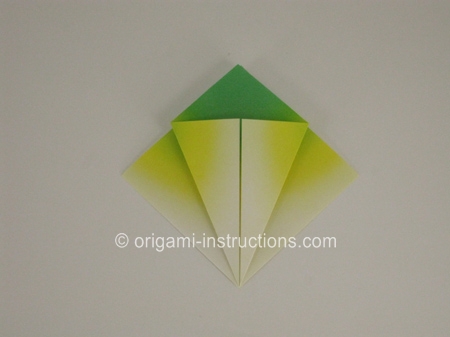
Now fold the lower edges of the square towards the centerline as shown. Repeat on the backside to give this kite shape:
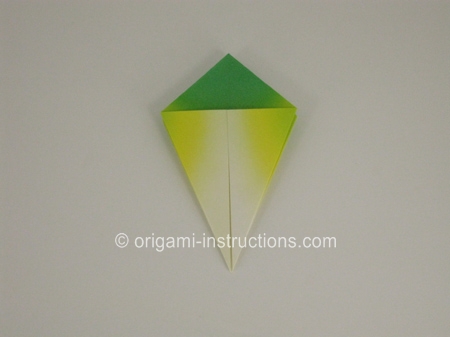
Now unfold the right flap. Use your finger to open the pocket, then squash fold it flat:
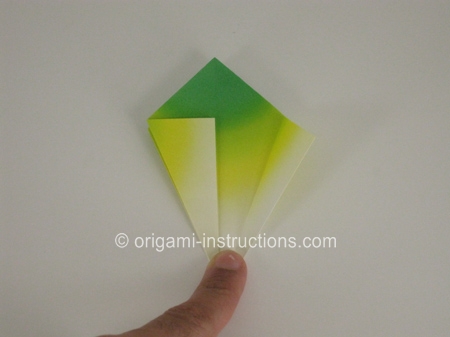
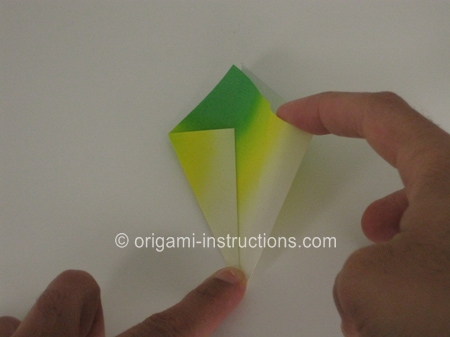
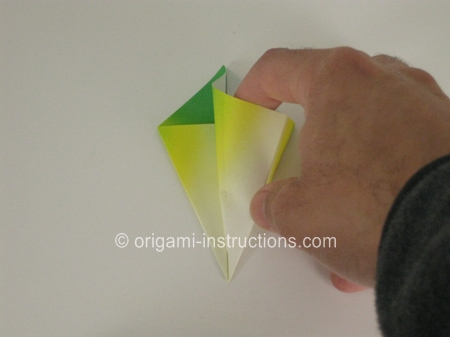
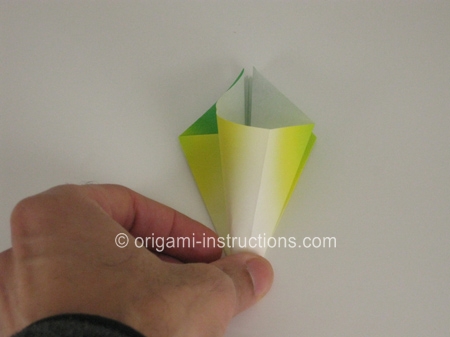
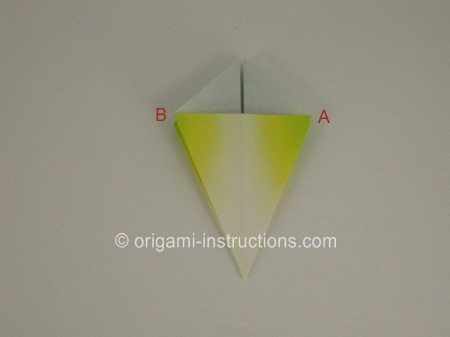
Fold the corner A over to meet corner B...
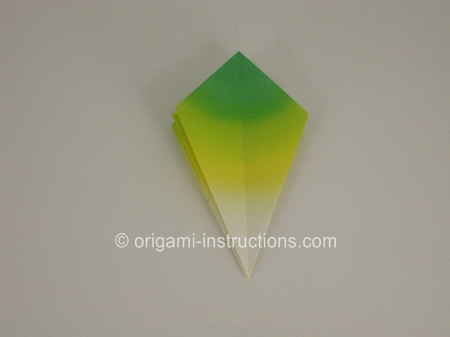
...then repeat this sequence of opening the flap and doing the squash fold.
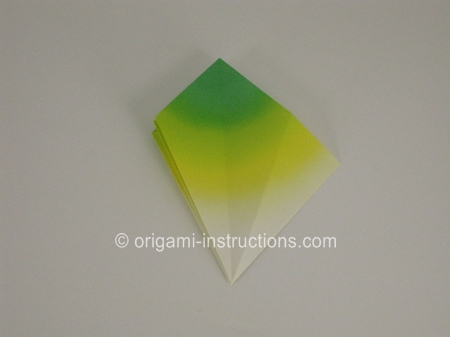
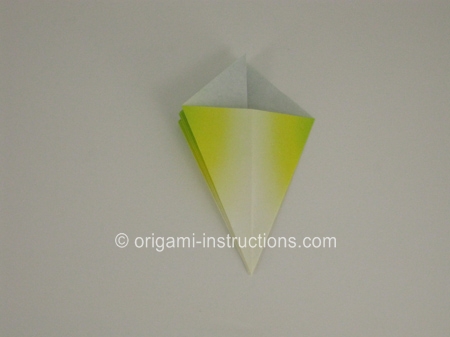
Repeat this squash fold 2 more times (total of 4 times), then the model will look like this:
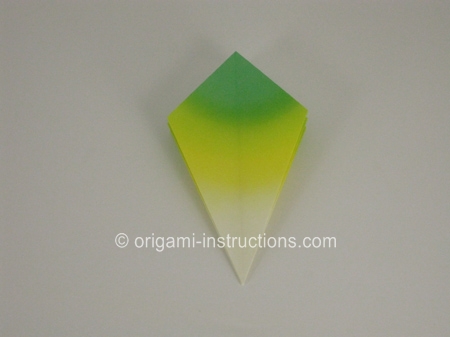
Now fold the top flap of the diamond downwards, as shown below:
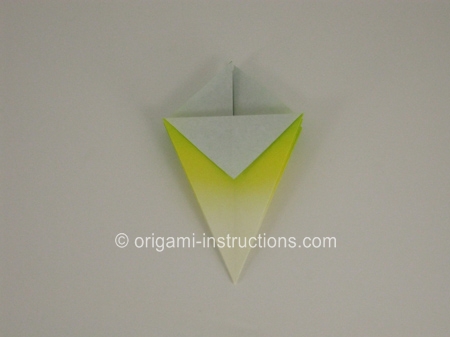
Repeat this fold on the backside, then fold corner C over to meet corner D.
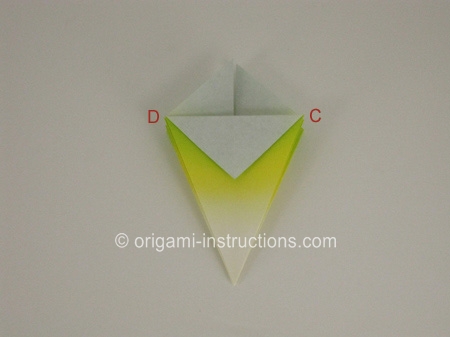
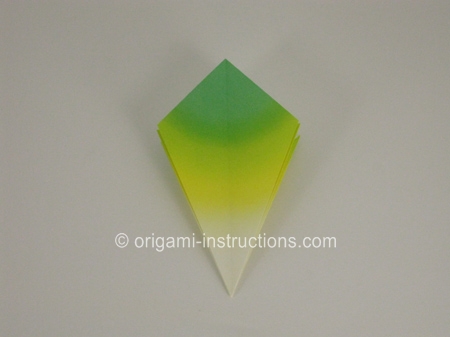
Again fold the top flap down, and repeat on the backside:
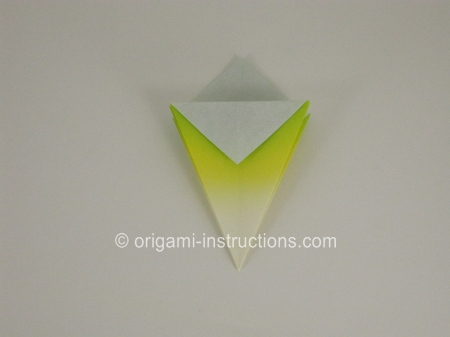
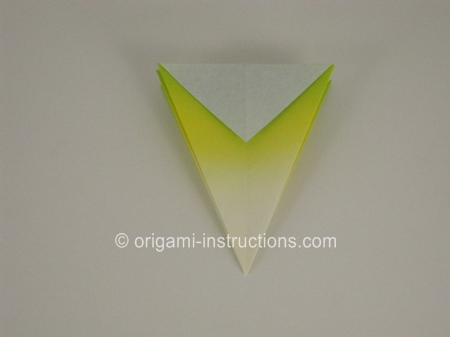
Fold the flaps left to right, and make sure you have 4 flaps on the right and 4 flaps on the left, as shown in the photo below.
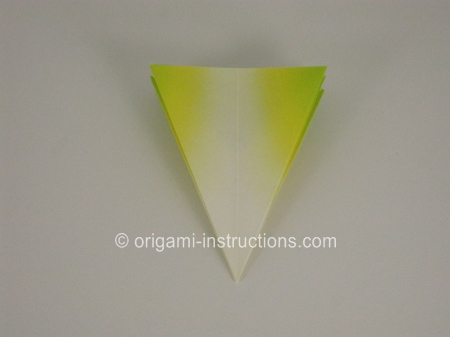
Now fold the bottom point of the triangle upwards, so that it passes the top by a small amount, as shown in the photo below. Make the crease in the last fold as sharp as possible (rub down with your fingernail):
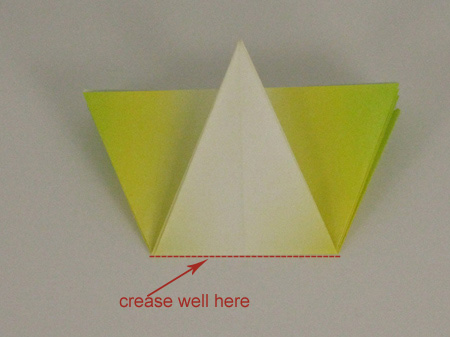
Now unfold the creased triangle...
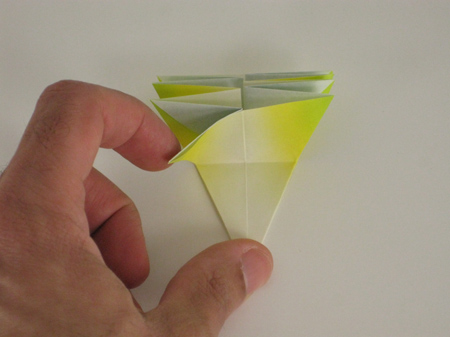
...then completely pull gently on the flaps to unfold the triangle into an 8-sided piece (octagon), as shown in the next 3 photos:
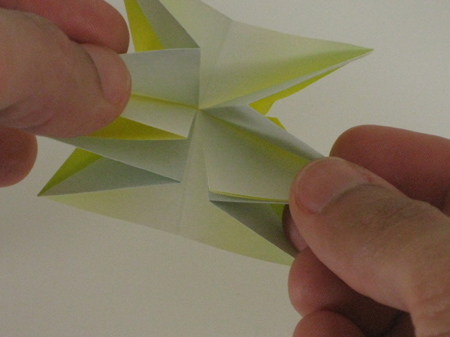
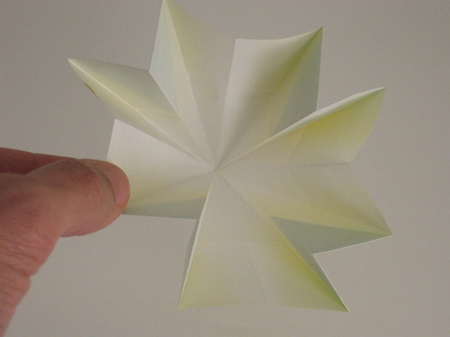
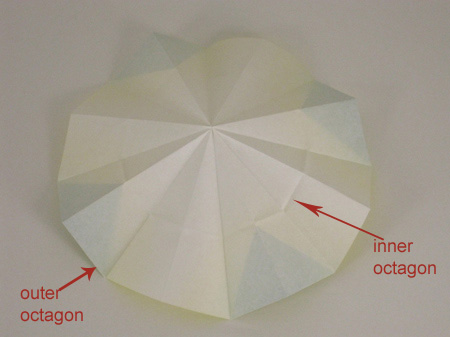
The number eight (8) is important, because your origami daisy will have 8 petals. All the folds from here on will need to be done 8 times...
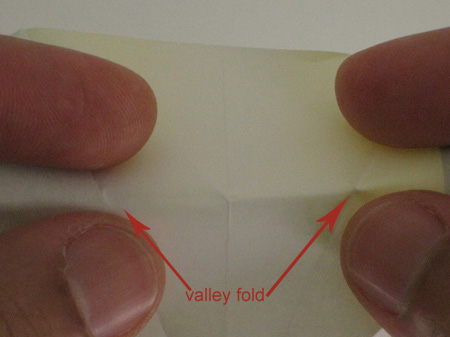
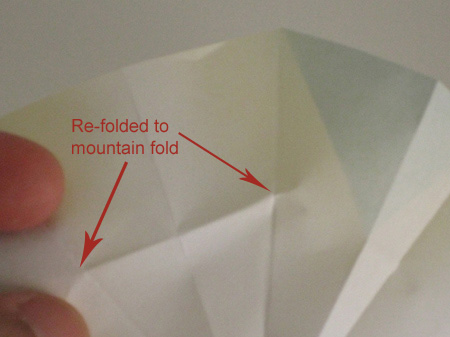
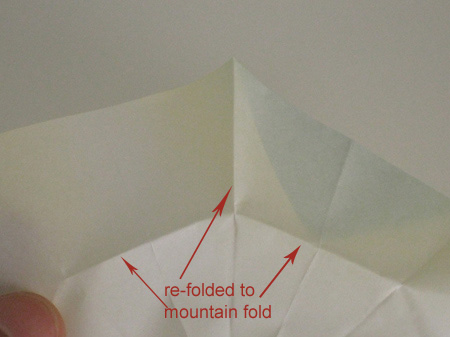
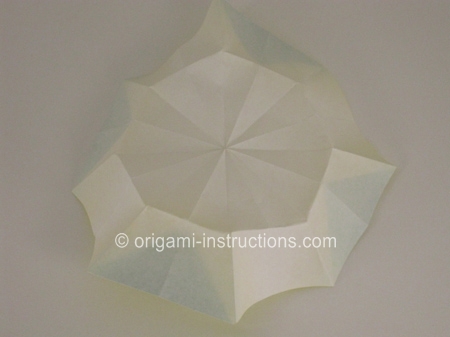
Now, go around the inner octagon, re-folding valley folds into mountain folds . Also the folds going from the inner octagon points to the outer octagon need to be converted to mountain folds.
Study the next four (4) photos carefully:
If you've stayed with us this far, congrats! Now it's time to move on to the Second Page of the Origami Daisy Instructions where you'll find beautiful photos of origami daisies!
