Origami Tulip
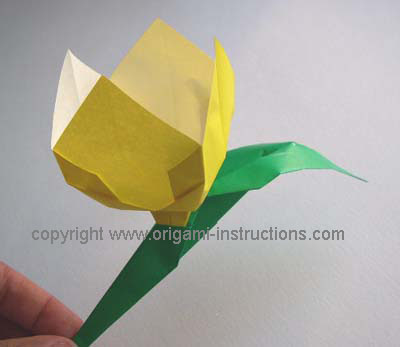
The tulip is a flower with lots of character, and this origami tulip is no less so. It uses one piece of paper for the petals, another for the leaf and stem.
Made this origami? Comment and Submit your photo using the comment box at the end of this page!
Start with a square of colored origami paper, yellow works for us.
Make the traditional origami square base .
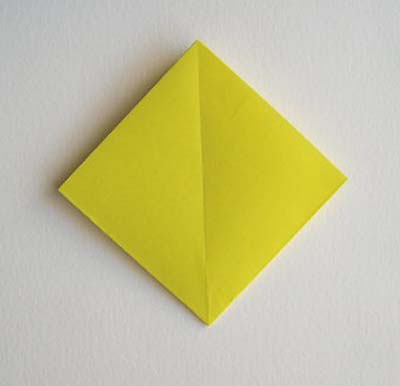
Origami Square Base VideoPosition the square base so that the opening is at the top of the square.
Now fold the right and left corners into the center, and unfold again to make crease lines.
See photos below.
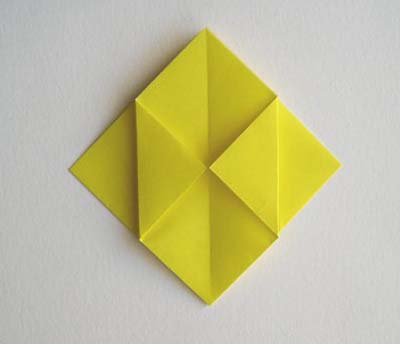

Now fold the right and left corners to the crease lines that you made in the previous step.
The fold again as shown below.
Flip the piece over and repeat on the back side.

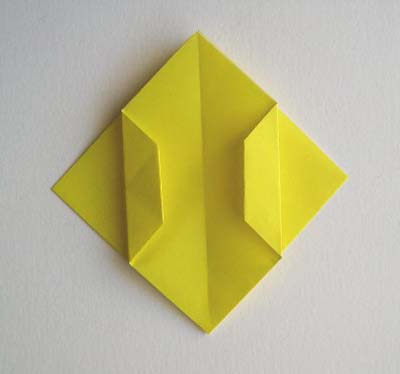
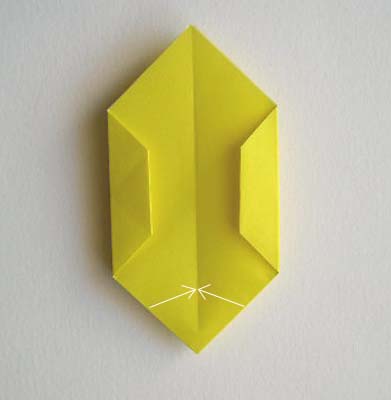
Now fold the lower edges onto the centerline.
Flip the piece over and repeat on the back side.
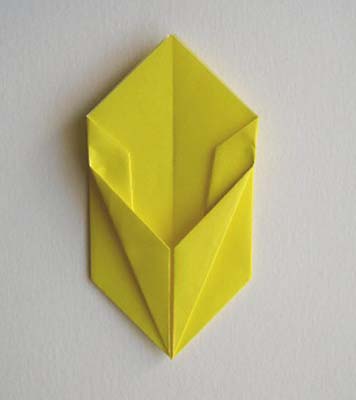
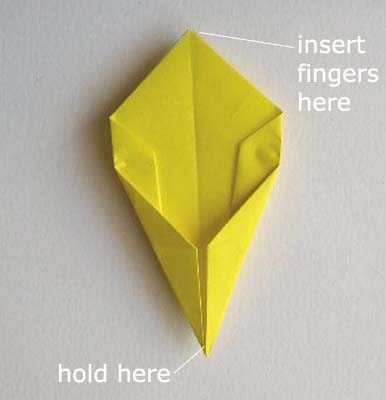
Now hold the bottom pointed corner in one hand, and use the fingers of the other hand to open the tulip bulb.
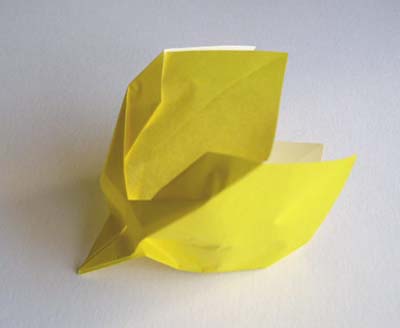
When you're done expanding the bulb, it will look like the picture below:
Now we move on to the leaf and stem.
Use a piece of green origami paper; place the green side face down.
Make a valley fold along the diagonal as shown.
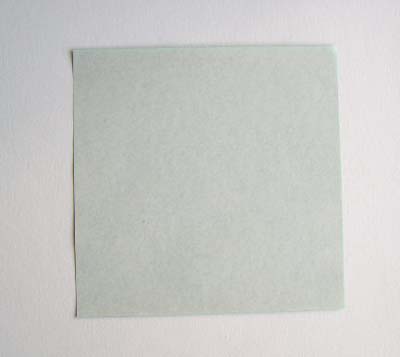
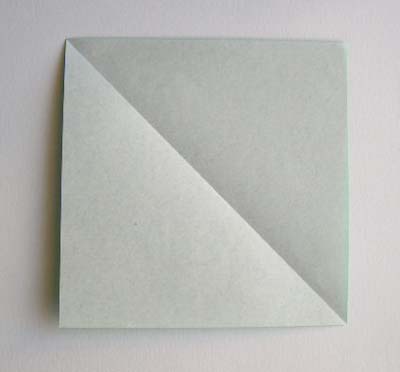
Now fold the top and left edges onto the centerline, making a kite.
Then the lower edges of the kite are folded to the centerline, creating a diamond.
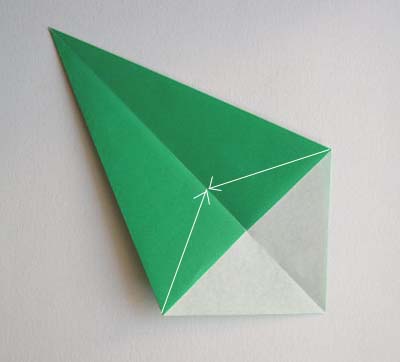
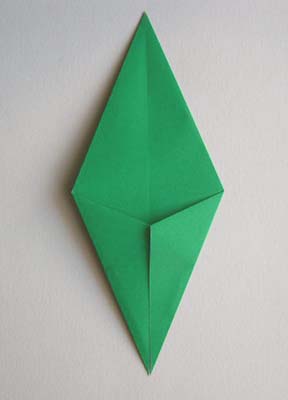
Fold the diamond in half lengthwise.
Then fold edge A-B back as shown, then flip the piece over and fold the edge C-D back as well.
Now unfold C-D (just C-D, not A-B) to reveal the crease mark.
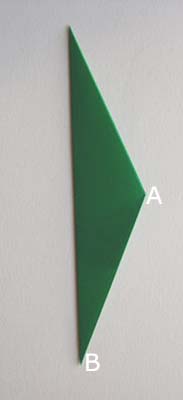
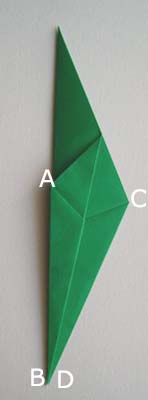
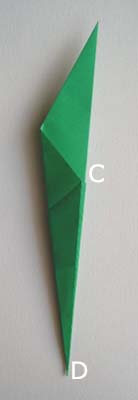
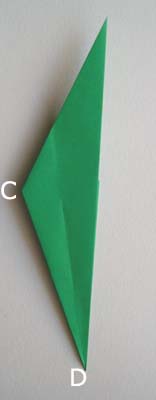
Fold C-E to the crease mark, then re-fold the crease created by the C-D fold.
Then fold down the front flap along a line F-G.
Make sure that this last fold does not overlap the pocket shown.
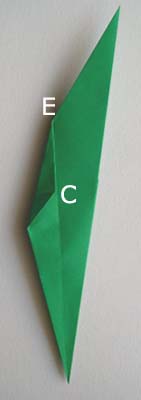
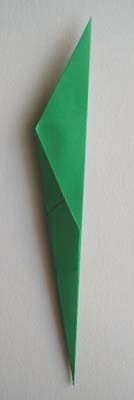


Now take the top of the leaf and bend it backwards and down a bit.
Insert the yellow bulb all the way into the pocket.
You can use a little glue or double-sided tape to make it stick securely.
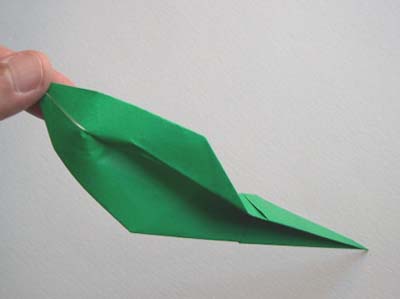
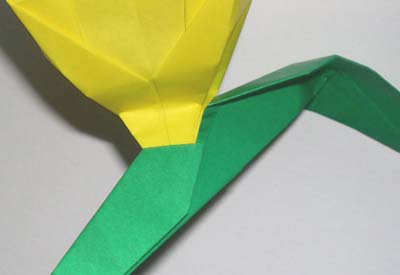
And now your origami tulip is done!
Check out the many origami tulip photos that have been submitted by our readers!
