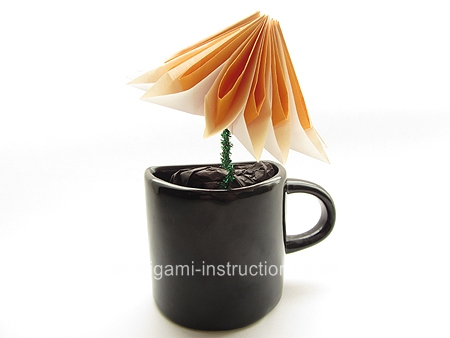
Origami Dahlia
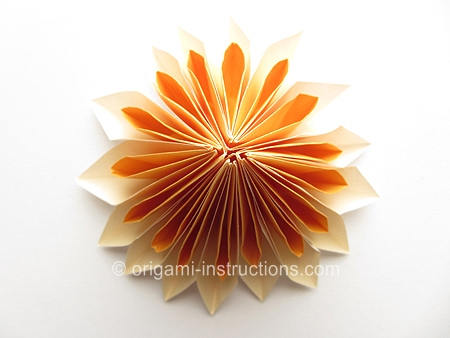
This is the third origami dahlia on this site and all three are non-traditional origami. This one requires 4 units which are then glued together to form the flower. It is more difficult to fold than the other two. The folding sequences are interesting and produce unique-looking individual units.
Made this origami? Comment and Submit your photo using the comment box at the end of this page!
Origami Dahlia Step 1: Start with a 6 inch x 6 inch (15cm x 15cm) square origami paper, color side down.
Fold paper in half on both diagonal axis. Crease well and unfold.
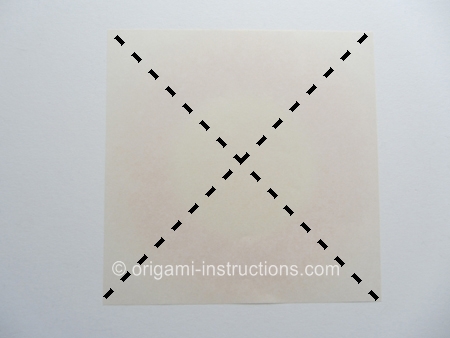
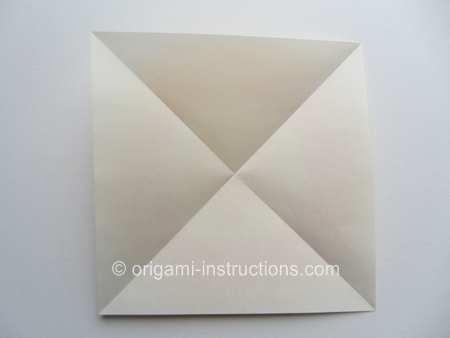
Origami Dahlia Step 2: Fold all 4 corners to the center.
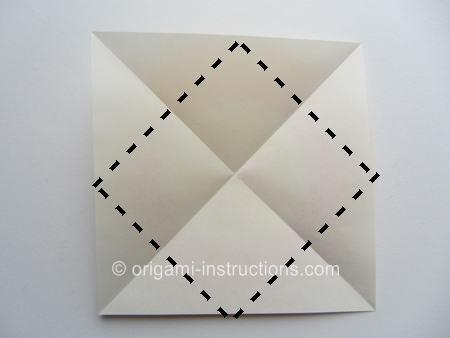
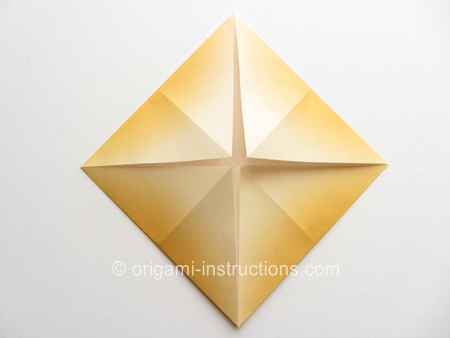
Origami Dahlia Step 3: Recrease the folds shown below.
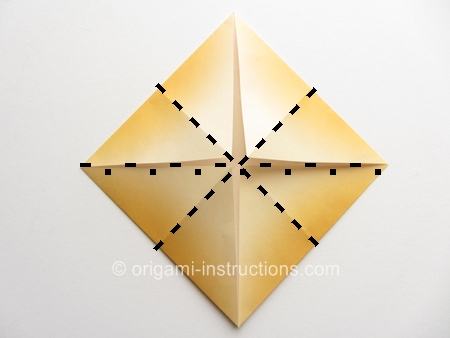
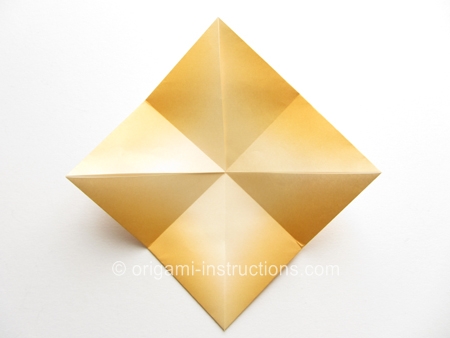
Origami Dahlia Step 4: Now, we're going to collapse the paper like a square base.
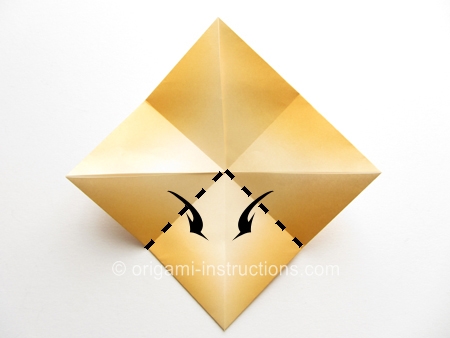
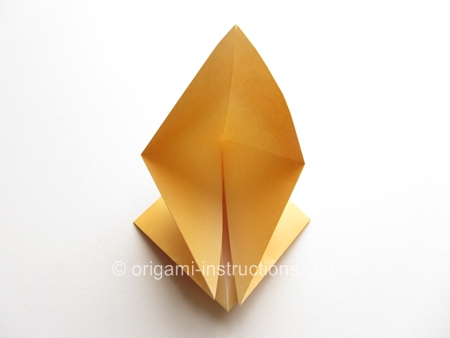
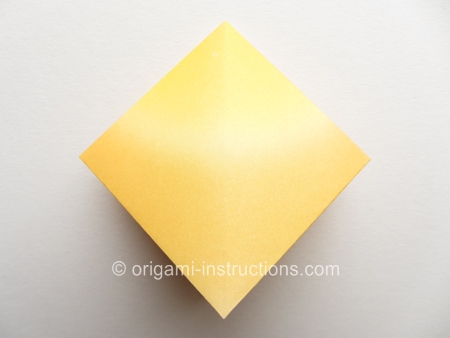
Origami Dahlia Step 5: Fold both sides to the center. Crease well and unfold.
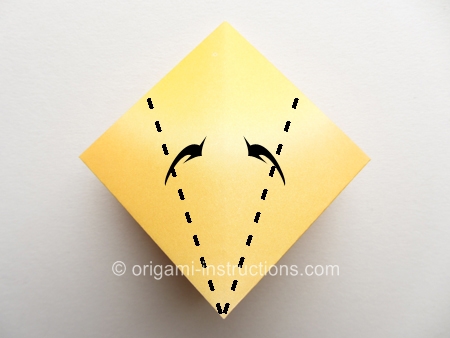
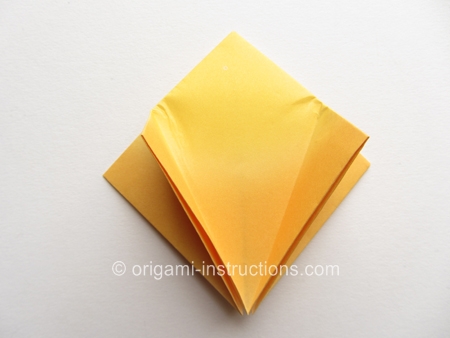
Origami Dahlia Step 6: Pry paper open and squash paper flat.
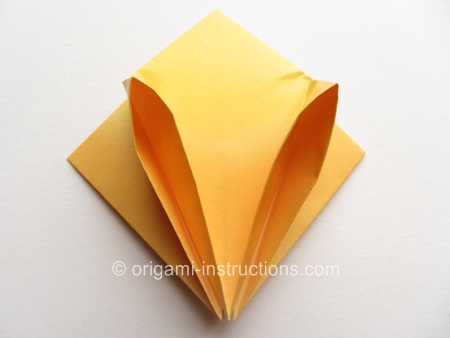
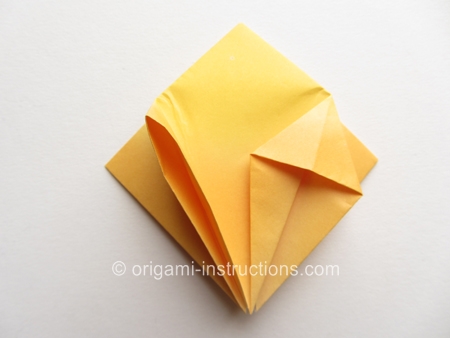
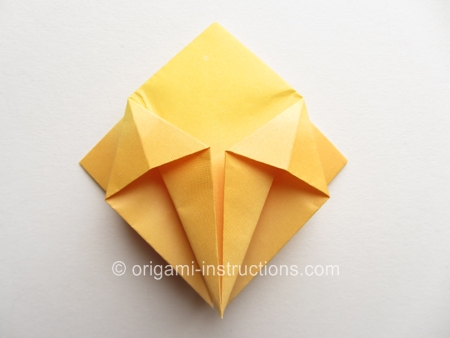
Origami Dahlia Step 7: Flip paper over. Repeat Steps 5 and 6 on this side.
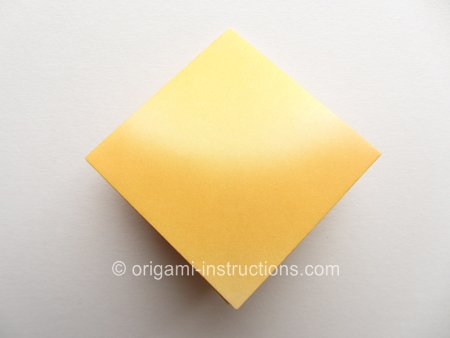
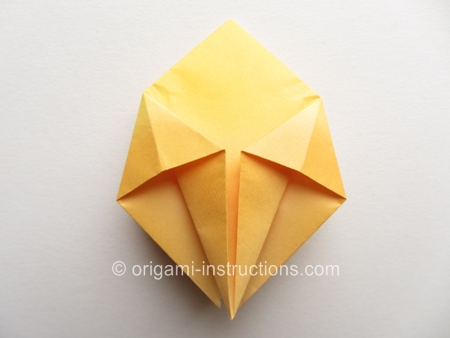
Origami Dahlia Step 8: Make the horizontal valley fold as shown below.
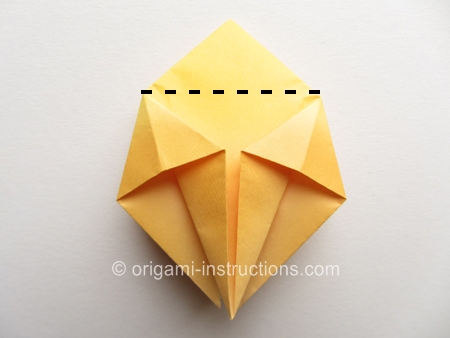
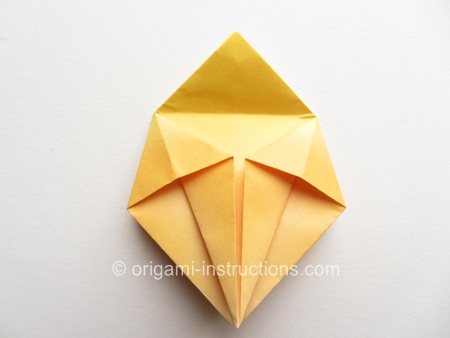
Origami Dahlia Step 9: Now open the paper back up to what you had at the beginning to Step 3.
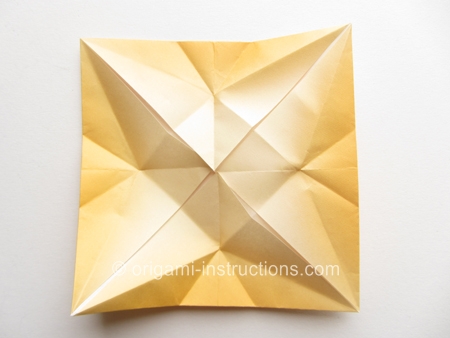
Origami Dahlia Step 10: We're going to make what's called a Rabbit Ear foldon this step.
Make the 2 diagonal valley folds first.
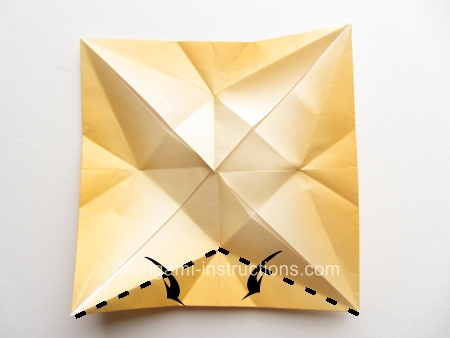
As the diagonal folds come together, there will be "excess" paper in the center. Guess this would be the "rabbit ear". Pinch the paper in the center and press it flat to the right.
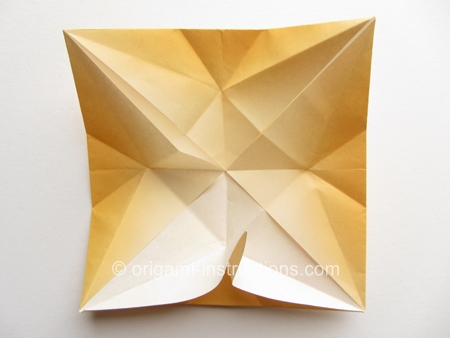
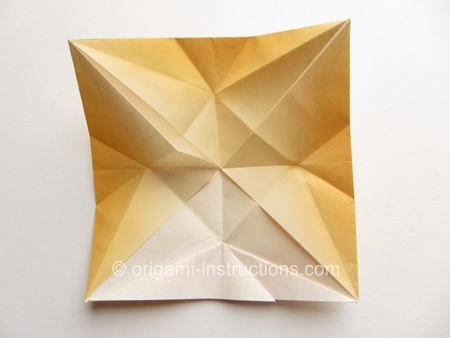
Origami Dahlia Step 11: Repeat Step 10 on the other 3 sides. When completed, your paper should now look like this.
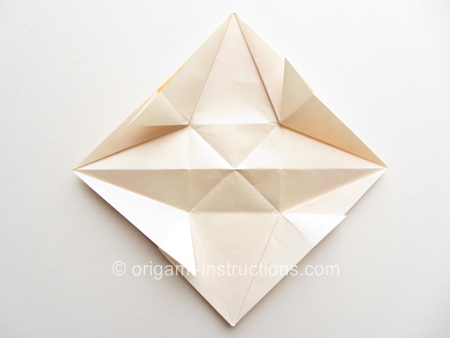
Origami Dahlia Step 12: Recrease the edges of the center square into mountain folds.
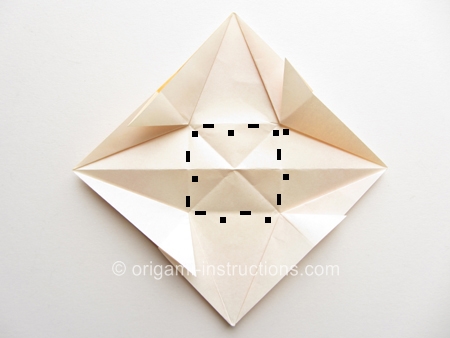
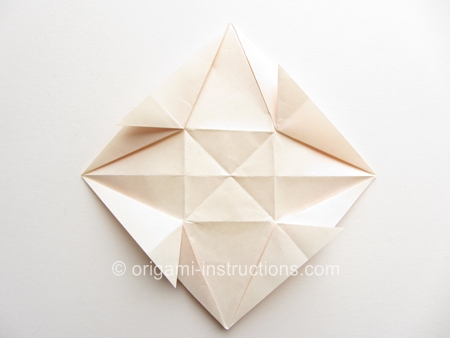
Origami Dahlia Step 13: We're now going to make a sink fold and collapse the paper.
Push the paper towards the center from opposite sides.
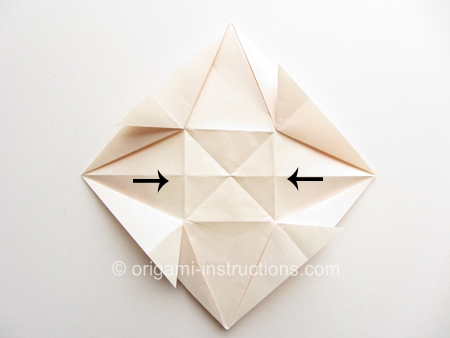
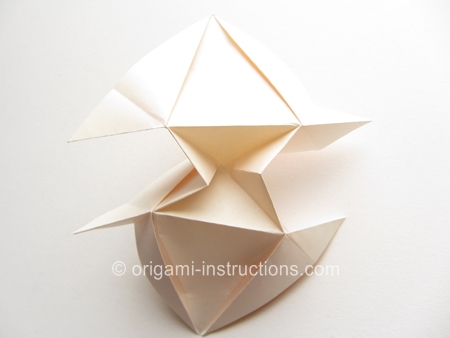
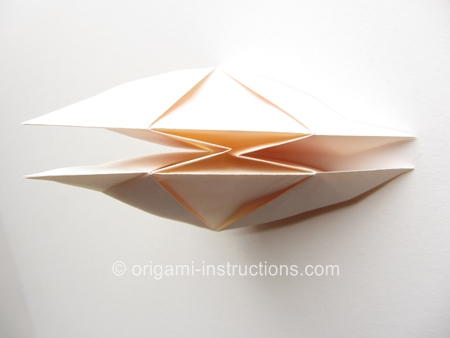
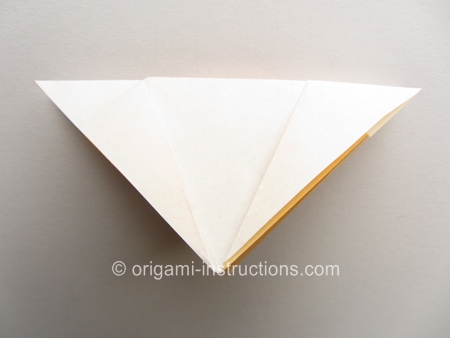
Origami Dahlia Step 14: Fold paper in half.
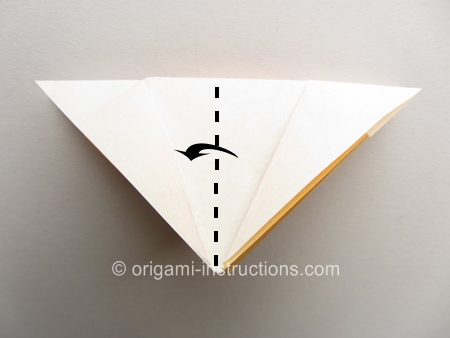
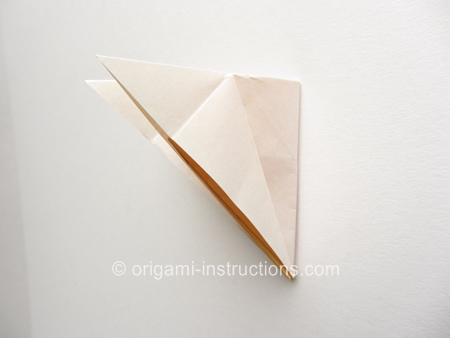
And this completes one unit.
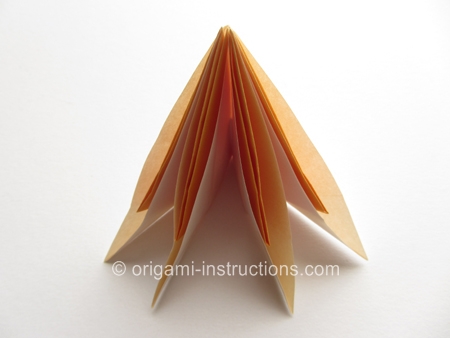
Origami Dahlia Step 15: Repeat Steps 1 to 14 and make a total of 4 units.
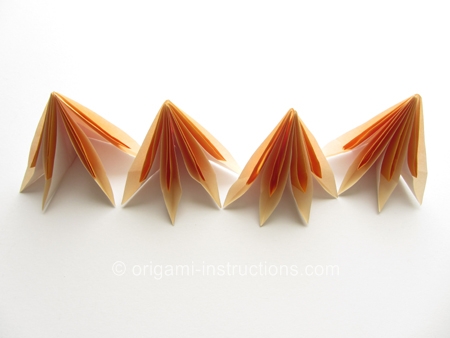
Origami Dahlia Step 16: First glue two units together.
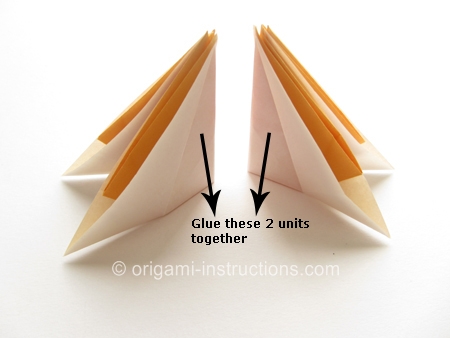
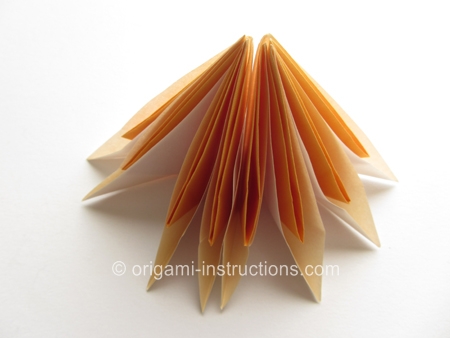
Origami Dahlia Step 17: Repeat Step 16 for the rest of the units. Pry open the "petals" to complete the flower.
Here's the completed origami dahlia!
Here it is from the side...
