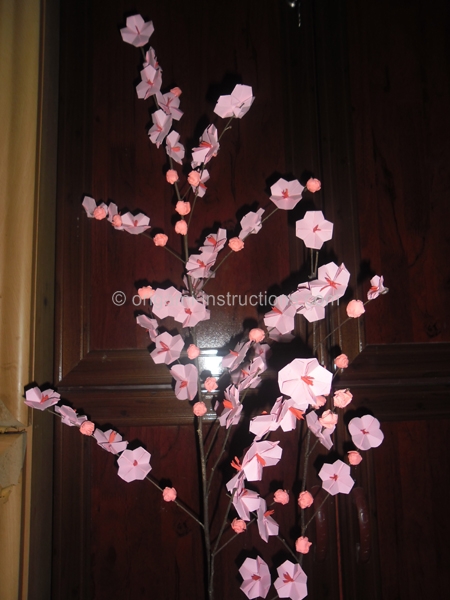
Origami Cherry Blossom
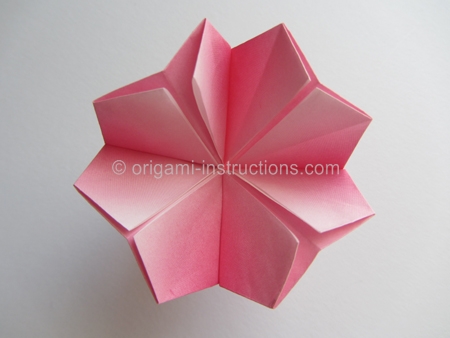
This is a pretty origami cherry blossom. The steps are not difficult but moving around the layers can get confusing so you've to pay attention when folding! When all else fails, start back at Step 1. Yes, we started back at Step 1 many times while creating the instructions on this page.
Made this origami? Comment and Submit your photo using the comment box at the end of this page!
Origami Cherry Blossom Step 1: Fold an origami bird base
. This is a commonly used base in origami so we've created a separate page of instructions for it. Or you can watch the video embedded below.
You should have the following to start with.
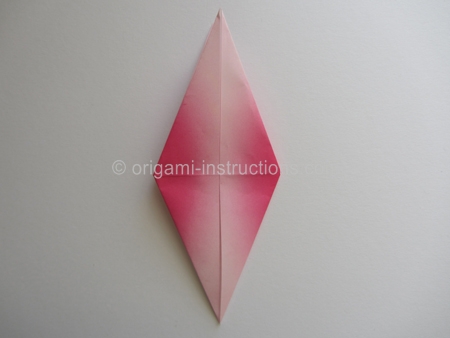
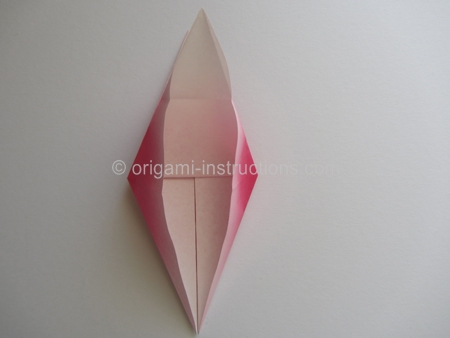
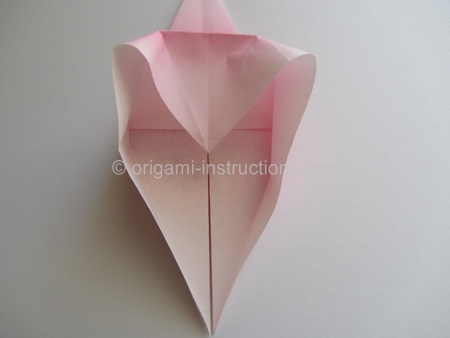
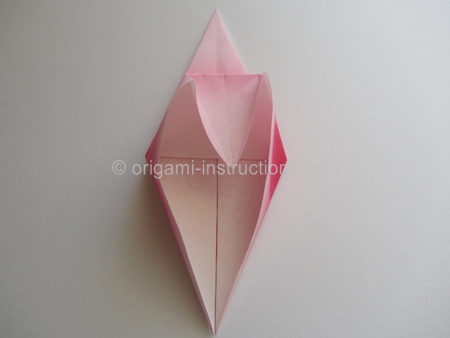
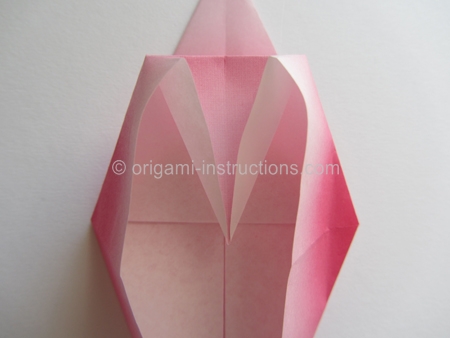
Origami Cherry Blossom Step 2: Fold the top tip to meet the center point. Crease well and unfold.
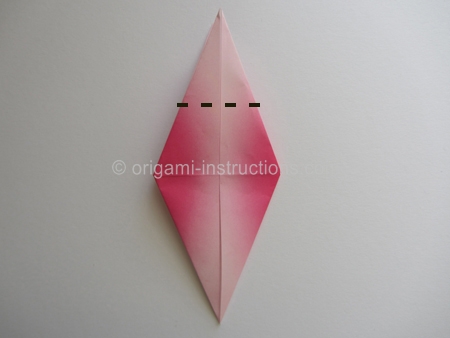
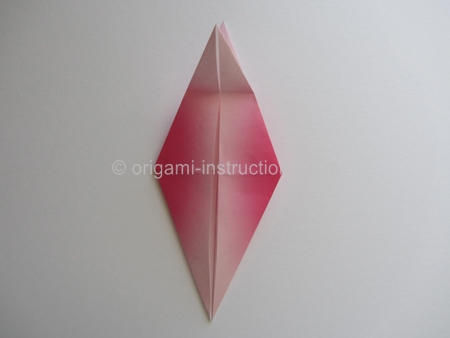
Origami Cherry Blossom Step 3: Pry paper open and tuck the top tip inside. Then close paper back up and press it flat.
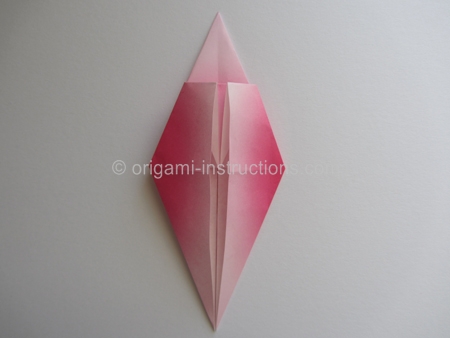
Origami Cherry Blossom Step 4: Flip paper over.
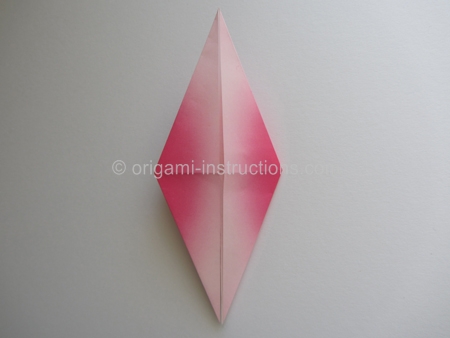
Origami Cherry Blossom Step 5: Repeat Steps 2 and 3 on this side.
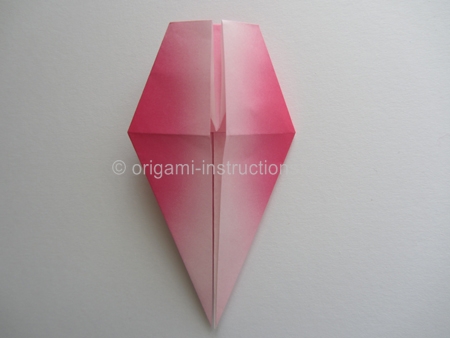
Origami Cherry Blossom Step 6: Fold the upper layer from the right over to the left.
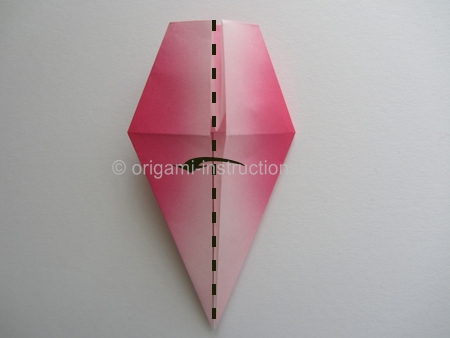
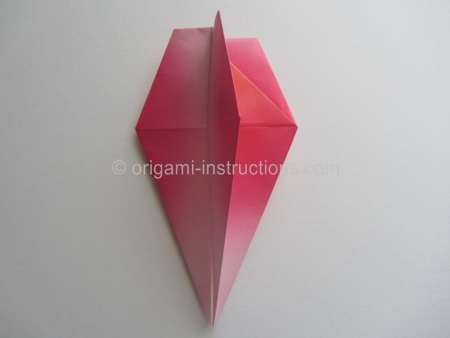
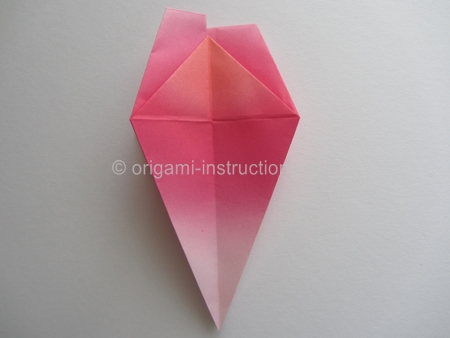
Origami Cherry Blossom Step 7: Flip paper over. Once again, fold the upper layer from the right over to the left.
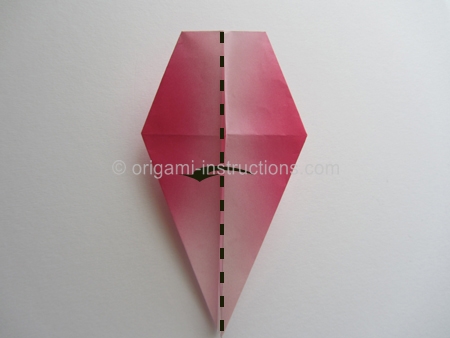
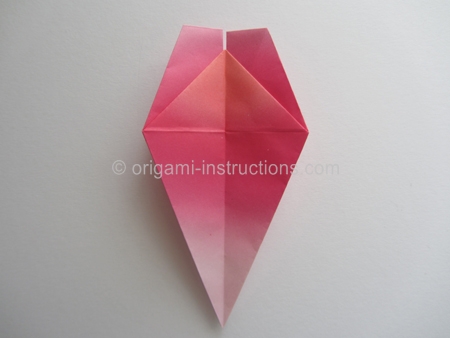
Origami Cherry Blossom Step 8: Fold the upper layer from the bottom to the top.
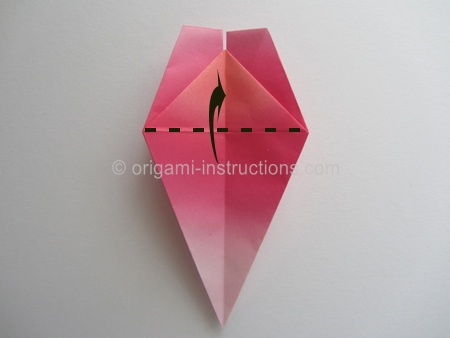
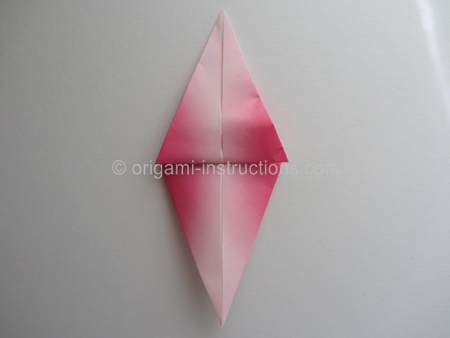
Origami Cherry Blossom Step 9: Now we're going to repeat Steps 2 and 3 on these two tips.
Starting from the bottom tip, fold it to meet the center point. Crease well and unfold.
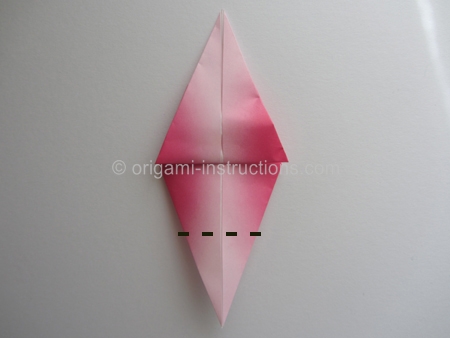
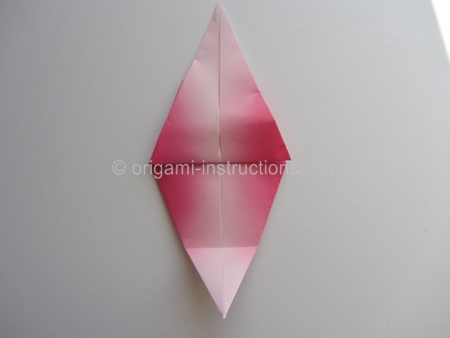
Origami Cherry Blossom Step 10: Pry paper open and tuck the tip inside as you have done previously.
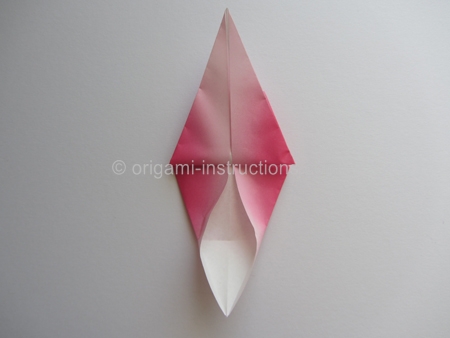
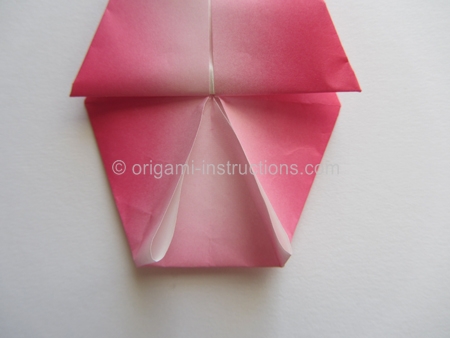
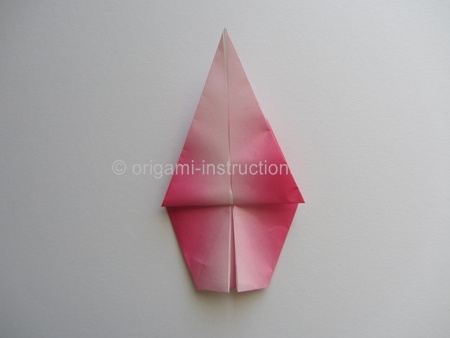
Origami Cherry Blossom Step 11: Rotate paper 180 degrees.
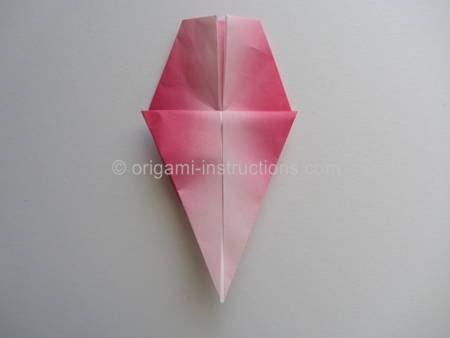
Origami Cherry Blossom Step 12: Repeat Steps 9 and 10 on the bottom tip. Your paper should look like this when you've completed this step.
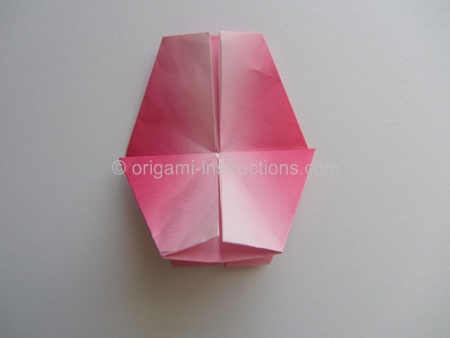
Origami Cherry Blossom Step 13: Fold the bottom layer over to the top.
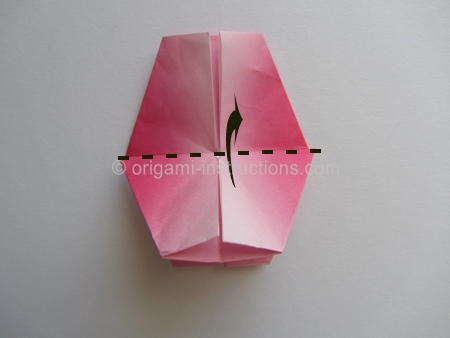
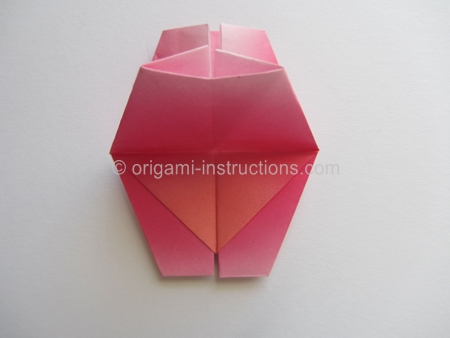
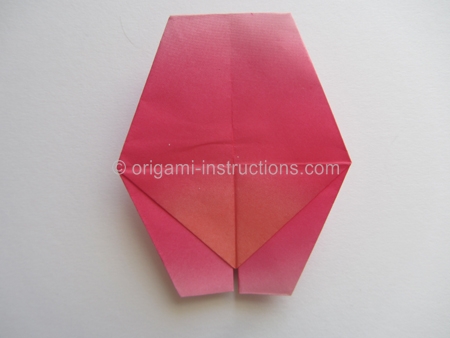
Origami Cherry Blossom Step 14: Fold the right layer over to the left.
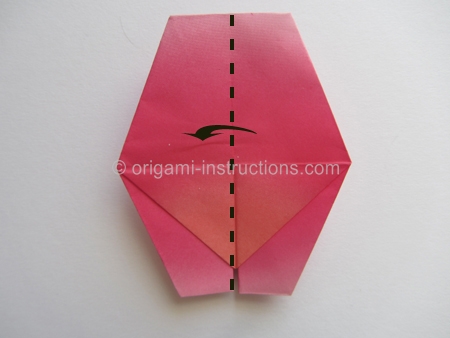
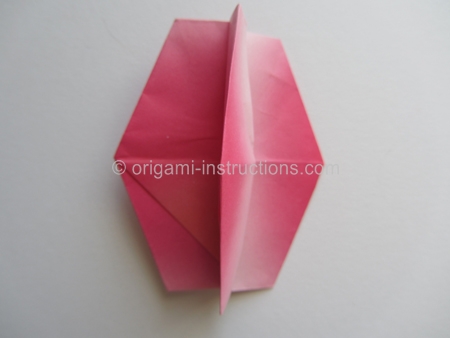
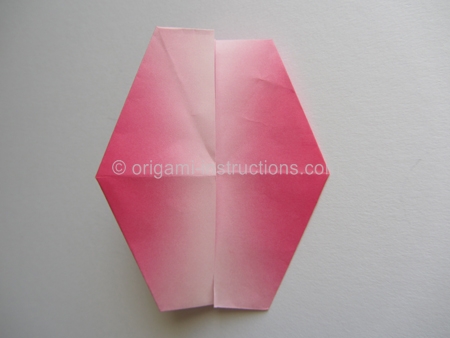
Origami Cherry Blossom Step 15: Fold the bottom layer to the top.
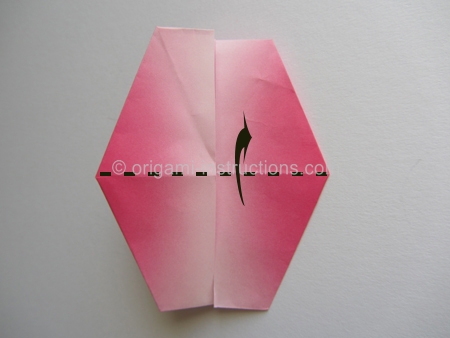
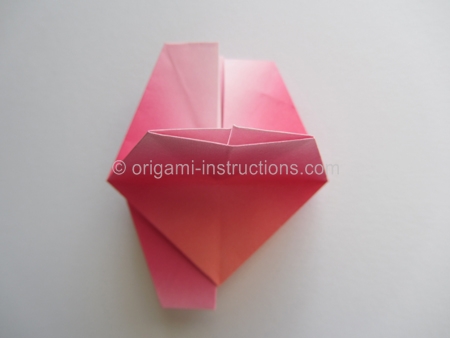
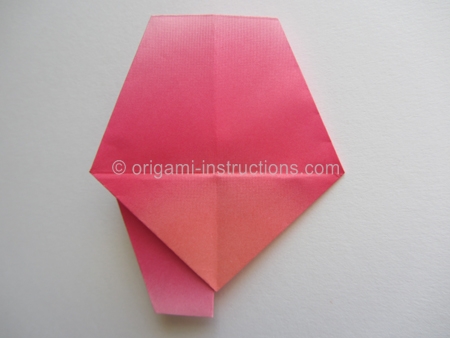
Origami Cherry Blossom Step 16: Flip paper over.
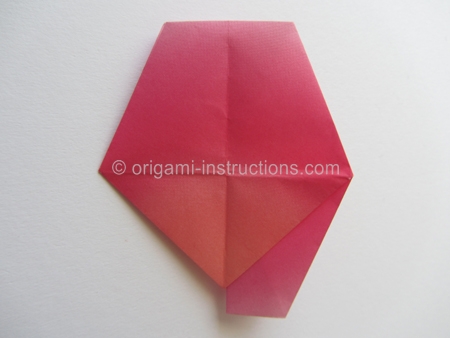
Origami Cherry Blossom Step 17: Fold the right layer over to the left.
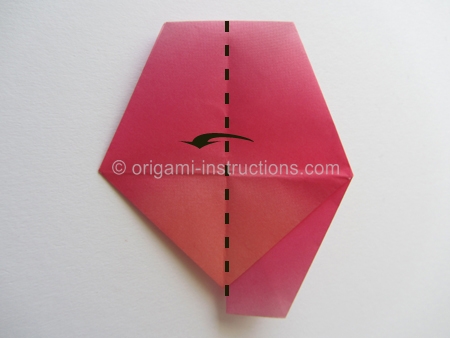
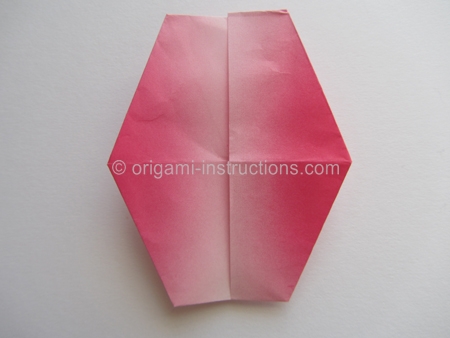
Origami Cherry Blossom Step 18: Now fold the bottom layer to the top.
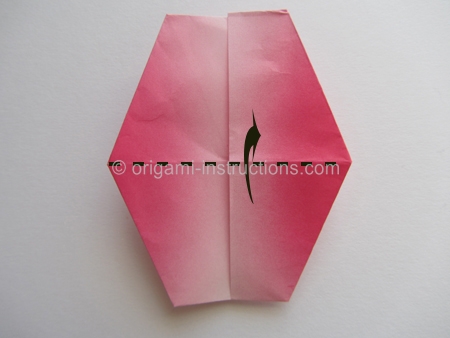
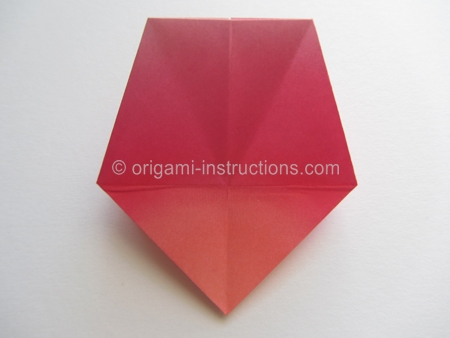
Origami Cherry Blossom Step 19: Almost done! Fold both sides to the center.
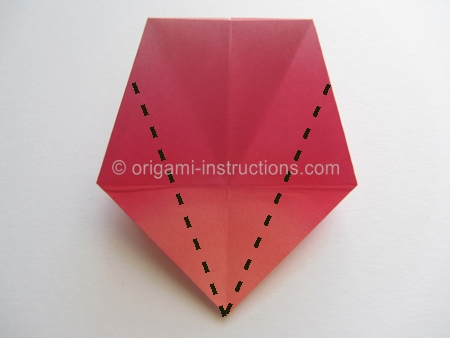
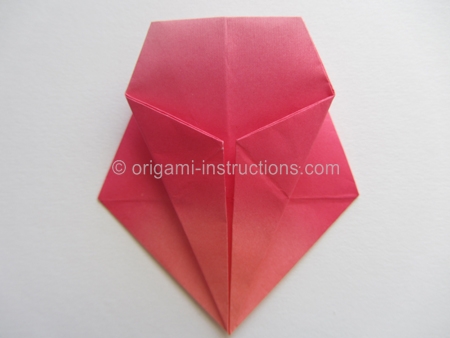
Origami Cherry Blossom Step 20: Flip paper over and repeat Step 19 so that both sides now look like this...
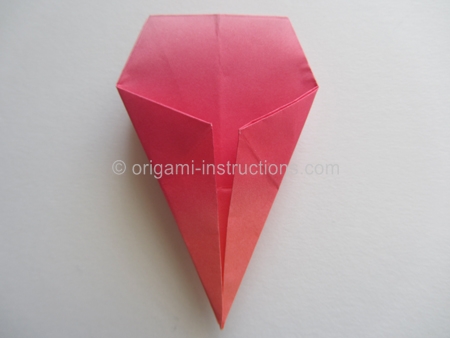
Origami Cherry Blossom Step 21: Make a horizontal valley fold. Crease well and unfold.
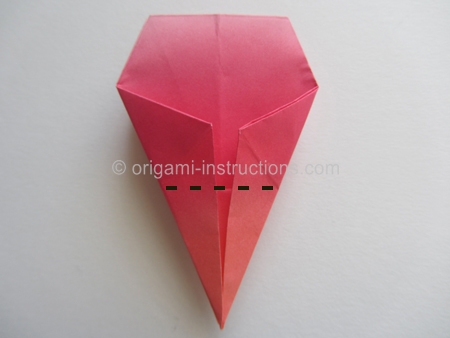
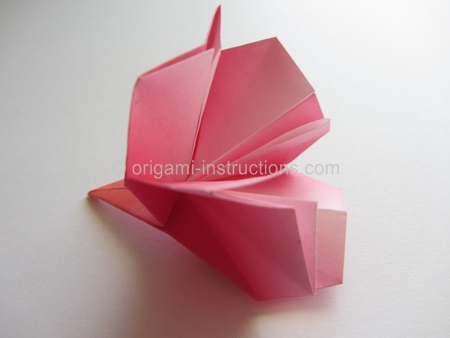
Origami Cherry Blossom Step 22: Now hold on to the bottom tip while you pry the paper open from the top to form the flower.
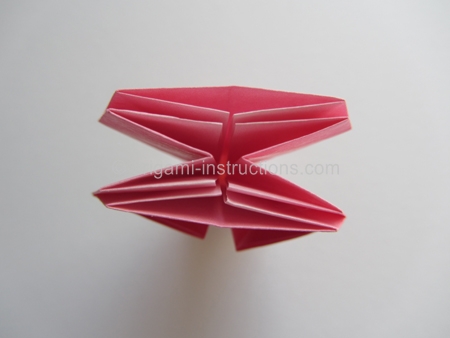
and your origami cherry blossom is complete!
With some effort and imagination, you can even create branches of origami cherry blossom flowers! This beautiful piece was submitted by Hanna in Malaysia.
